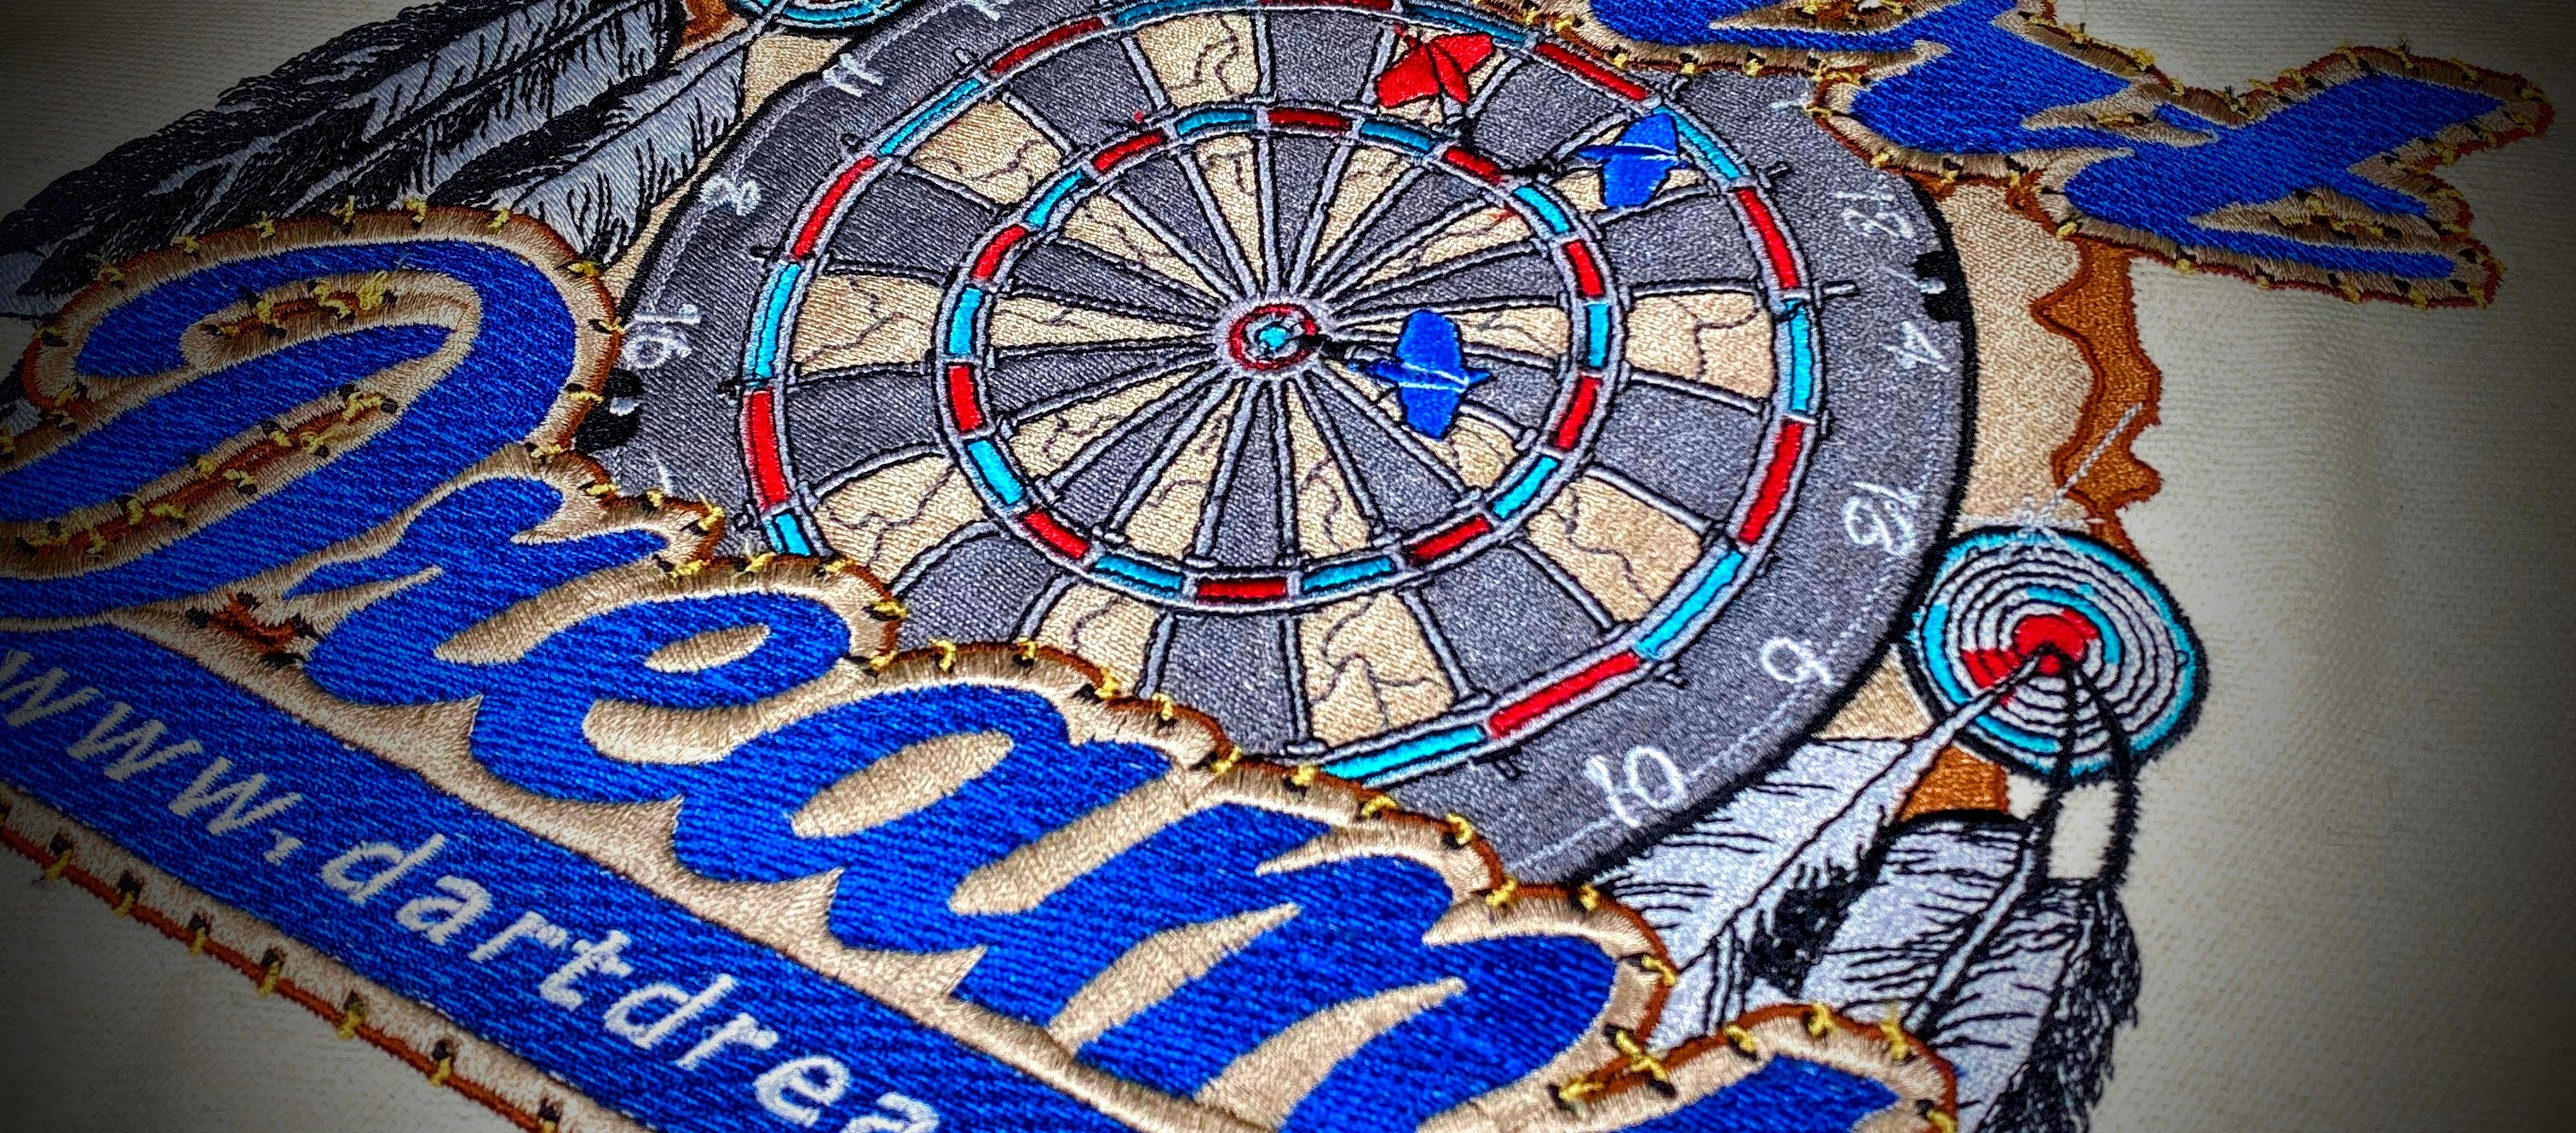
A logo can look perfect on screen and still sew with uneven lettering, gaps, or heavy distortion. Several questions at MADE’s Dallas live embroidery Q&A came back to that disconnect: how do you translate artwork into something thread can actually produce?
Part 2 of our seven-part Dallas Embroidery Q&A series combines guidance from Justin Armenta, Erich Campbell, Joe Kramar, and Alex Burton. Their shared starting point is to understand stitch behavior, then test your choices at the machine.
How do I decide which stitches go where
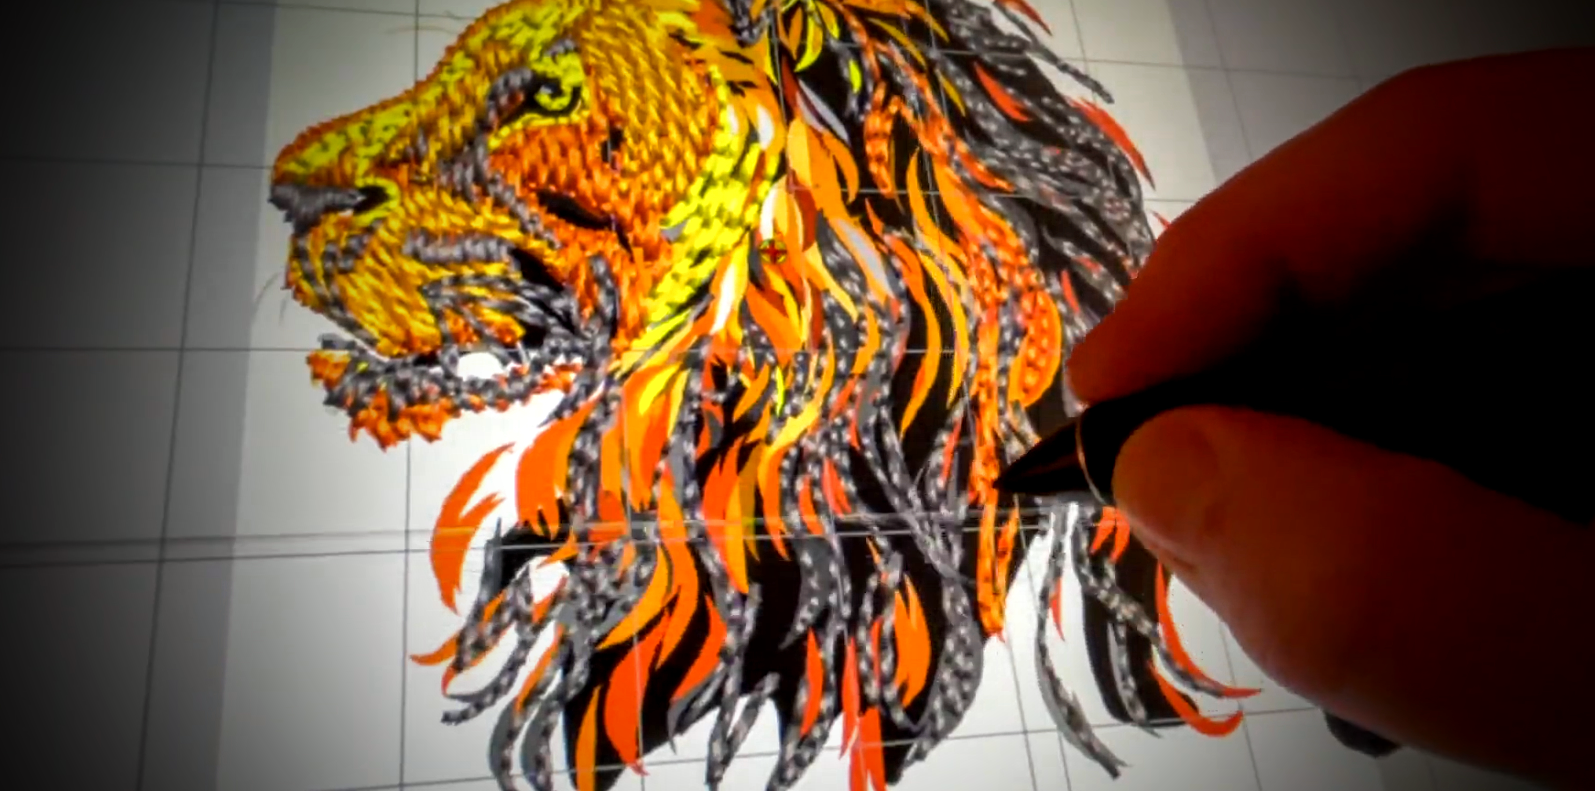
Break artwork into meaningful shapes and consider what must remain recognizable at the finished size. Satin stitches suit many letters, borders, and narrow shapes. Fill stitches cover larger planes. Running stitches can describe suitable fine lines, details, and shading.
Direction also changes texture and reflected light. Think about the dimension thread contributes, rather than copying every pixel. Simplifying a tiny highlight or outline can improve the embroidered interpretation.
“Think in thread, not pixels.” — Joe Kramar
What do underlay density and compensation do
Underlay creates a foundation that supports top stitching and helps control the material. Density determines stitch spacing and load. Adding more top stitches to solve coverage can make a garment stiff or create crowded penetrations, distortion, and thread breaks.
Push and pull compensation account for the way stitches move and reshape fabric. That is why outlines that appear slightly uneven on screen may produce level letters when sewn. Judge the result at actual size and on the intended material.
Which beginner mistakes should I watch for
Look for lettering too small for the thread, tiny openings that close up, excessive detail, weak underlay, and unnecessary overlaps. Missing compensation can leave uneven letter heights, distorted circles, or gaps at borders.
Sequence matters too. Plan how the design travels, which elements stabilize others, and where connections can be hidden. A screen simulation cannot show every interaction among fabric, file, and machine.
Can one file cover a half inch and a six inch letter
Those sizes need different constructions. A half-inch letter may need simplified satin strokes and small-letter compensation. A six-inch letter may need fills, appliqué, or split or length-limited satins, depending on stroke width.
Reuse the artwork where useful, but build for the intended scale. Node alignment alone does not solve the differences in stitch length, underlay, or detail. Make versions that suit each application.
How far can I resize and use a file on different garments
Treat roughly 8–10 percent as a caution range for many finished stitch files, not a universal guarantee or limit. Native object-based files may regenerate stitches; machine files primarily hold stitch instructions. The original construction and software determine what happens.
Caps, performance polos, and fleece can need different sequencing, compensation, density, and underlay. Some files transfer well between products, but sample the result. Large size changes or a different construction may require a revised version.
Should every letter have a trim
Trim where a connection would be visible or create a snag risk. Closely spaced letters may allow an unobtrusive connection or hidden travel under later stitching. Every unnecessary trim adds cycle time and another restart.
Balance machine time with finishing time. Saving a trim achieves little if someone spends longer cleaning up the garment afterward.
How do I learn and choose a digitizer
Start with simple shapes and lettering, study files that run well, and watch those files sew. Make controlled trials with one variable changed at a time. Compare what the software predicts with the physical result.
When outsourcing, choose a digitizer who asks about fabric, size, placement, and technique. Evaluate actual sewn work and begin with a representative paid test. Communication, efficient files, and useful revisions belong in the decision alongside price.
“Nothing replaces embroidery experience as a learning tool.” — Erich Campbell
Continue learning at Impressions Expo Long Beach
Want to connect what happens in the software with what happens at the machine? Continue the conversation with MADE at Impressions Expo Long Beach, January 21–23, 2027. Explore conference education and register to keep building your embroidery knowledge.
Register for Impressions Expo Long Beach 2027
Explore the conference and show
Meet the Dallas Q&A speakers
Justin Armenta | Manager of Testing & Development, MADE Laboratory| justin@madelab.io & Owner, JA Digitizing Studios | designs@jadigitizing.com
Erich Campbell | Program Manager, Commercial Division, BriTon Leap / Embrilliance | embroideryerich@gmail.com
Joe Kramar | Embroidery Digitizer and Educator, Appliqué Joe | rocknjoe@gmail.com
Alex Burton | Trainer and Applications Specialist, Melco | aburton@melco.com