My Journey Through Digital Screen Imaging with CTS and DTS: Inkjet, Wax, and LTS
By: Kyle Caldwell, July 10th, 2025

Over the years working in screen printing, I’ve had the opportunity to work with a variety of digital screen imaging systems—each with its own strengths, quirks, and learning curves. I wanted to share some of my personal experiences with these systems, from the early days of ditching film to exploring high-end LTS setups. Whether you’re considering the switch to digital or just curious about the differences, here’s what it’s been like from my side of the press.
Starting Out with Inkjet: The M&R i-Image S

At Shirt Kong, our first step into digital imaging was the M&R i-Image S inkjet unit. It was a massive improvement over printing film positives. Suddenly, we didn’t need to deal with films at all—no more storing them, no more lining them up on a vacuum table. Just load the art and print straight to the screen.
That said, it wasn’t all smooth sailing.
The ink had a tendency to spread or “gain”, especially when the humidity dropped or when a screen had been coated too long ago and dried out. I went so far as to mop the floor in the screen room daily just to keep the humidity in a usable range. Not ideal.
Maintaining the print head was also a bit of a nightmare. If you didn’t stay on top of cleaning—and I mean religiously—the print quality would tank. That meant lost screens and wasted time having to re-image them. Still, it was our first taste of going film-free, and that part was a game-changer.
Switching to Wax: The Douthitt Unit
Eventually, we moved over to a Douthitt wax unit, and that changed everything for the better.
First off, it didn’t care about humidity. Whether the air was dry or muggy, the wax system performed reliably. It also imaged screens faster than the inkjet and laid down a much more opaque image. That was a big deal. With the inkjet, I’d sometimes struggle to get a proper screen exposure. With the wax system, exposures were sharp, reliable, and detailed.
Maintenance was also almost a non-issue. No clogged heads, no constant cleaning schedules. Yes, the wax itself was more expensive as a consumable—but the peace of mind and consistency it gave me more than made up for that.
If I had to pinpoint a moment where I felt like we hit our stride with digital imaging, it was after switching to wax.
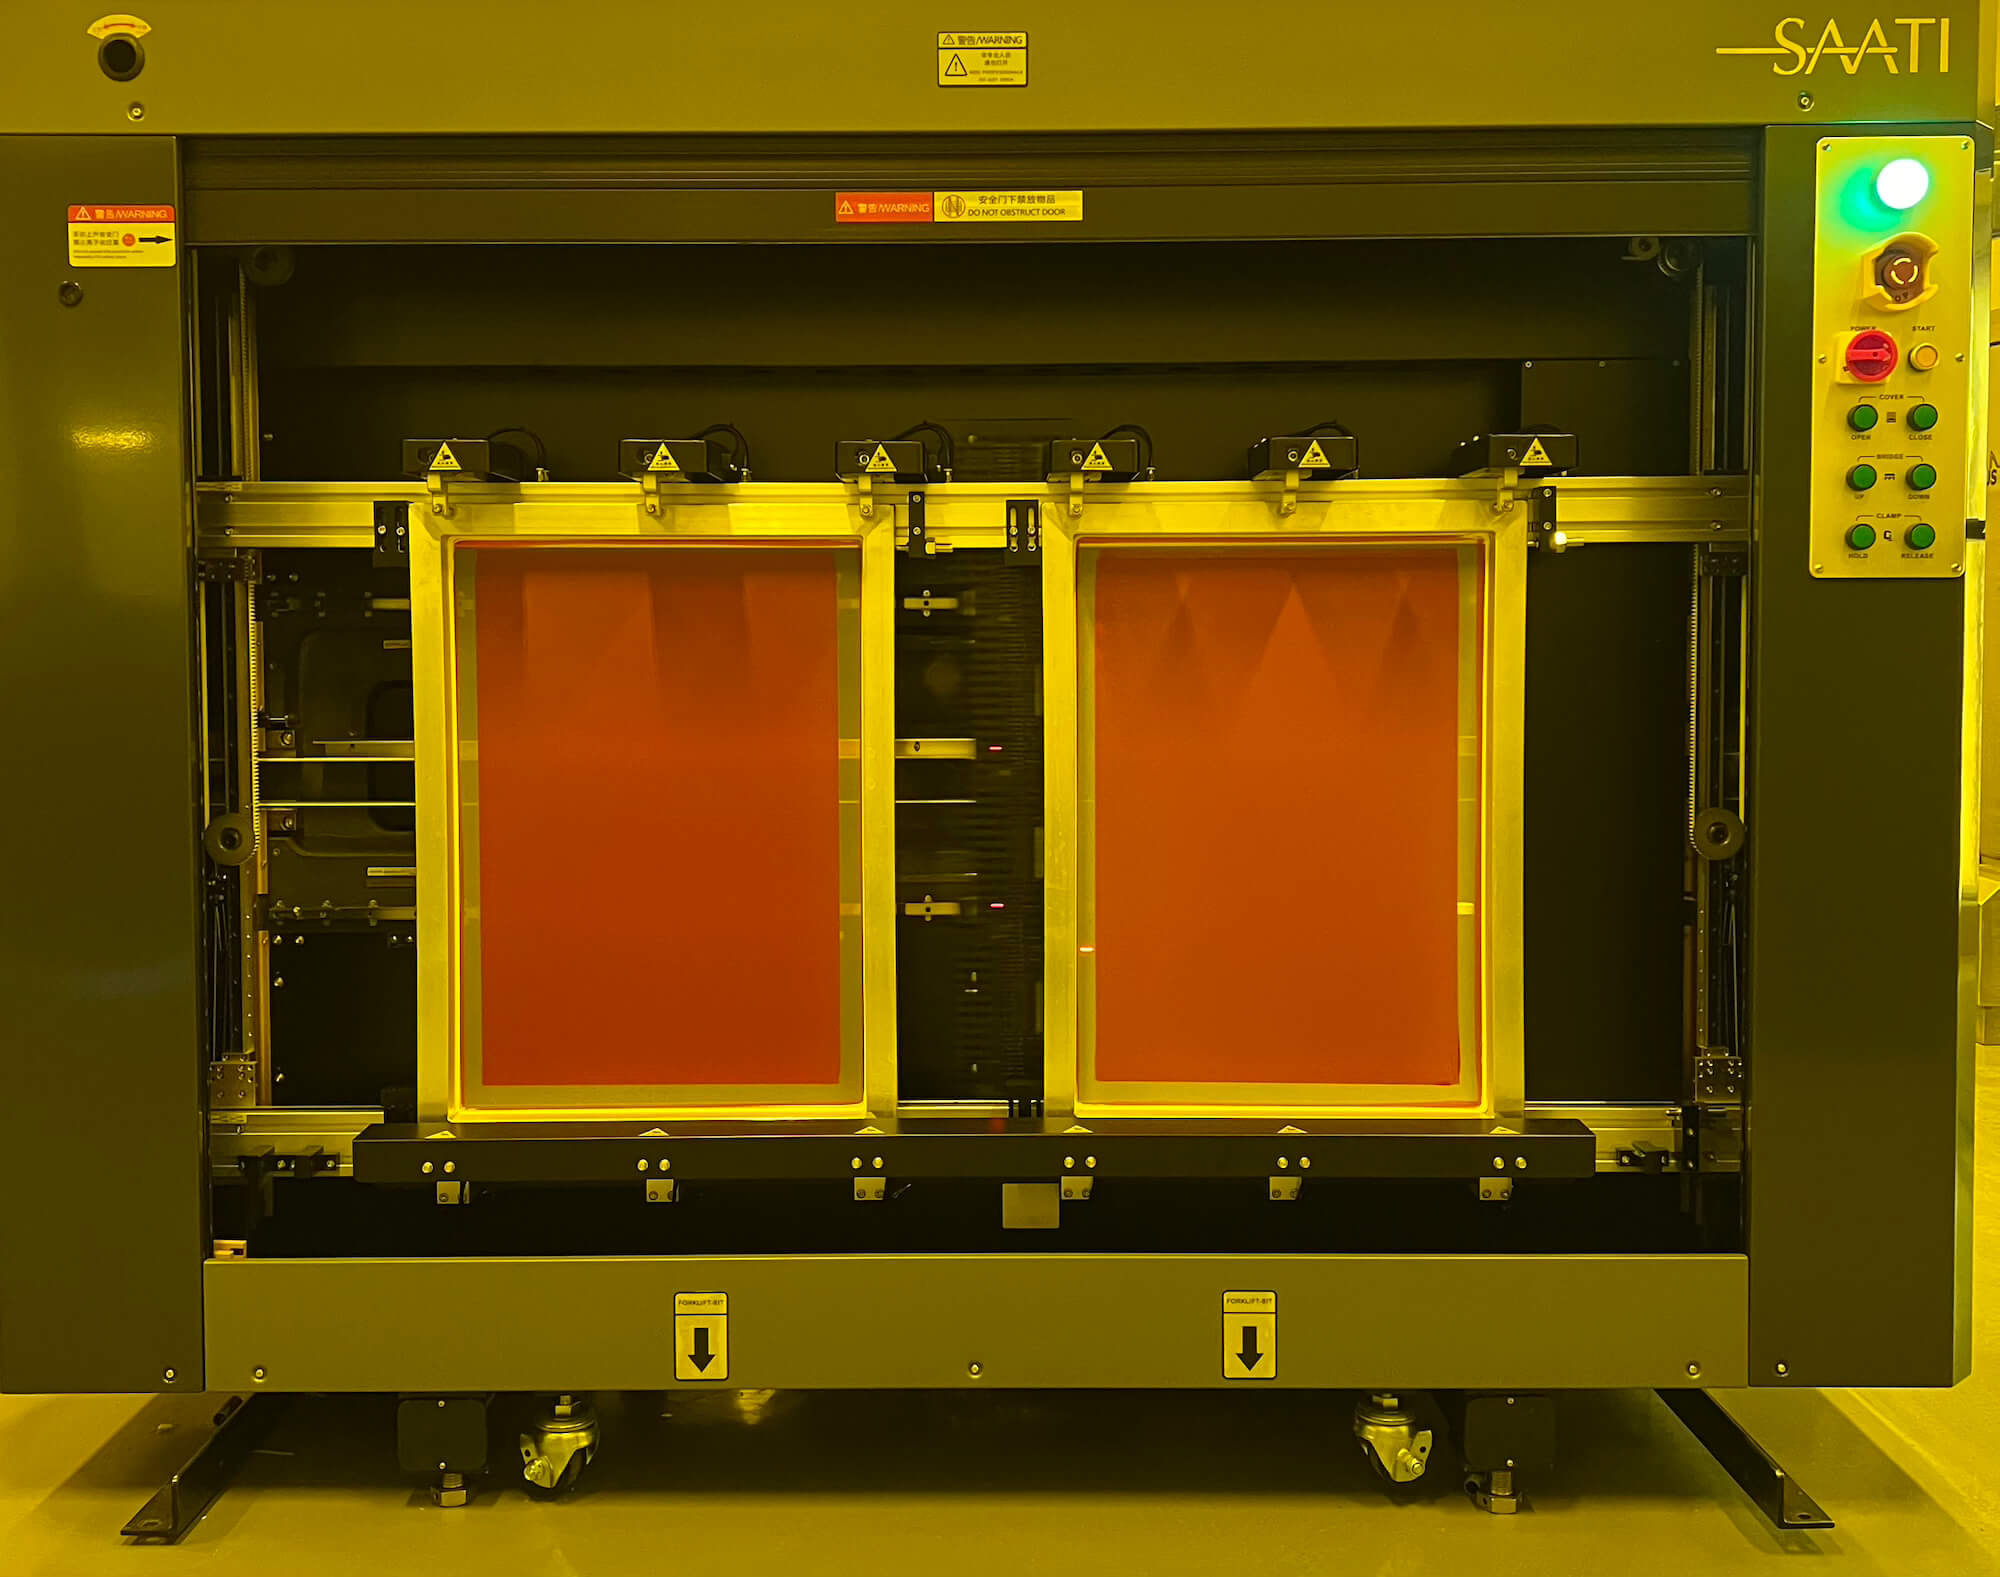
The LTS Experience: Laser-to-Screen
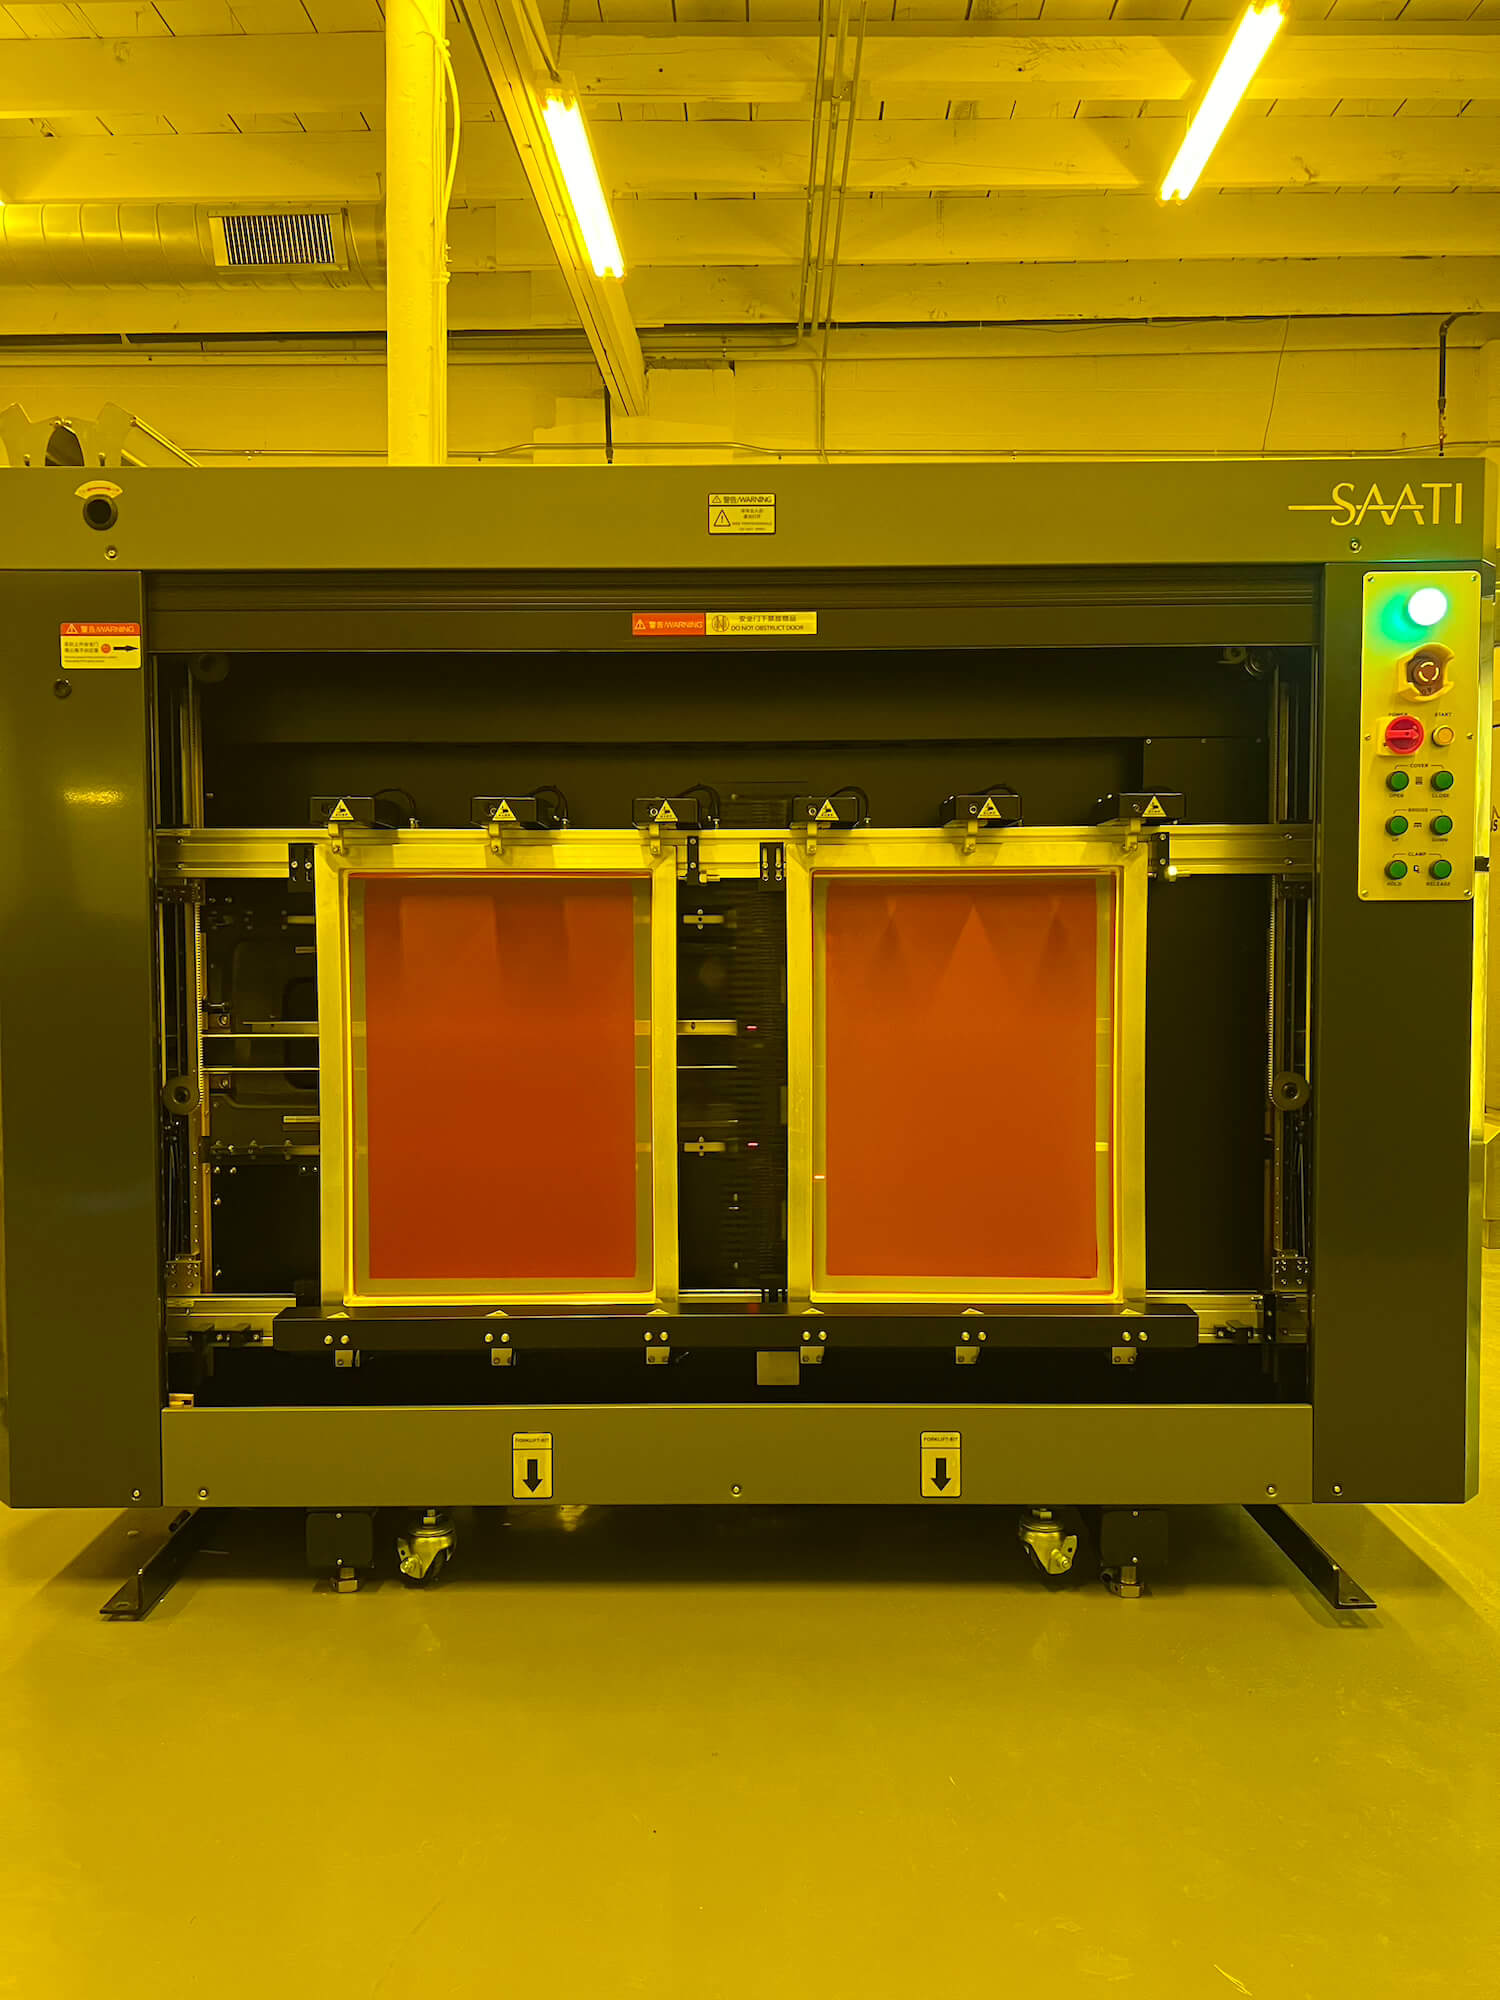
I’ve had limited hands-on time with LTS (Laser-to-Screen) systems, but every time I’ve worked with one or seen it in action, I’ve been incredibly impressed.
No ink. No wax. No consumables at all. The laser directly exposes the emulsion on the screen—no light table needed, no second step. The detail and sharpness of the stencils it produces is second to none.
Like any machine, it has its maintenance needs. You’ve got to clean the lenses and keep things tuned up, but that’s to be expected with any serious piece of equipment. What you get in return is unmatched precision and a simplified workflow.
If I Had to Choose…

All three systems have their place. They’ve all helped push screen printing into a more digital, more efficient future.
But if I had to choose? I’d go with either a wax system paired with a metal halide exposure table or a Laser-to-Screen system. They’ve both proven, in my experience, to offer higher consistency, better detail, and fewer headaches than inkjet.
That said, inkjet is still a great entry point—especially for smaller shops looking to go digital without a huge upfront investment. The important thing is understanding what your shop needs now—and where you want it to go.
Final Thoughts

Going digital changed the way we work. No more film storage, no more registration issues, no more wasted time lining things up by hand. Whether you’re working with inkjet, wax, or lasers, the move to digital screen imaging is a step forward in speed, accuracy, and control.
If you’re on the fence about digital imaging, I hope this helped paint a picture of what it’s really like from someone who’s been there—mop bucket and all.