Let’s be real—fleece can be a pain to print on. It’s thick, it squishes, it holds moisture, and it loves to throw your registration out of whack. But with a few smart adjustments, you can dial it in and make fleece prints look just as clean and consistent as your best t-shirt runs.
Here are some battle-tested best practices for printing on fleece:
1. Trap Your Art a Little More
Fleece isn’t as stable as a t-shirt. The fabric moves, and that movement can make tight registration a nightmare. A simple way to give yourself a buffer is to trap your artwork slightly more than you would for standard tees. It helps hide any micro shifts and keeps your edges looking crisp on press.
2. Flash First—Before You Print
Always start with a flash—before any ink hits the garment. This initial flash de-gasses the fleece, meaning it drives out moisture and any built-up chemicals that might be hanging around from manufacturing or storage. Moisture is a silent print killer on fleece, especially when it’s cold or humid.

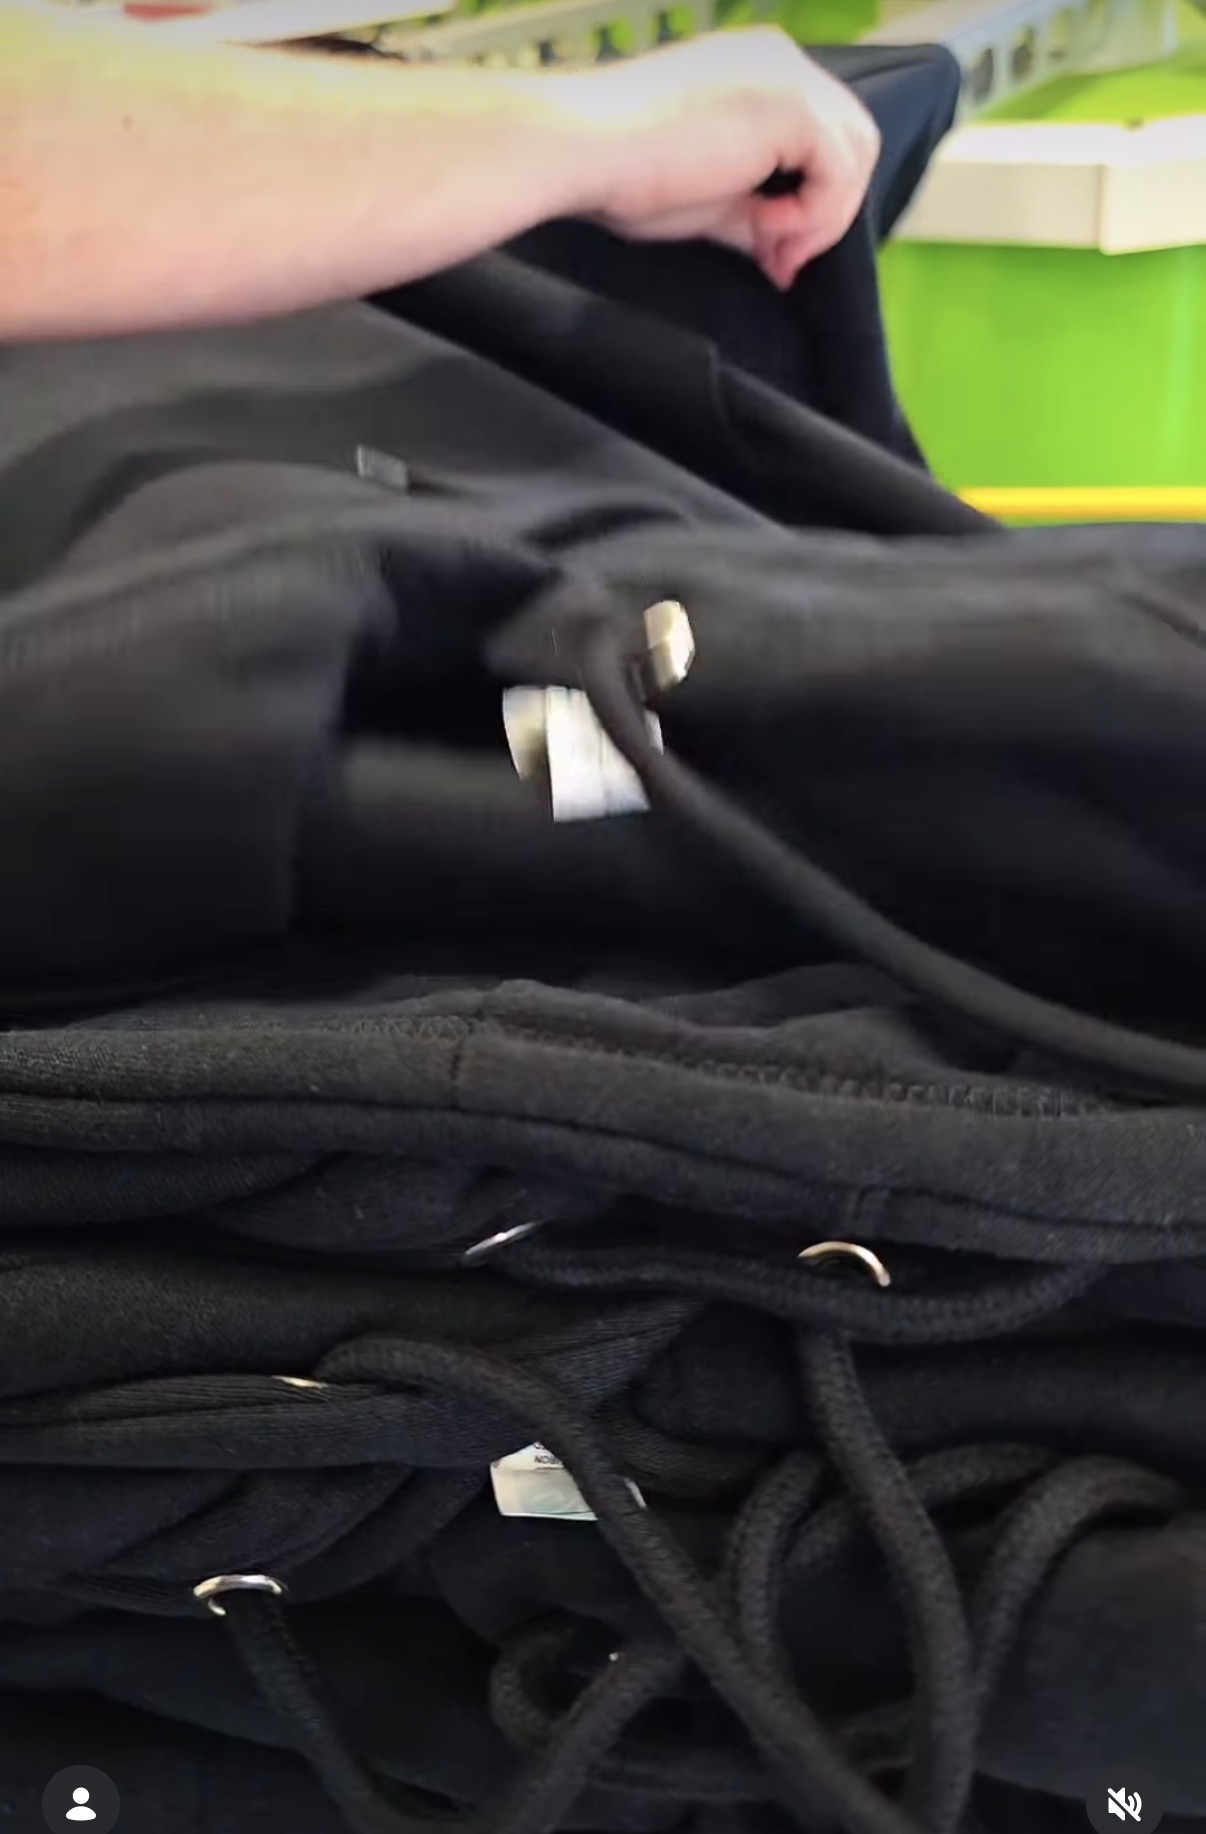
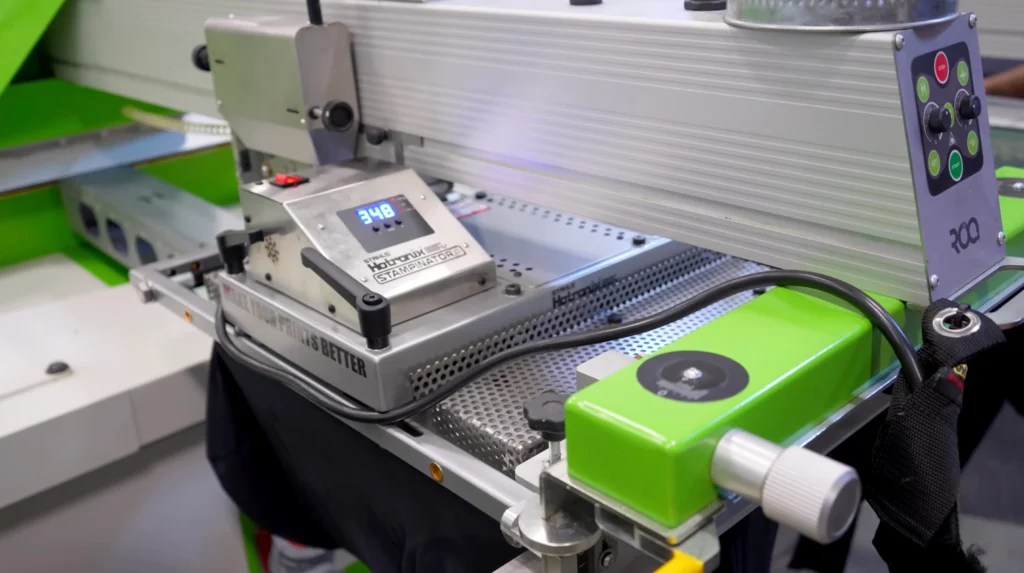
3. Stampinator Or Roller Squeegee After the Flash
Right after that first flash, run the garment through a roller squeegee or use a Stampinator. This step does two important things:
- Lays down the fibers to reduce fibrillation (that fuzzy look on prints)
- “Seats” the garment, meaning it compresses the fabric and helps reduce shifting or squishing during the actual print strokes.
Think of it as giving the fleece a chance to do all its wiggling before you put ink on it.
4. Adjust Your Off-Contact
This is a big one. You can’t just move from t-shirts to hoodies without changing your off-contact. Fleece is thicker, and that thickness can throw off your print if your off-contact is too high or too low. Recheck and reset your zero position and adjust accordingly. The goal is to allow clean ink transfer without excessive pressure.
5. Less Pressure Is More
Heavy-handed printing is a no-go. Start with the least amount of pressure possible and only increase if necessary. Too much pressure just mashes the ink down into the texture of the fleece and kills your detail. A lighter touch = cleaner prints.
Bonus Tips:
- Pre-heat platens if you’re working in a cold shop. It helps keep your flashes consistent.
- Use low-bleed inks if your fleece has polyester content.
- Watch your squeegee angles and speeds—especially on auto presses. Make sure they’re dialed in for the extra bulk.
Final Thoughts
Printing on fleece doesn’t have to suck. A few smart adjustments in your setup can make all the difference. Degas it, roll it, trap it, and treat it with a light hand. Your prints—and your press crew—will thank you.
Want more technical tips or help dialing in your fleece workflow? Drop us a message or check out our on-site training options. We cover this and way more with real, hands-on support in your shop.