If you’re chasing cleaner halftones, sharper detail, and predictable exposures, your problem might not be your file, your RIP, or your mesh.
It might be dust.
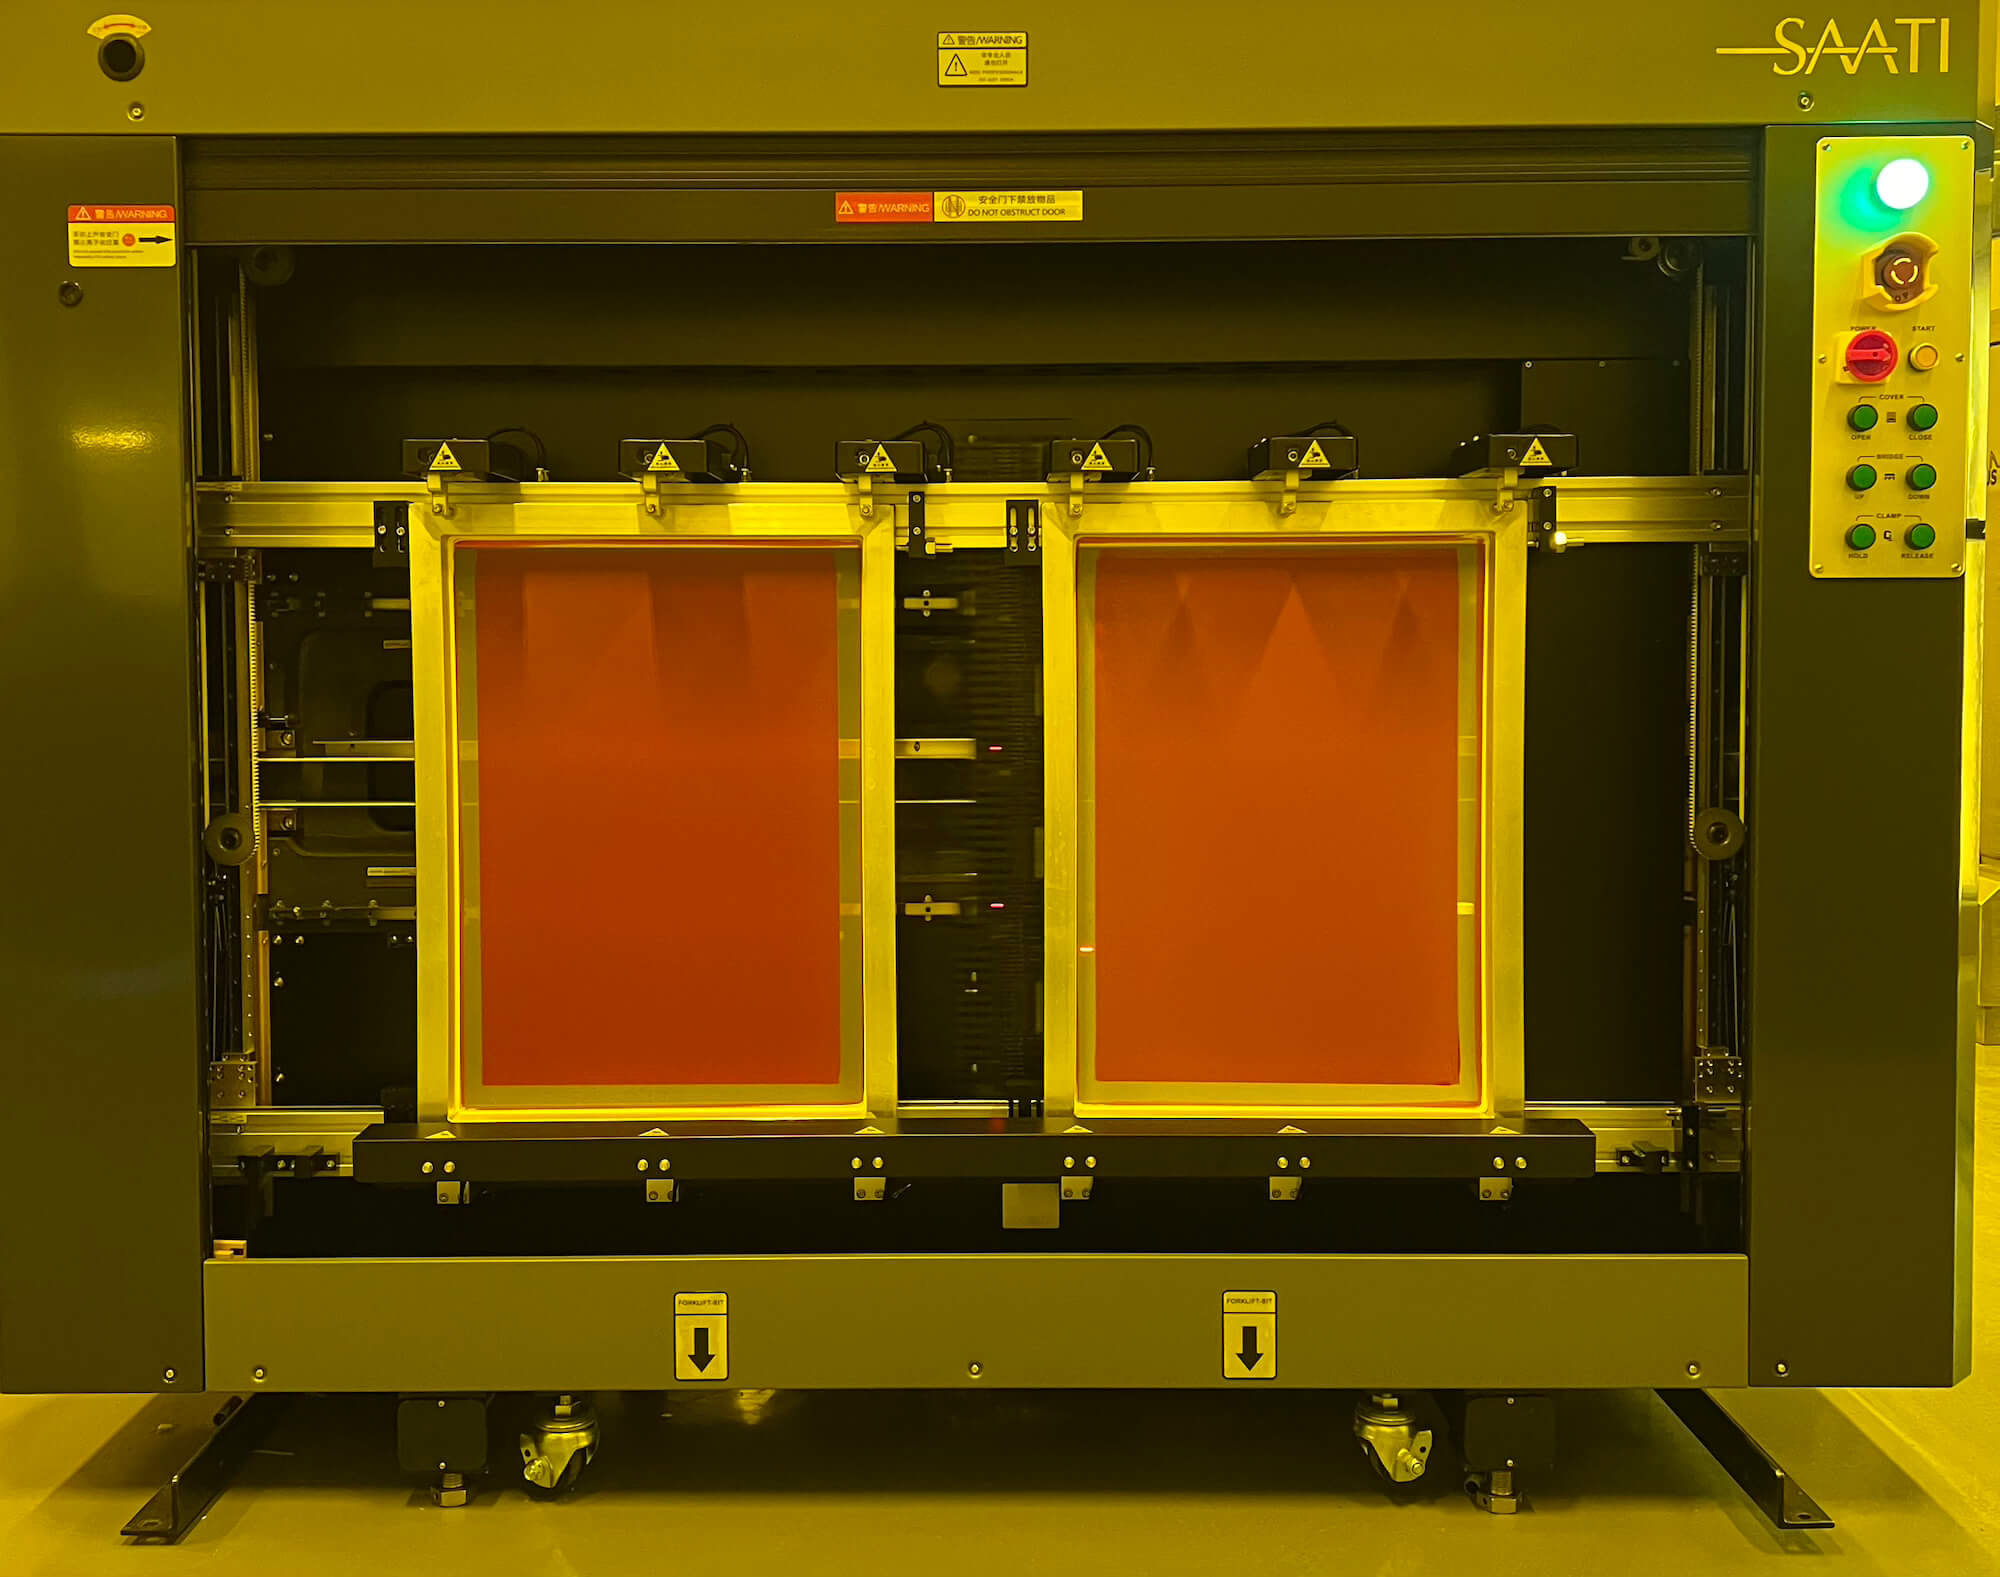
That’s right — something as simple as a dirty lens on your SAATI LTS laser system can cause fuzzier imaging, soft edges, haze during washout, and inconsistent dot gain on press. And for a system that’s capable of holding 2% highlights and 95% shadows, that’s a major loss in potential.
This week’s featured video tutorial shows you exactly how to clean your LTS lasers step-by-step:
- What Dave Makin from Saati reviews in the Video
- How to switch from Easy Mode to Normal Mode in your LTS software
- Accessing the scan motor to position lasers for inspection
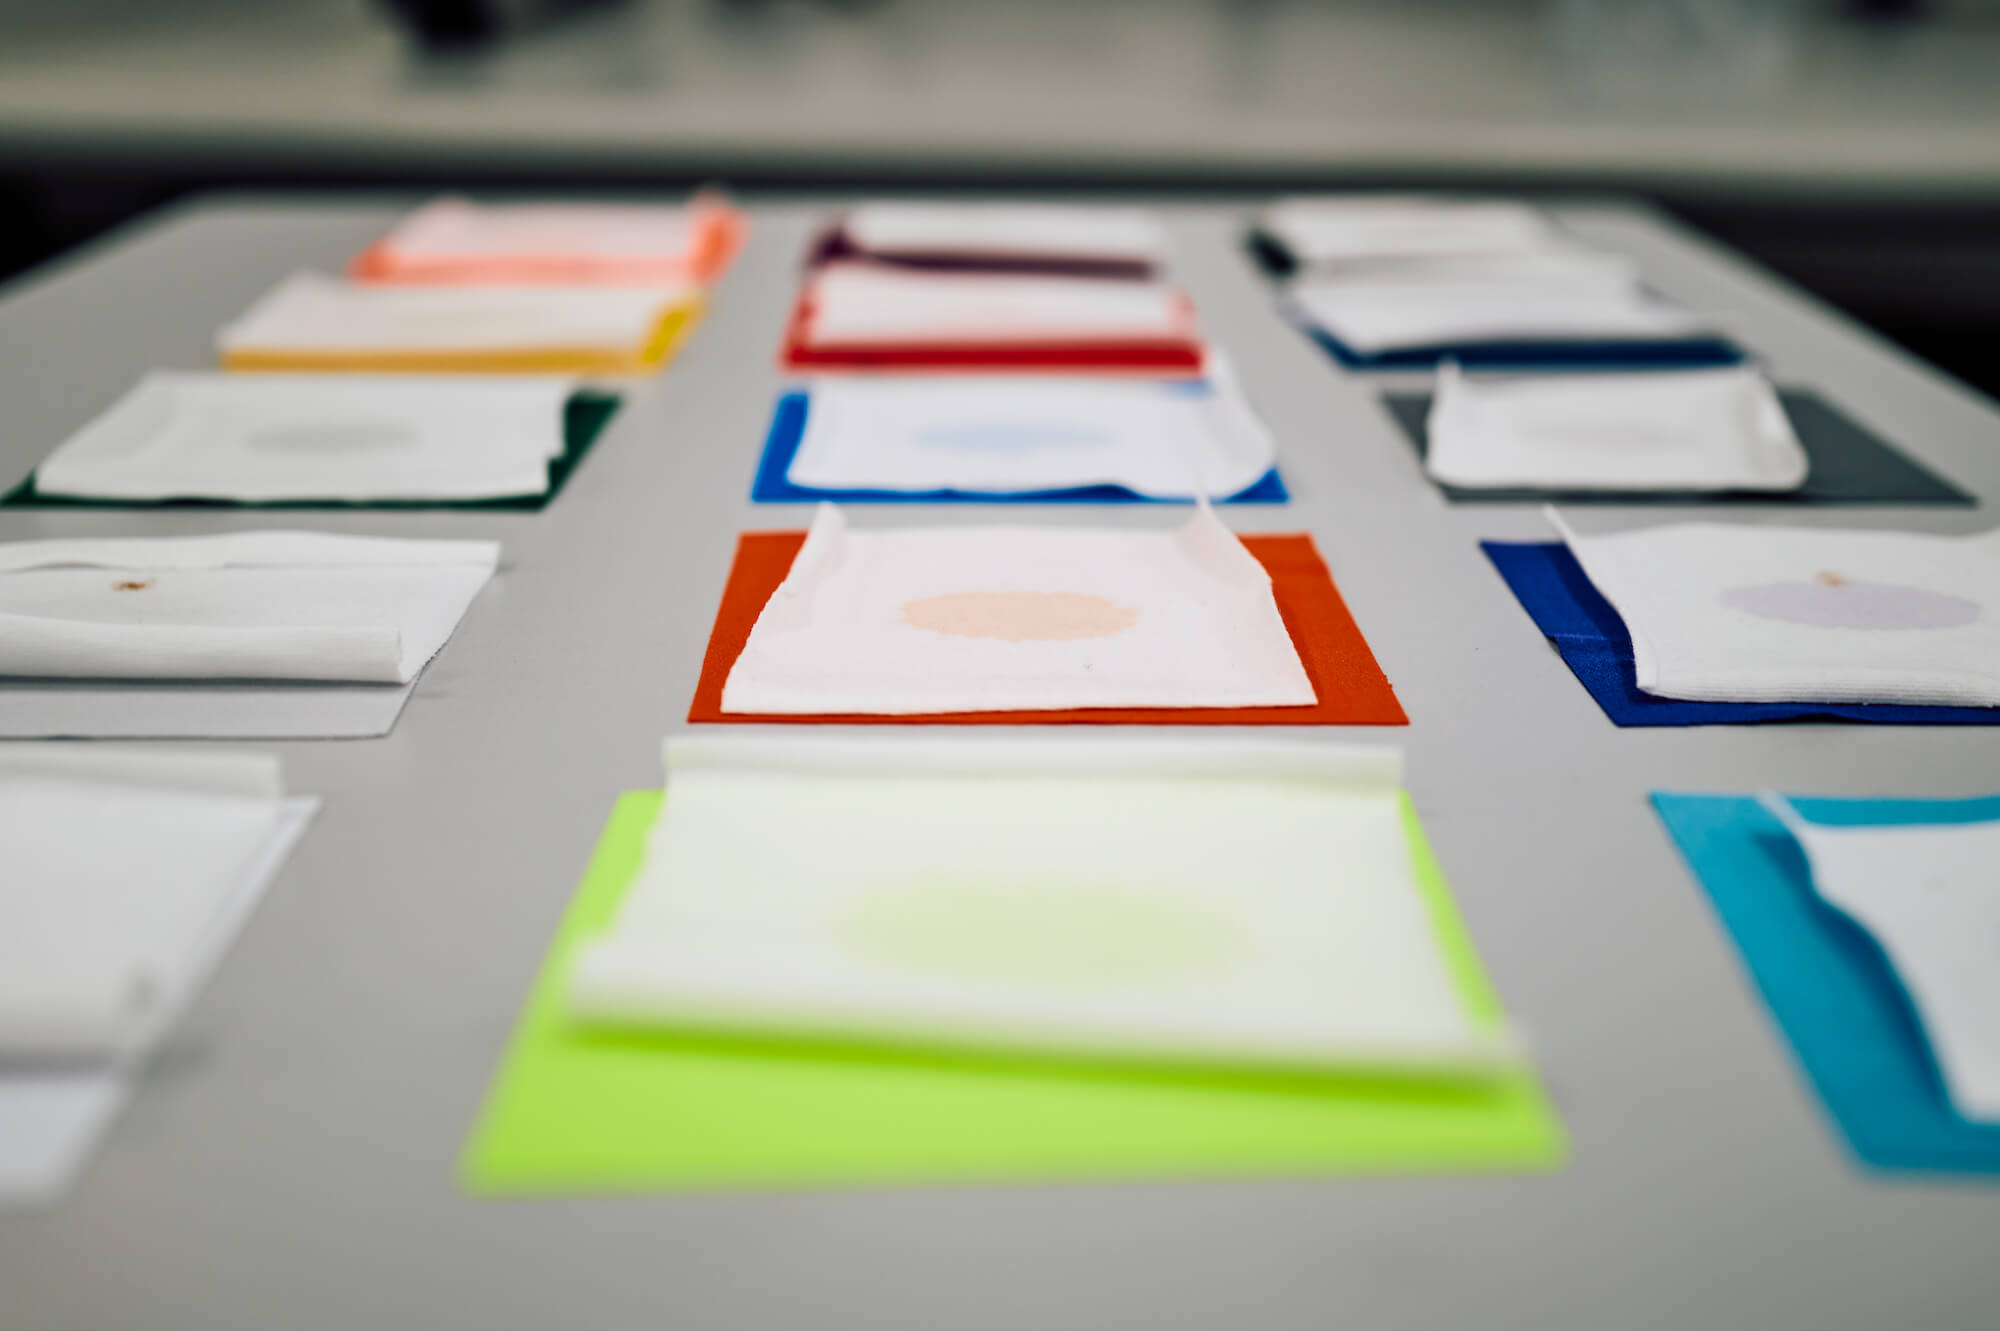
- Using fluorescent cardstock (green, orange, yellow) to detect dust
- The “Sun and Stars” method to spot dirty lasers
- Safe cleaning using Q-tips, isopropyl alcohol, and lens cleaner
- Why a dirty lens causes dot fuzziness and haze
- How to safely clean all 128 lasers and reset your system
Why This Matters:
A dirty laser diffuses light. Instead of a crisp, controlled beam, you get scatter — which leaves a haze on your emulsion. That haze becomes a problem during washout, in fine halftones, and in tonal range reproduction. It’s one of the most overlooked causes of poor print quality.
Clean lasers = clean screens. Period.
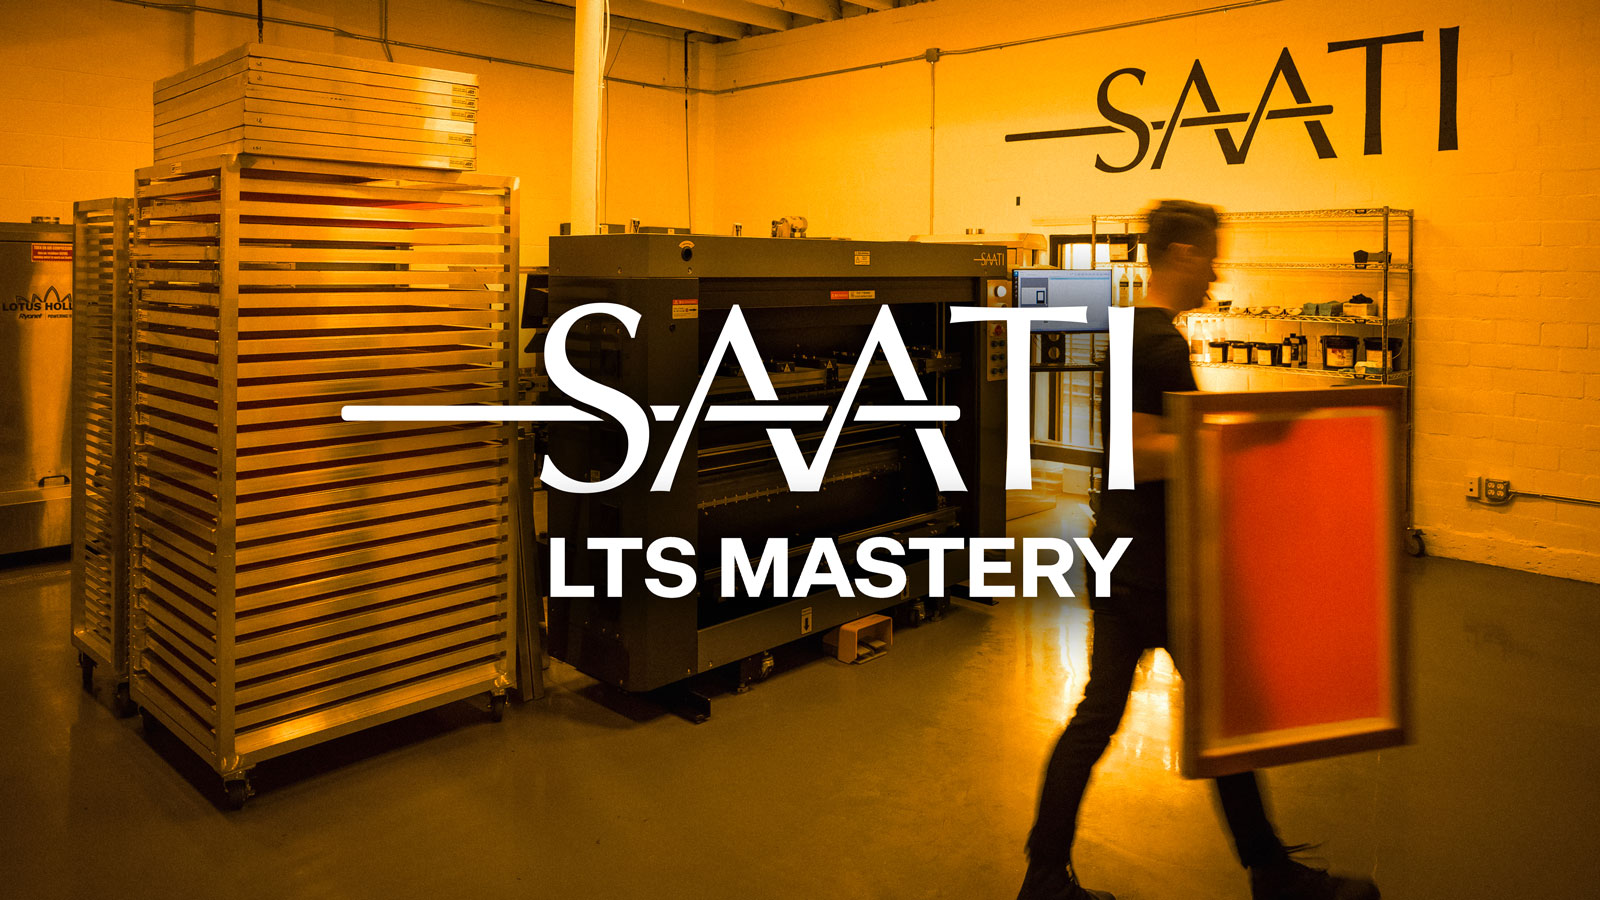
Want the Full System Dialed? Join Us at MADE Lab for the SAATI LTS Mastery Workshop
If laser cleaning is just one piece of the puzzle, the full picture is covered in our upcoming workshop:
SAATI LTS Mastery: Clean Highlights, Open Shadows, Predictable Prints
Wednesday, October 1st, 2026
10AM–3PM
Hosted at MADE Laboratory
Register Free Here
What the Workshop Covers:
LTS Maintenance Essentials – Cleaning, calibration, and keeping your laser consistent
- Step Tests 101 – How to read wedges from ~2% to 100%
- RIP Linearization – Building curves based on real exposure data
- File & Output Best Practices – From seps to RIP to final film
- Registration Setup – Getting alignment right from imaging to press
- Advanced Curve Planning – When to build mesh/substrate-specific curves
- Live Demo Print – Halftone print that shows off the dialed-in system
- How to Get Yours Dialed – Learn how to work directly with Saati to bring this same precision to your shop
If you can’t make the workshop, be sure to sign up for MADE Laboratories Newsletter as we will be releasing a full video version of this event.