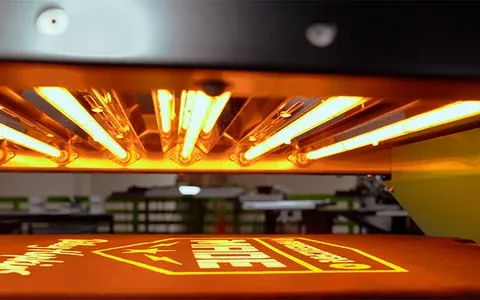
When you’re running multi-color prints, heat management on the press becomes a big deal. It’s one of those things that seems simple at first, but once you start running production you realize how quickly things can get out of control.
Flash units can heat things up fast. And if things get too hot, you’ll start seeing problems:
- Ink getting tacky or sticking to screens
- Fibers lifting
- Registration issues
- In worst cases, even scorching garments
On the flip side, things can cool off quickly too—especially if you’re stopping the press a lot to tweak registration or make adjustments. When that happens, the ink may not reach the proper gel temperature and you’ll run into issues like ink pickup or poor layering.
So the real goal is to find what I like to call the “Goldilocks zone.”
Not too hot.
Not too cold.
Just right.
It’s a Balancing Act
Your flash needs to bring the ink up to gel temperature, but you don’t want to exceed that temperature by much. Once the ink gels, you’ve done your job. Anything beyond that is just adding unnecessary heat to the garment, platen, and screens.
That extra heat starts to build up over time, especially during longer runs.
Managing Multiple Flash Units
If you’re running multiple flashes on a job—like an underbase flash and another flash later in the sequence—it’s a good idea to step your flash temperatures down as you go.
Why?
Because the ink has already been flashed once. That first flash leaves residual heat in the ink and garment, so the next flash doesn’t need as much energy to bring the ink to gel temperature.
Running every flash at the same high setting can quickly overheat the print.
Start With the Ink Data Sheet
One of the best habits you can develop is simply checking the ink manufacturer’s data sheet.
Look for the gel temperature of the ink you’re using. Once you know that number:
- Flash the print.
- Measure the ink film with a temp probe.
- Adjust flash temperature or dwell time until you consistently hit that gel point.
From there, work your way around the press and dial in each flash unit accordingly.
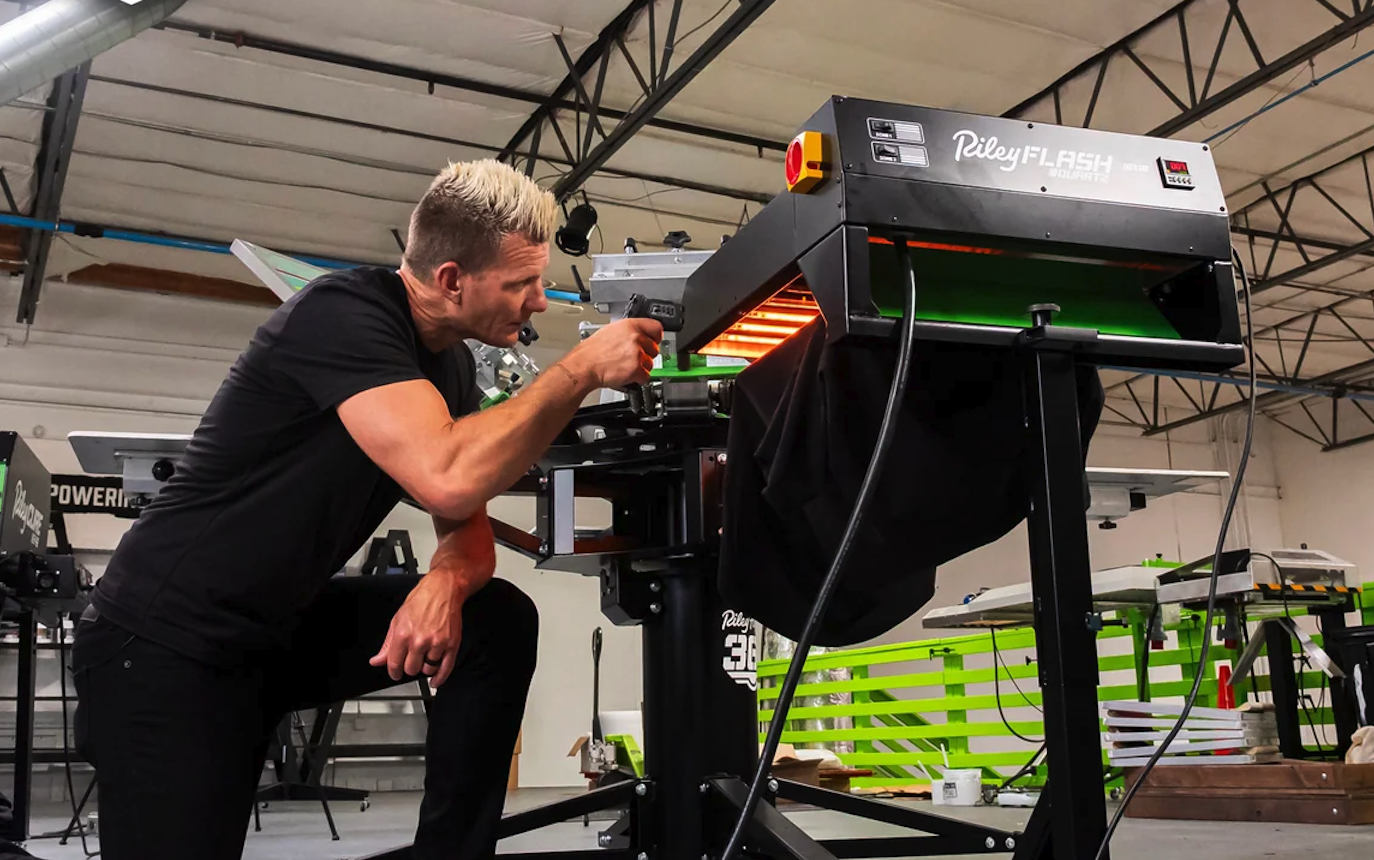
Things Change During Production
Another thing to remember: press conditions change during a run.
As production continues:
- Platens heat up
- Screens heat up
- Ink retains more residual heat
Because of this, flashes often need less energy as the run progresses.
On longer runs, it can be helpful to step flash settings down slightly once everything reaches operating temperature.
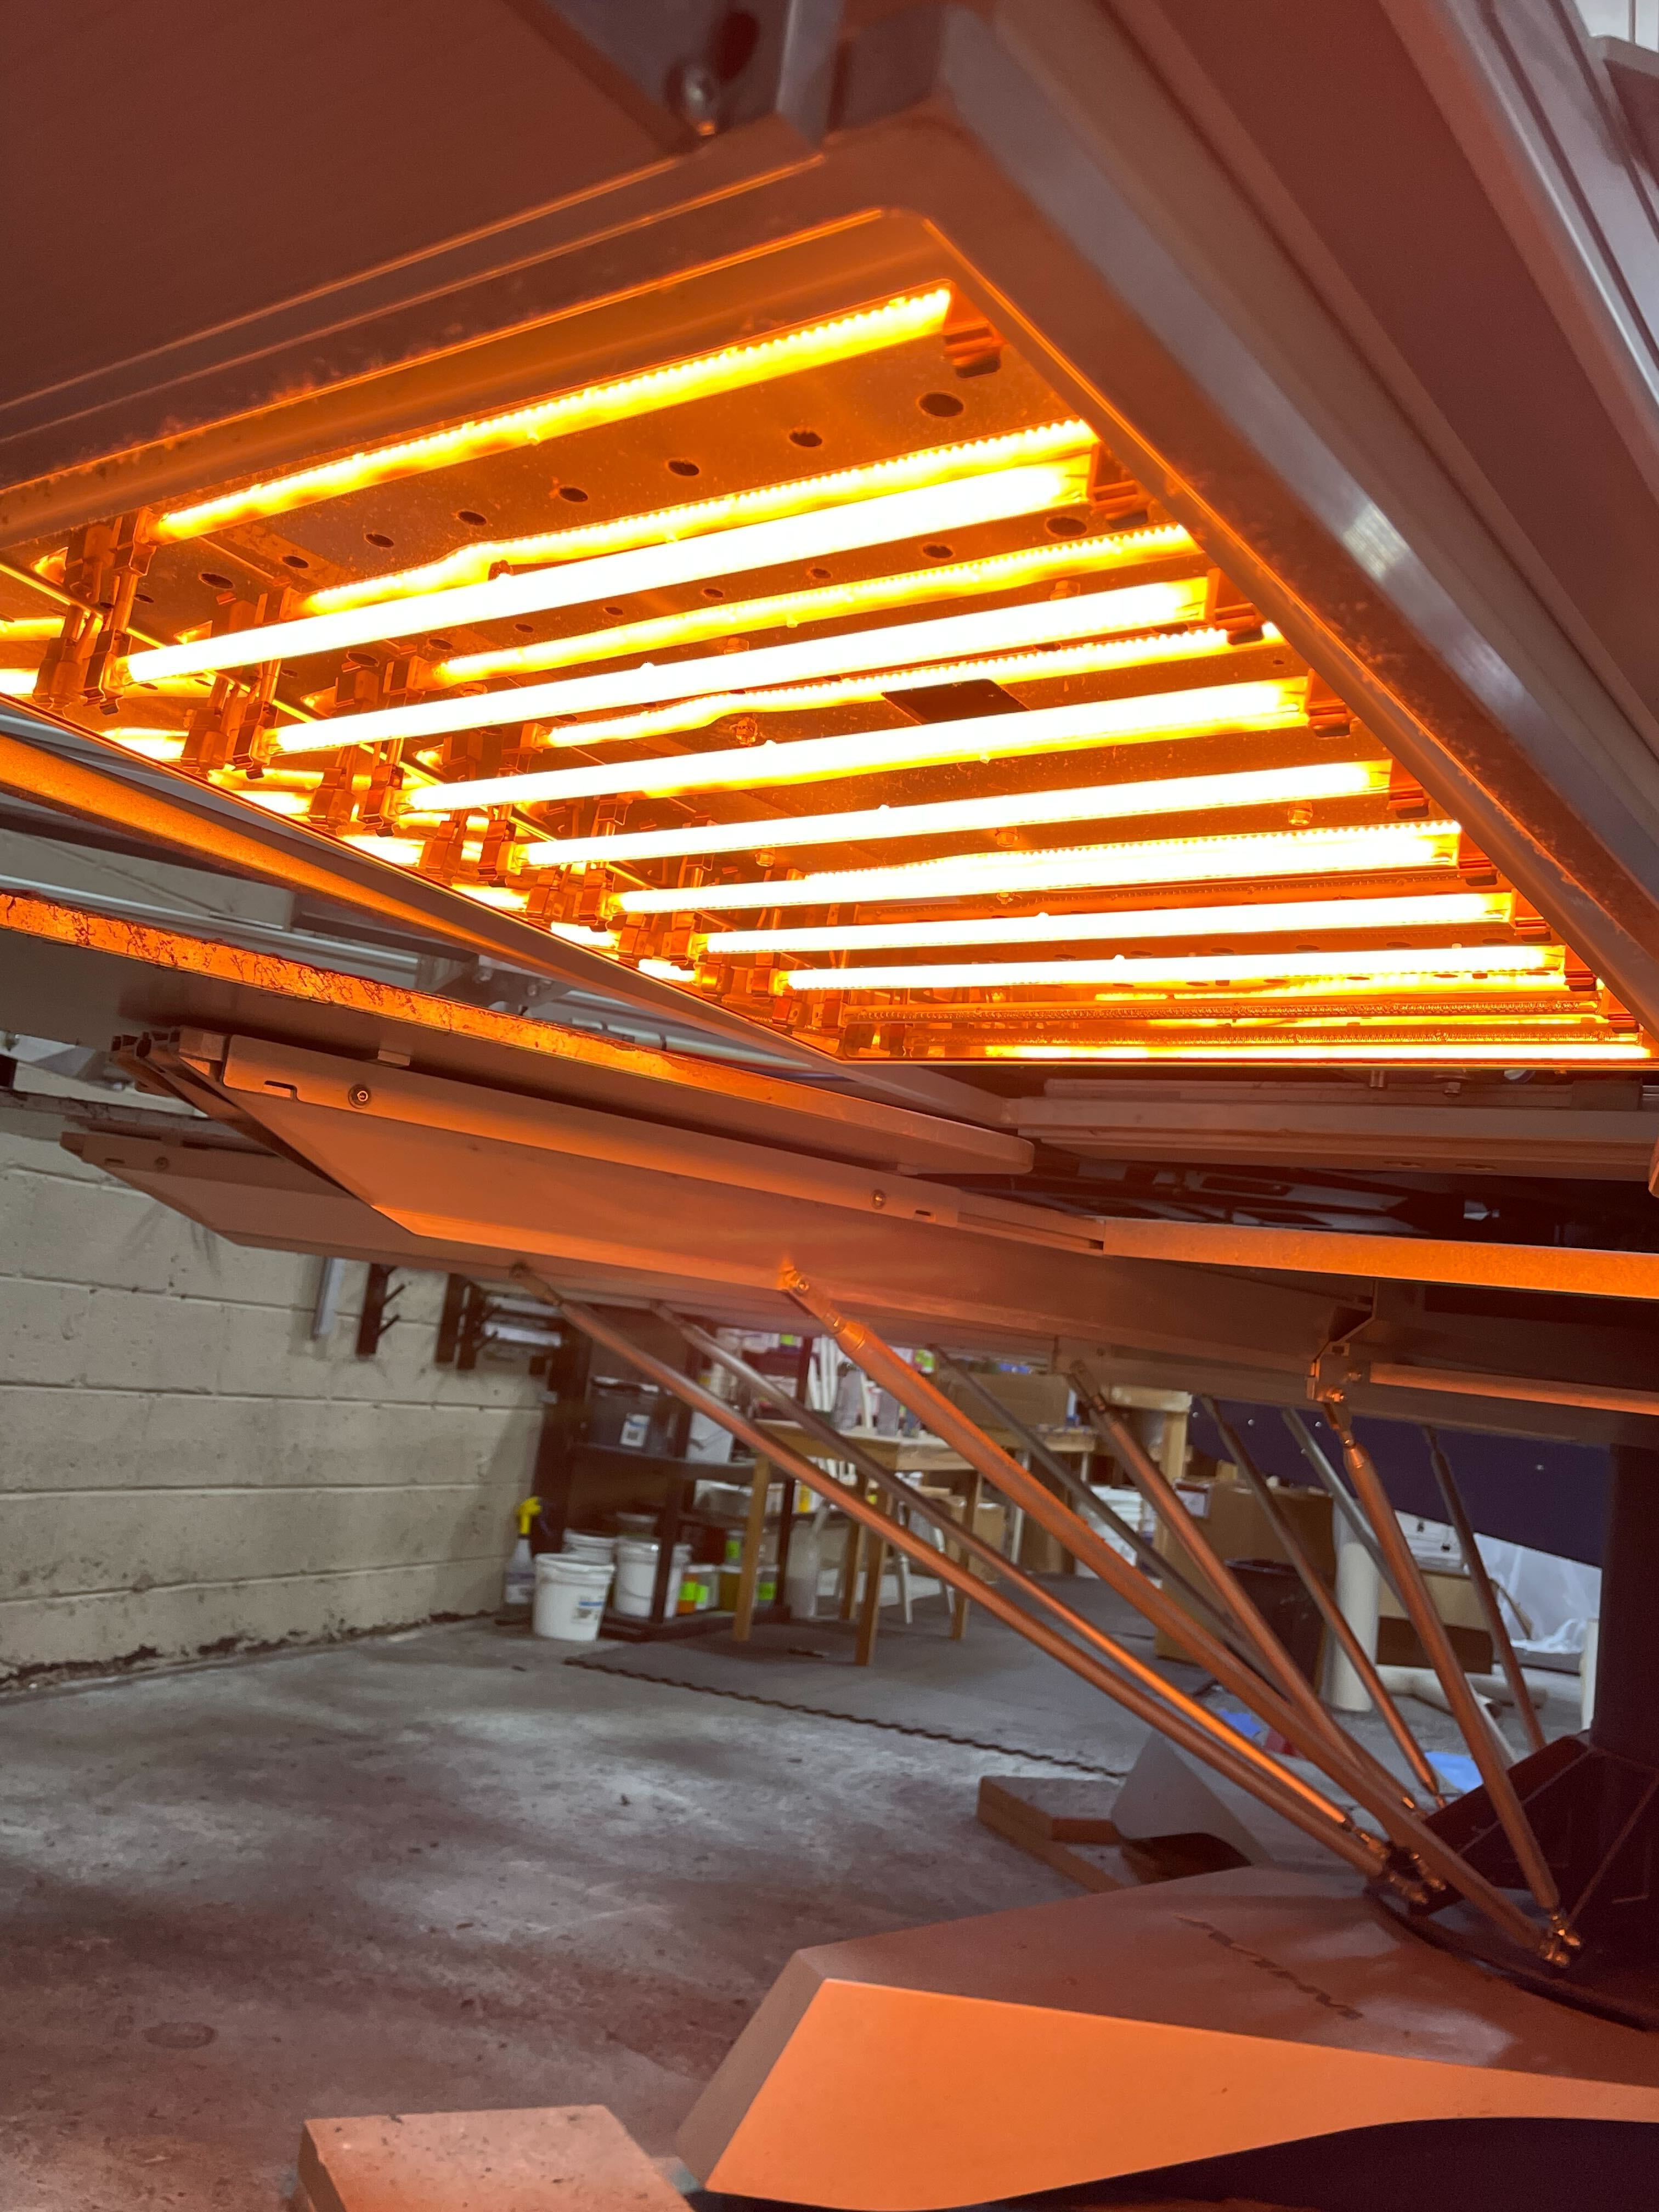
Finding Your Goldilocks Zone
Managing heat on press is definitely a balancing act. But once you take the time to dial it in—checking gel temps, measuring with a probe, and adjusting flashes—you’ll find that sweet spot.
And when you’re sitting in that Goldilocks zone, production becomes much smoother:
- Better print quality
- Less ink pickup
- Fewer adjustments
- Faster, more efficient runs
Dial it in once, and your press will thank you.