How MADE combined heavyweight apparel, precision halftone printing, high-density screen technology, and dimensional special effects to create a shirt that looks—and feels—like illuminated neon.
There are show shirts. And then there are shirts that make you stop, look a little closer, run your fingers across the print, and ask:
“How did they print that?”
For the 2026 Impressions Expo in Dallas, that was exactly the reaction we wanted.
MADE partnered with Impressions Expo and BELLA+CANVAS to create an official show shirt that would do more than commemorate the event. We wanted to demonstrate what happens when thoughtful garment selection, advanced screen-making technology, sophisticated separations, and specialty inks come together in a single production.
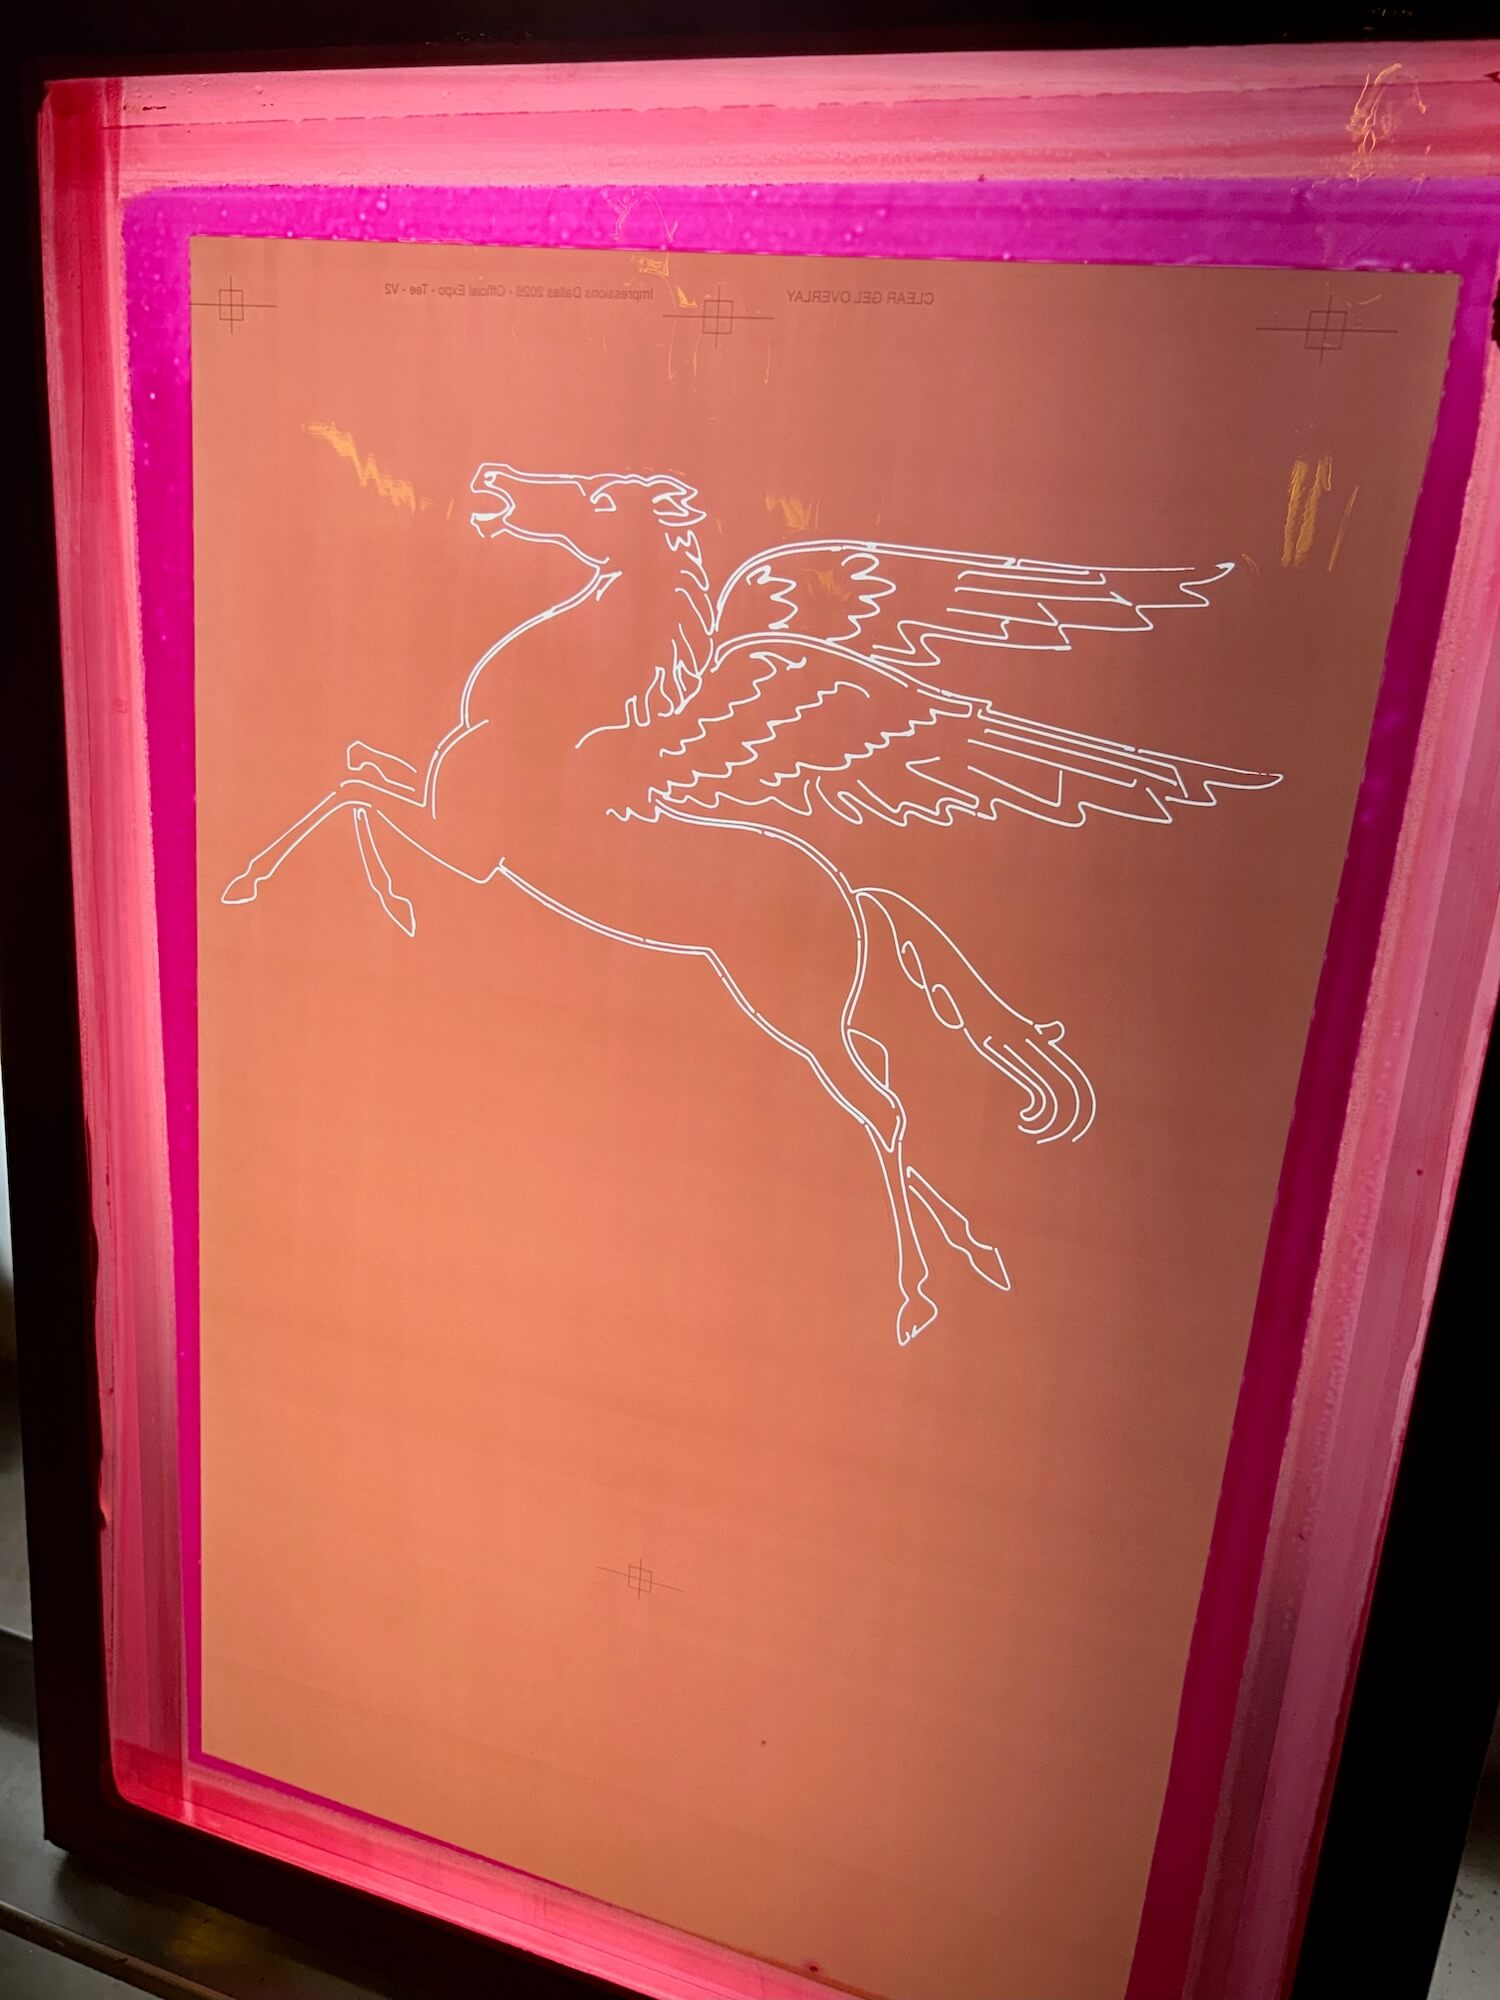
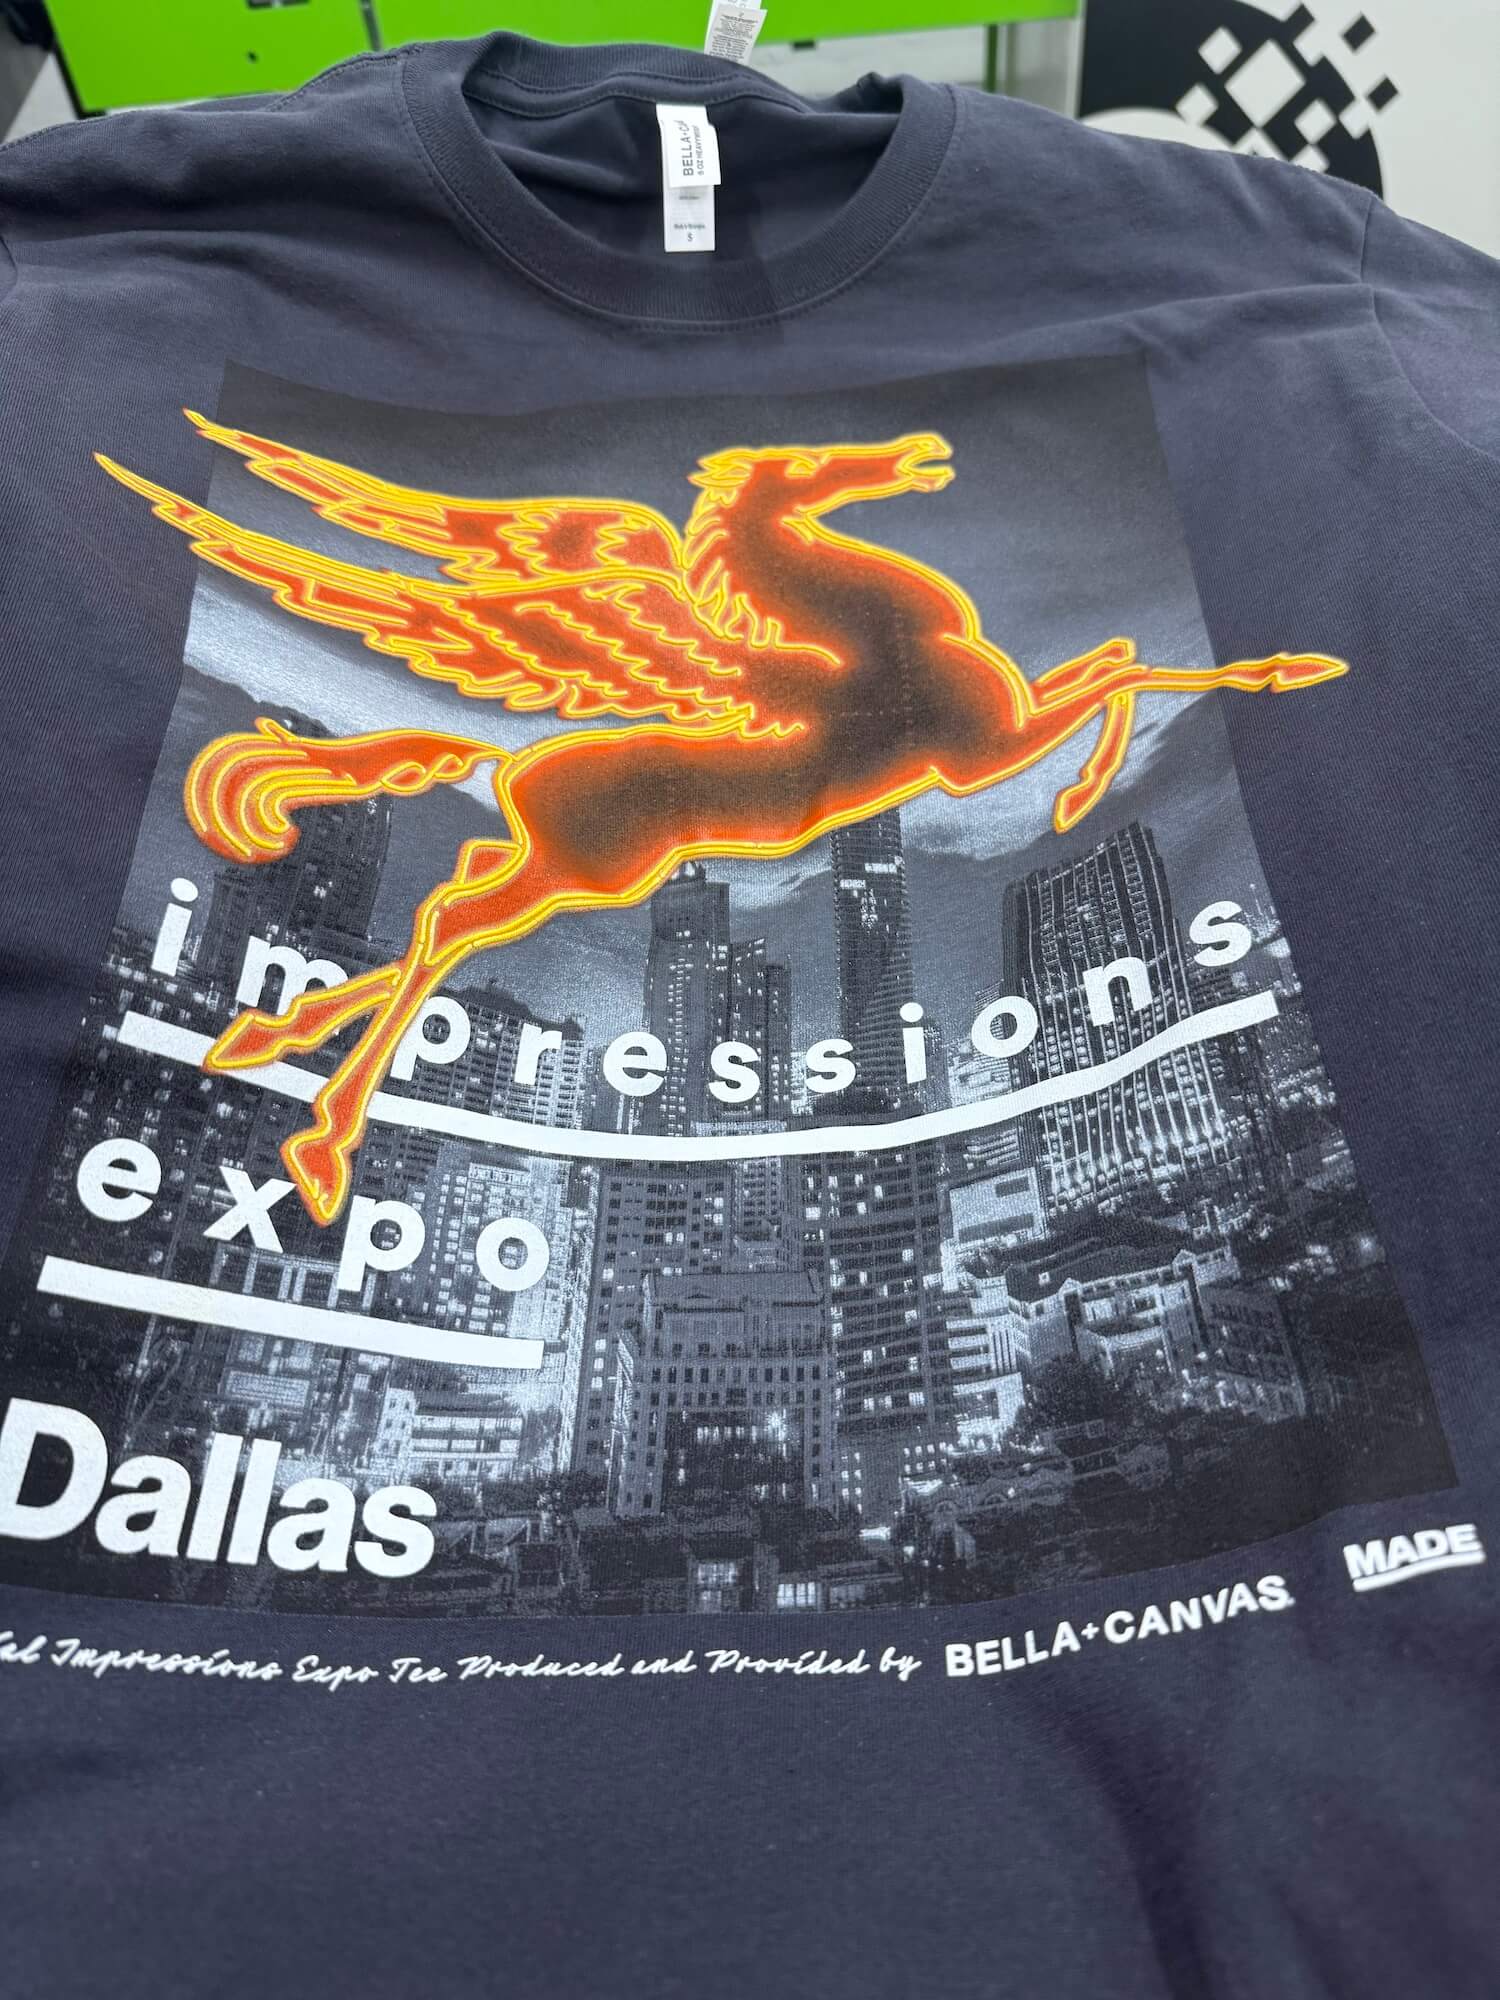
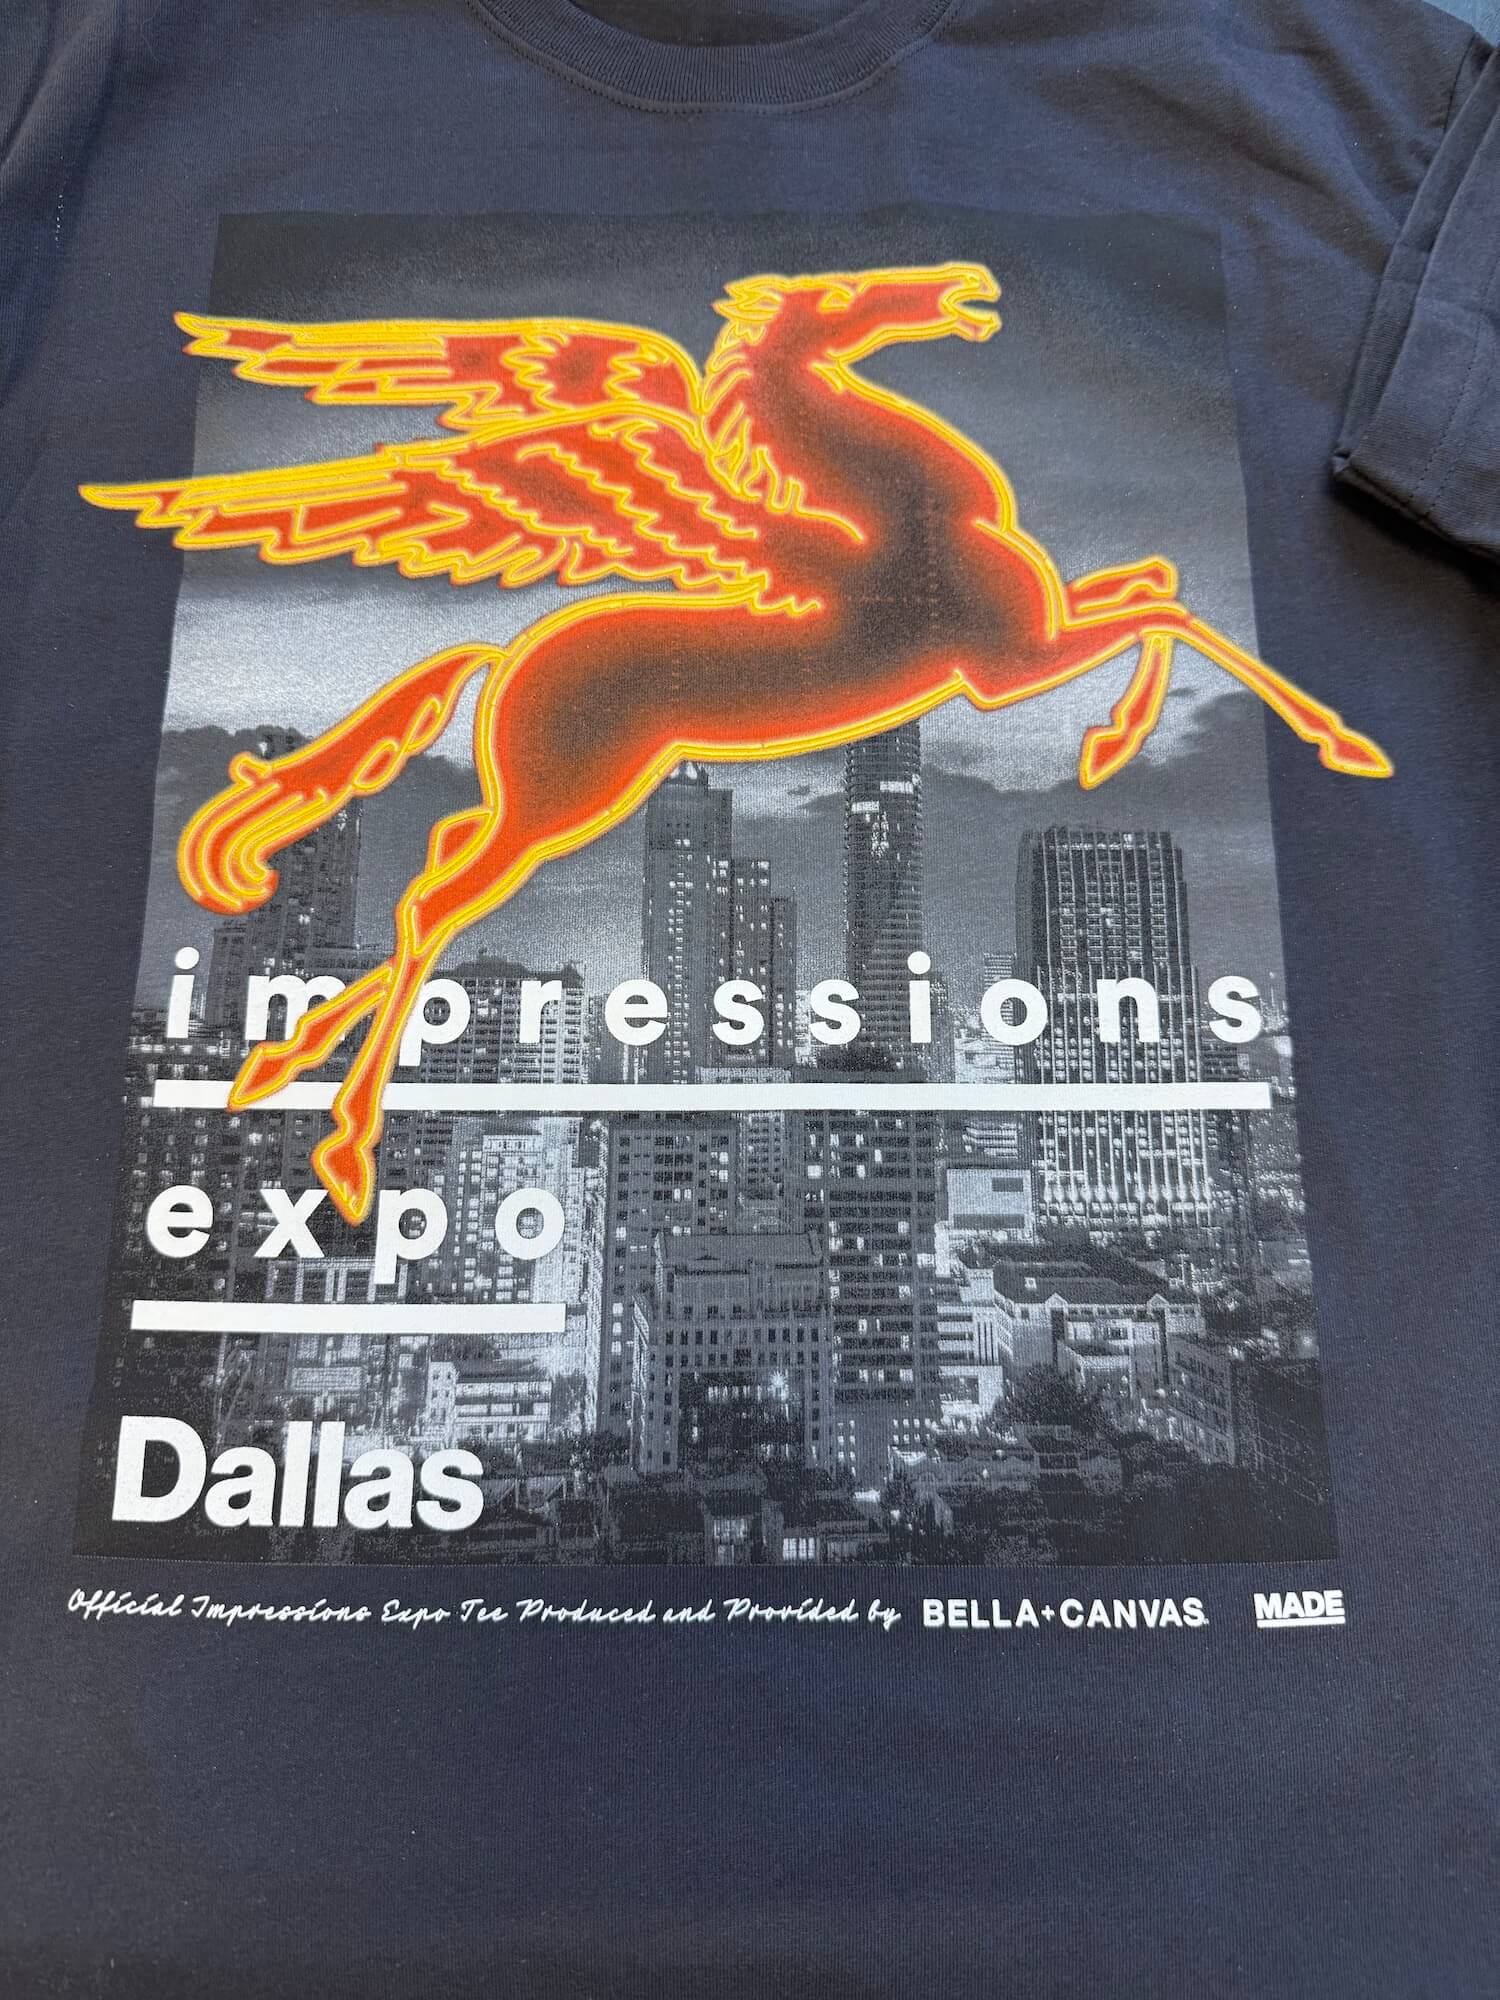
The inspiration came from one of Dallas's most recognizable landmarks: the iconic red neon Pegasus perched atop the Magnolia Hotel. Our goal was to translate that illuminated landmark into a screen print that captured the visual energy of neon, complete with vibrant colors, intricate details, raised textures, and glossy dimensional effects.
But creating that illusion on fabric required considerably more than a traditional multicolor print.
Here's how we built it.
How it came together.
The Canvas: BELLA+CANVAS BC3010 Heavyweight Tee
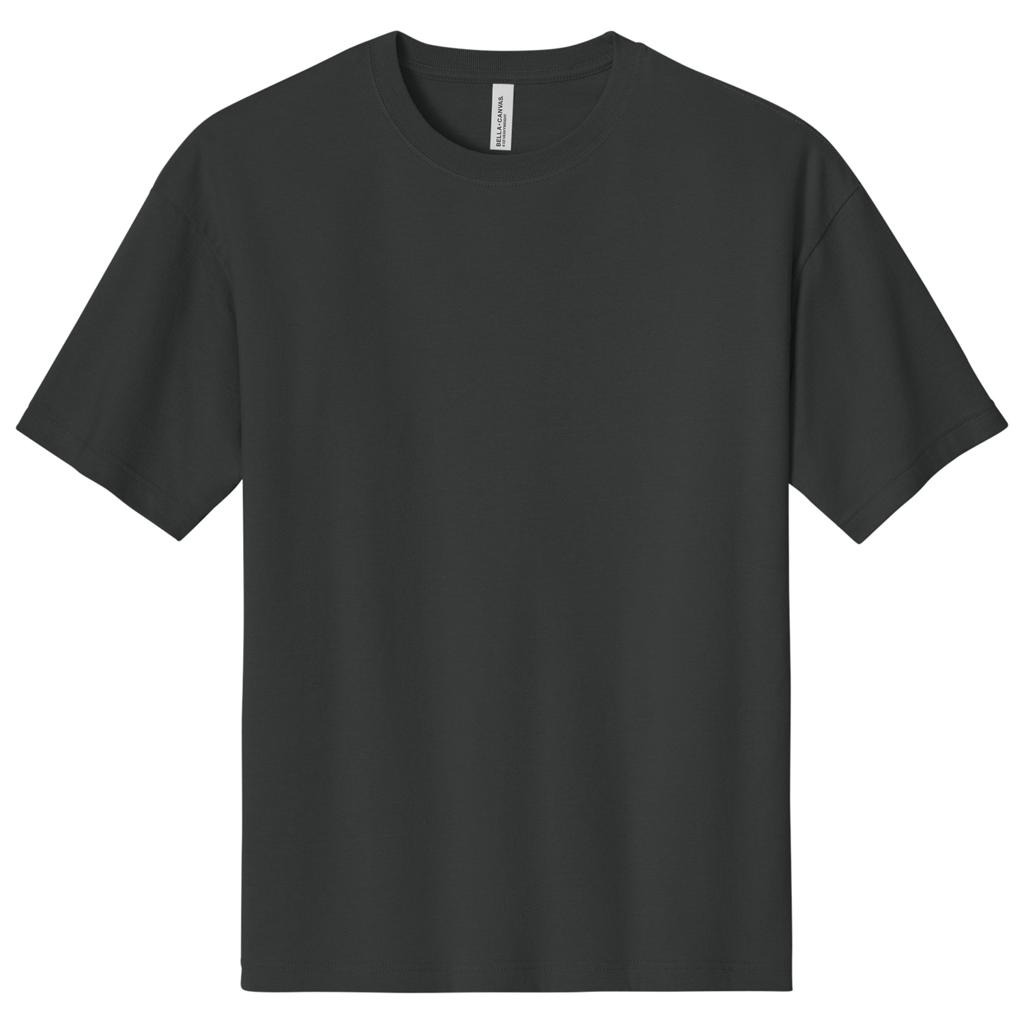
BELLA+CANVAS BC3010
6.0 oz Heavyweight Tee | Dark Grey
The foundation of this project was the BELLA+CANVAS BC3010, a 6.0-ounce heavyweight T-shirt selected to provide a more substantial hand and a stable surface for the demanding print application.
When you're building a print that incorporates high-density puff ink, multiple underbases, finely detailed halftones, and thick clear gel overlays, the garment becomes an important part of the engineering.
The BC3010 provided the heavyweight construction we were looking for without sacrificing the comfort expected from a premium retail-style tee.
Garment specifications
Specification | Detail |
Manufacturer | BELLA+CANVAS |
Style | BC3010 |
Garment | Heavyweight T-shirt |
Fabric weight | 6.0 oz/yd² (approximately 203 GSM) |
Color | Dark Grey |
Construction | Heavyweight jersey knit 20/1 |
Decoration | Multicolor front screen print with dimensional specialty inks |
The Dark Grey colorway was an intentional creative decision. Rather than placing the design on a conventional black shirt, the dark grey fabric creates a softer backdrop while maintaining the contrast needed to make the bright red, yellow, and white neon elements visually stand out.
Equally important, the heavier fabric helps support the additional ink deposit associated with our dimensional print effects.
The Inspiration: Dallas's Iconic Neon Pegasus
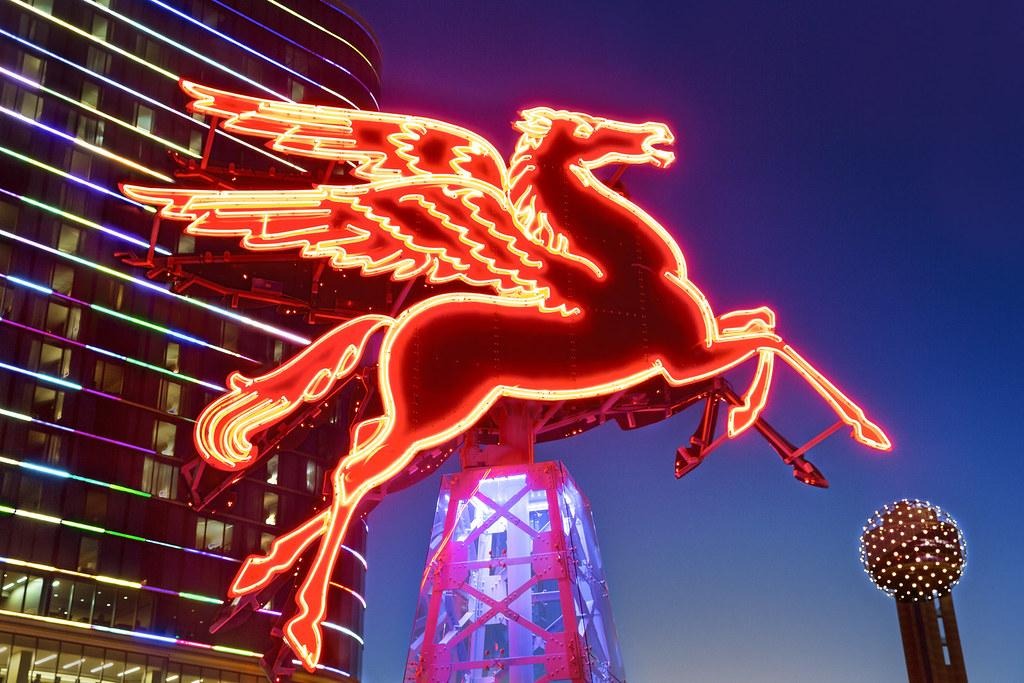
If you've spent any time in Dallas, chances are you've seen the red Pegasus.
The flying red horse has become a symbol of the city, and its distinctive neon appearance made it the perfect subject for a specialty screen-printing project.
Our creative challenge was to reproduce three characteristics of illuminated neon:
- Brightness: Saturated colors that appear to glow against a dark background.
- Dimension: Raised ink deposits that simulate the physical shape of neon tubing.
- Reflection: Glossy surfaces that interact with light, giving the artwork the appearance of glass.
Achieving all three required a combination of high-resolution halftone separations, carefully controlled ink opacity, and two very different special-effect applications.
The real innovation wasn't any single ink or screen. It was how the entire production sequence worked together.
Engineering the Image: 85 LPI Halftones on SAATI HI-DRO Mesh
The visual complexity of the Pegasus artwork demanded fine detail without sacrificing color saturation.
For this project, we used SAATI HI-DRO mesh throughout the production, matching mesh counts to the specific requirements of each ink layer.
Most of the image was printed through 305.31 HI-DRO mesh, with halftone separations generated at 85 lines per inch (LPI).
That's an intentionally fine halftone frequency for textile screen printing.
At 85 LPI, the print can reproduce subtle tonal transitions and fine details that help create the illusion of illumination. However, that resolution also places greater demands on stencil quality, screen tension, ink rheology, and press setup.
Fine halftones require consistent ink transfer. Excessive ink deposit can close up shadow detail, while insufficient transfer can compromise highlight dots and reduce color intensity.
Our approach was to use different mesh specifications for different functions.
Print application | SAATI HI-DRO mesh | Purpose |
Underbase and highlight underbase | 305.31 | Fine detail and controlled opacity |
Black and top colors | 305.31 | High-resolution tonal reproduction |
Highlight white | 305.31 | Fine reflective details |
Spot white | 230.40 | Stronger opaque white deposit |
NU-PUFF White | 81.70 | Heavy ink deposit for dimensional expansion |
HD clear gel | 81.70 | High-volume clear ink deposit |
All halftone separations were specified at 85 LPI.
The contrast between 305 mesh and 81 mesh is central to the production strategy.
The high-mesh-count screens deliver precision. The low-mesh-count screens deliver volume.
We needed both.
The Special-Effects Foundation: Chromaline Super PHAT 250-Micron Film
The most technically interesting part of this project began long before the shirts reached the press.
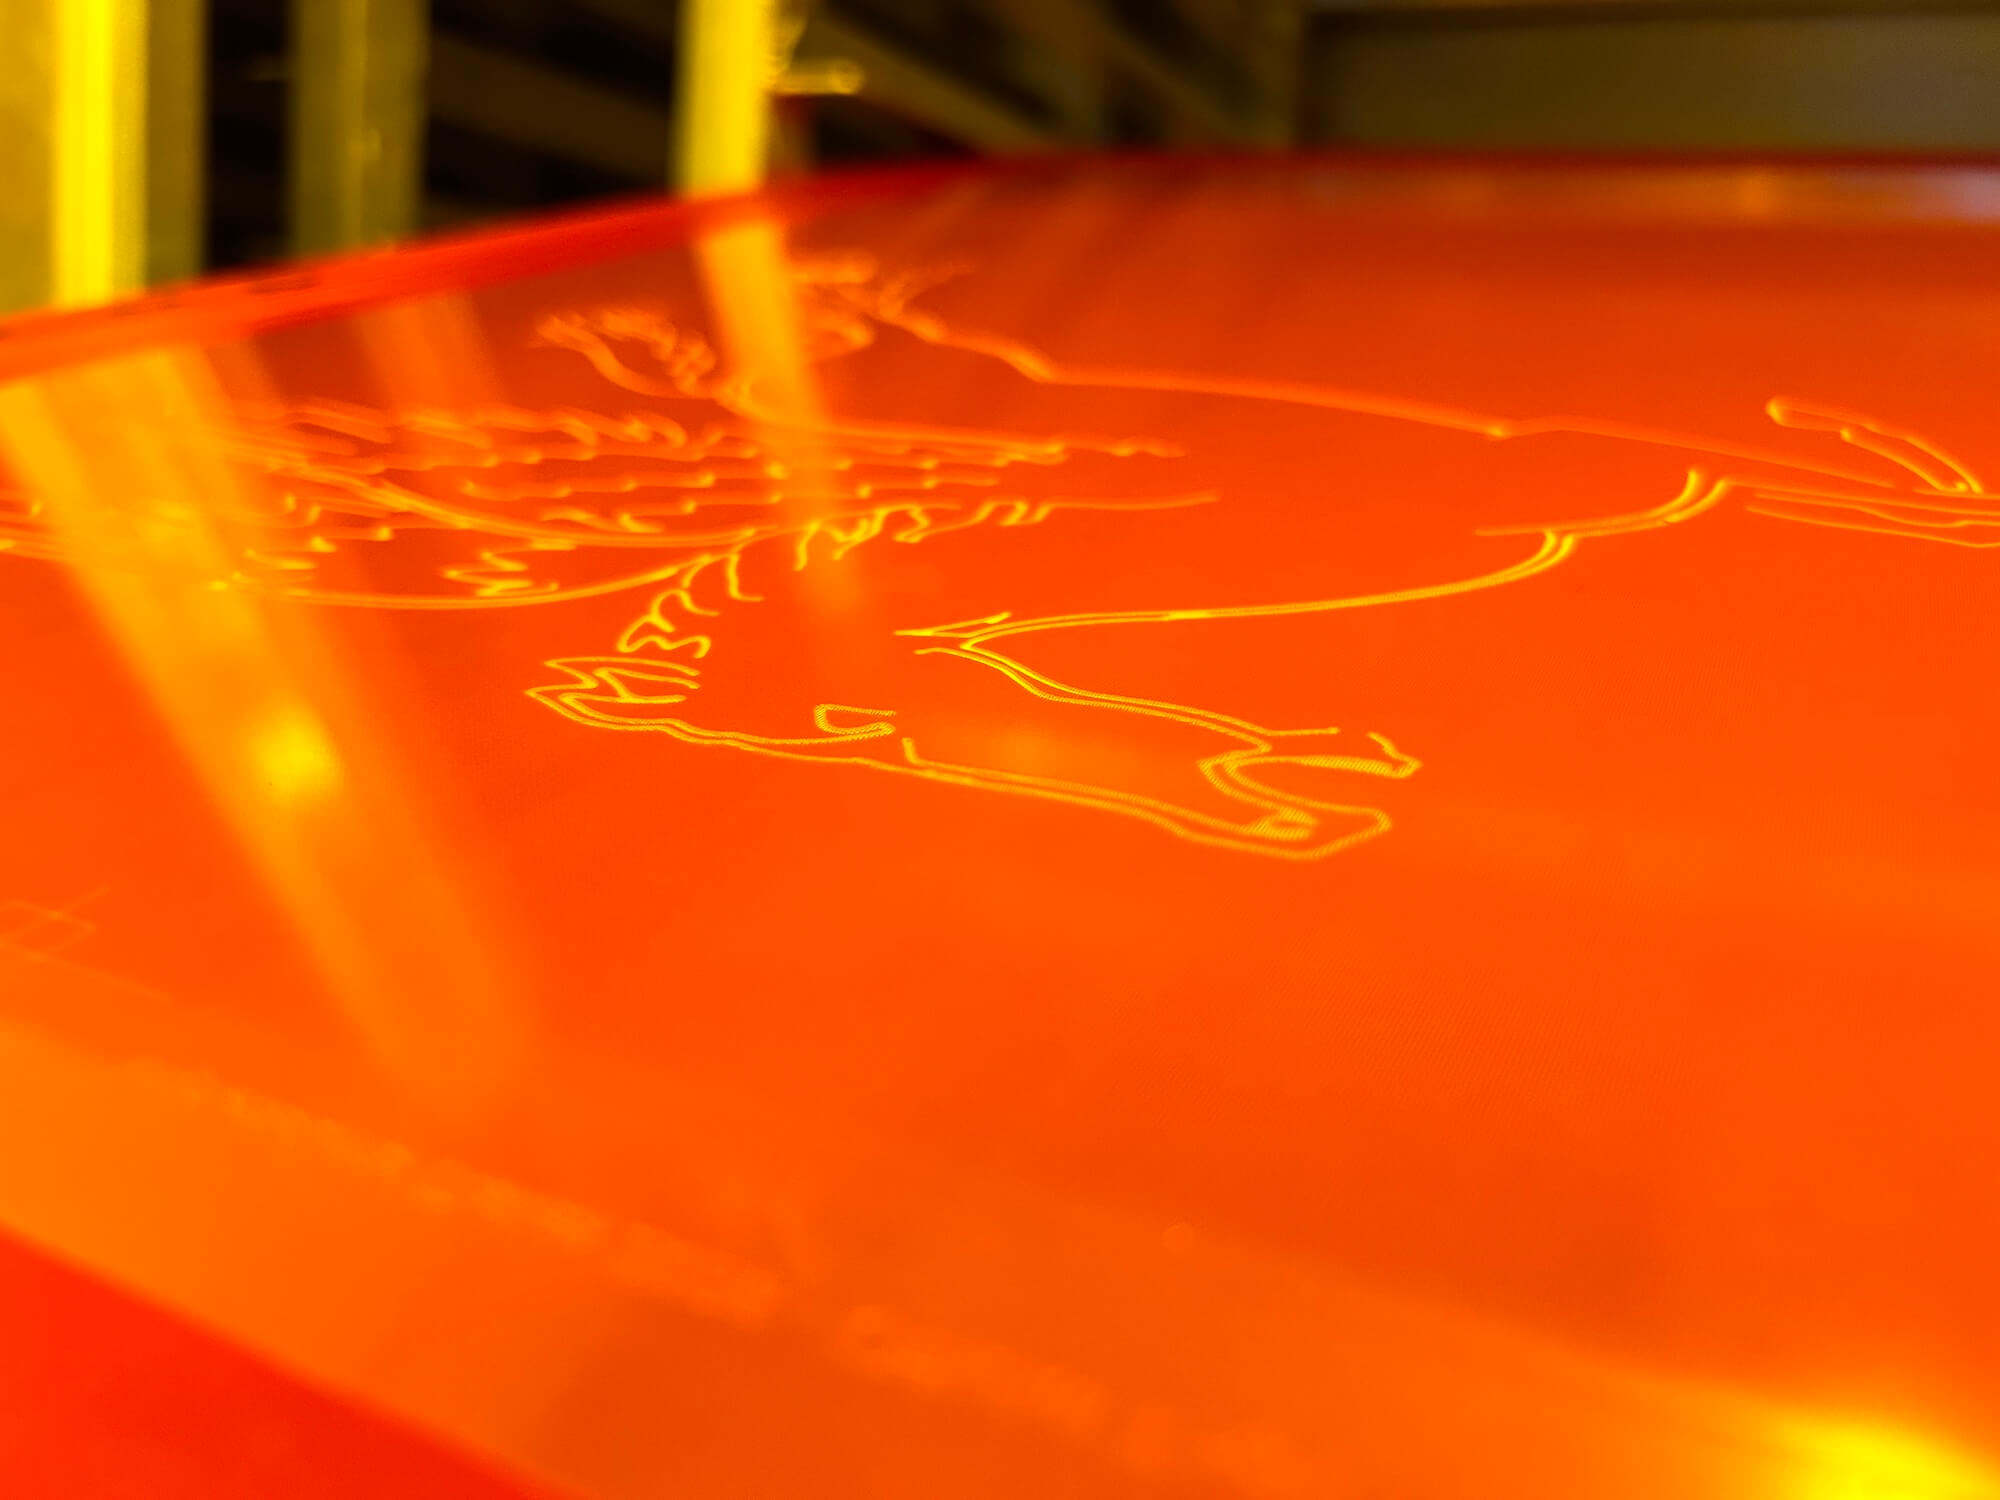
To create the dimensional puff and clear gel applications, we needed a stencil capable of depositing significantly more ink than a conventional screen-printing stencil.
For both special-effect screens, we used Chromaline Super PHAT 250-micron capillary film on SAATI 81.70 HI-DRO mesh.
At 250 microns, or 0.25 millimeters, this film creates the foundation for a substantial stencil profile.
Unlike a conventional thin emulsion coating, a high-density capillary-film stencil creates a deeper ink reservoir in the image area, allowing a greater volume of ink to pass through the screen.
That additional deposit is essential when printing specialty inks designed to expand or create a thick, dimensional surface.
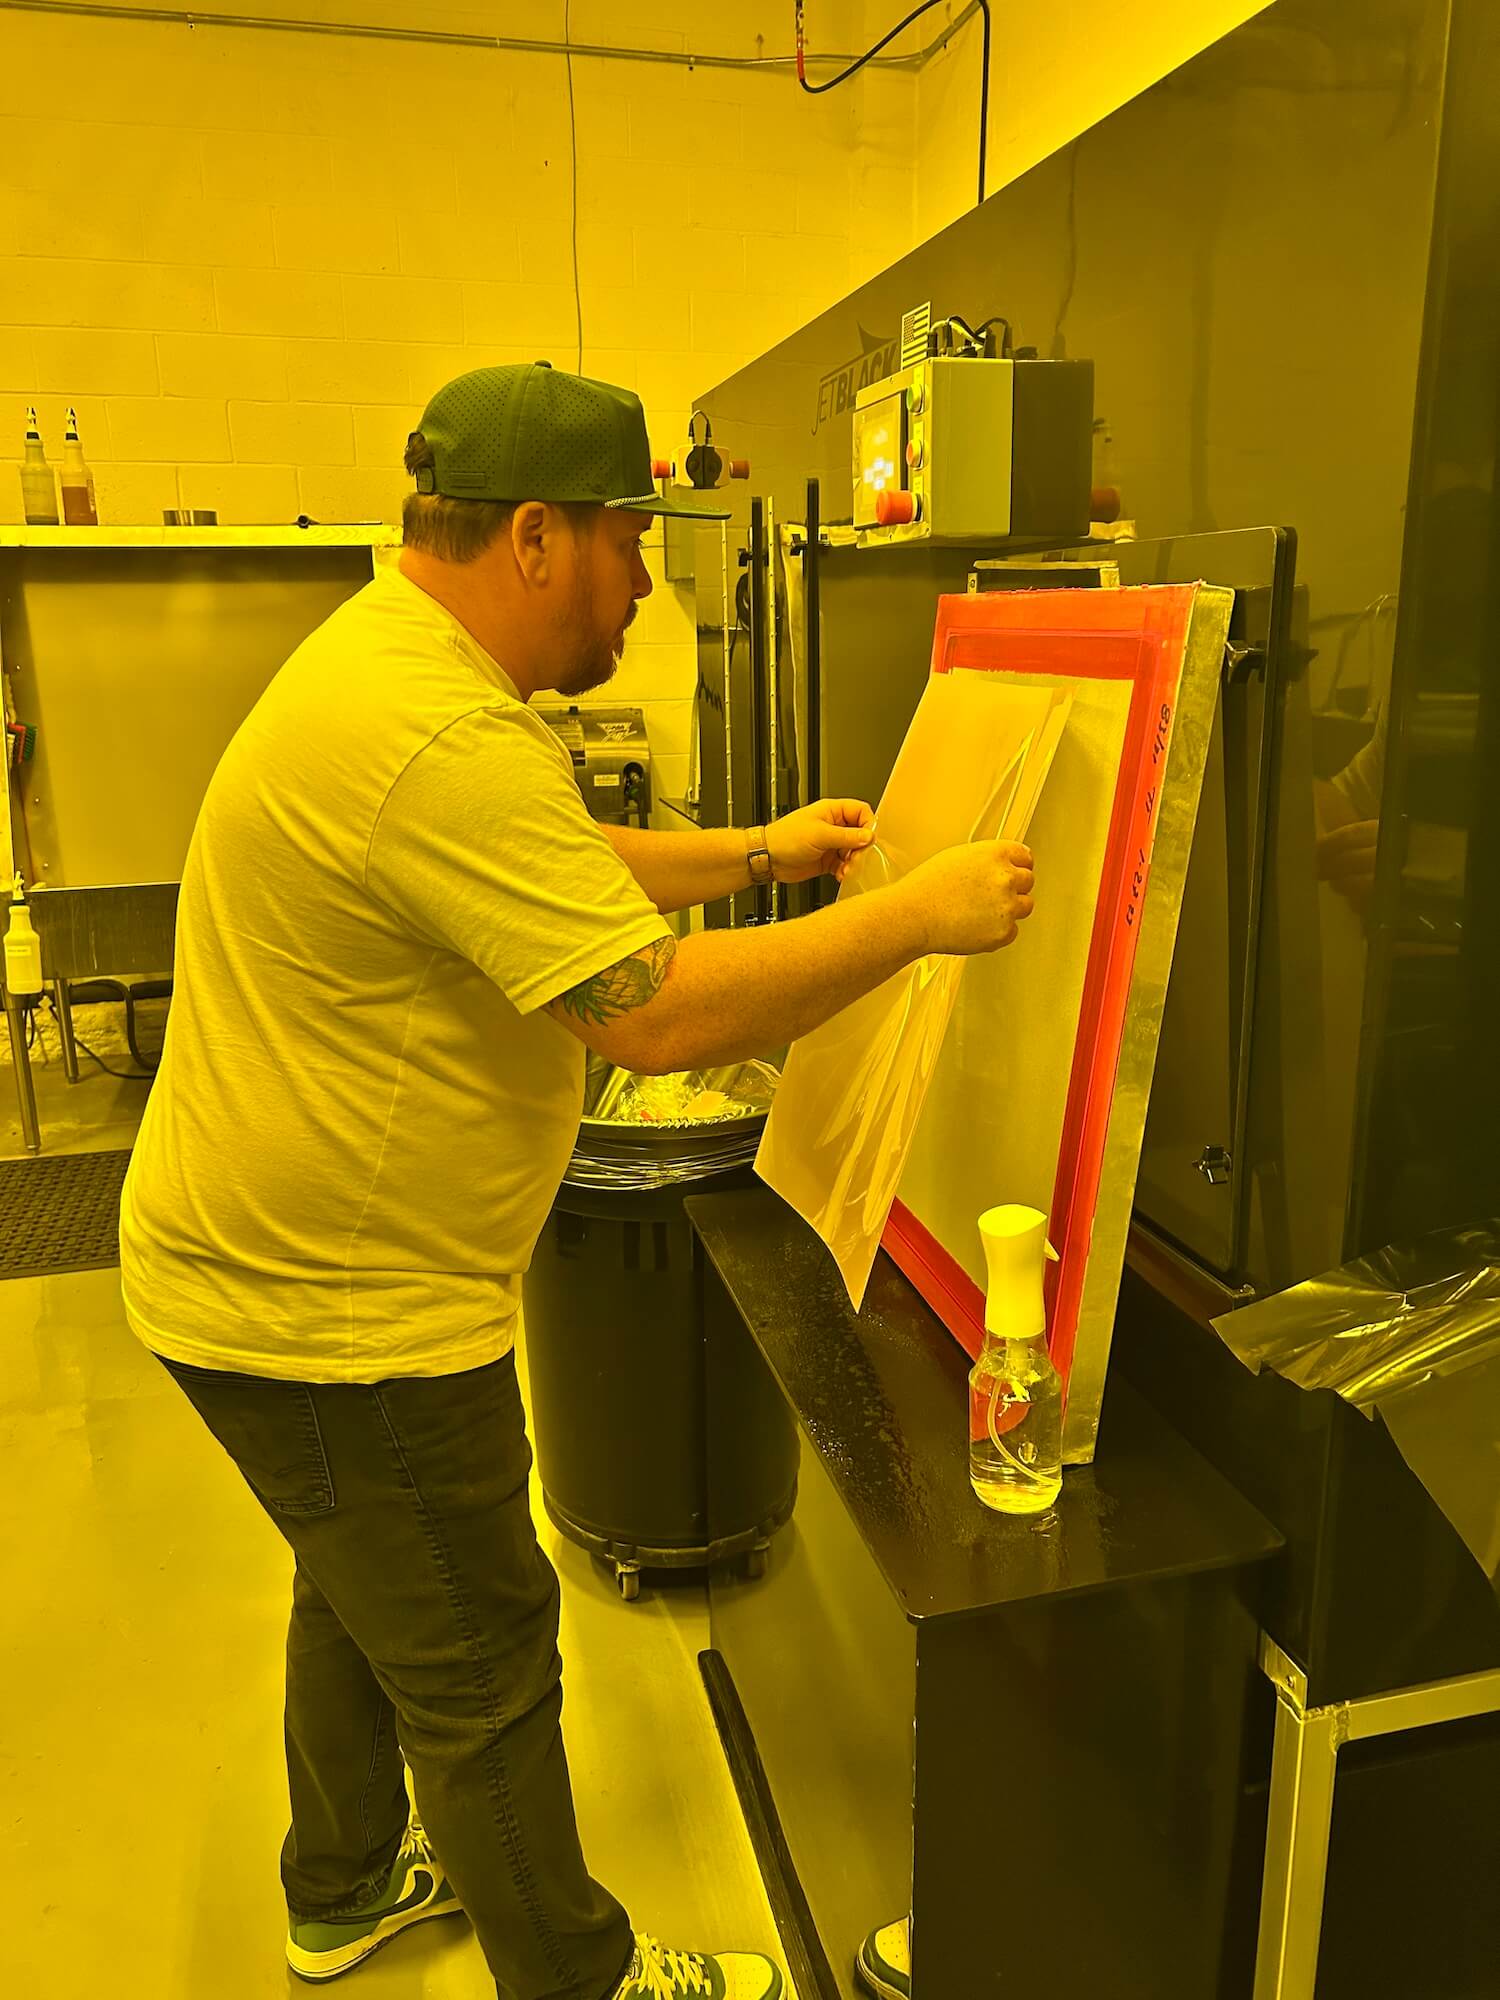
Step 1: Applying the Super PHAT film
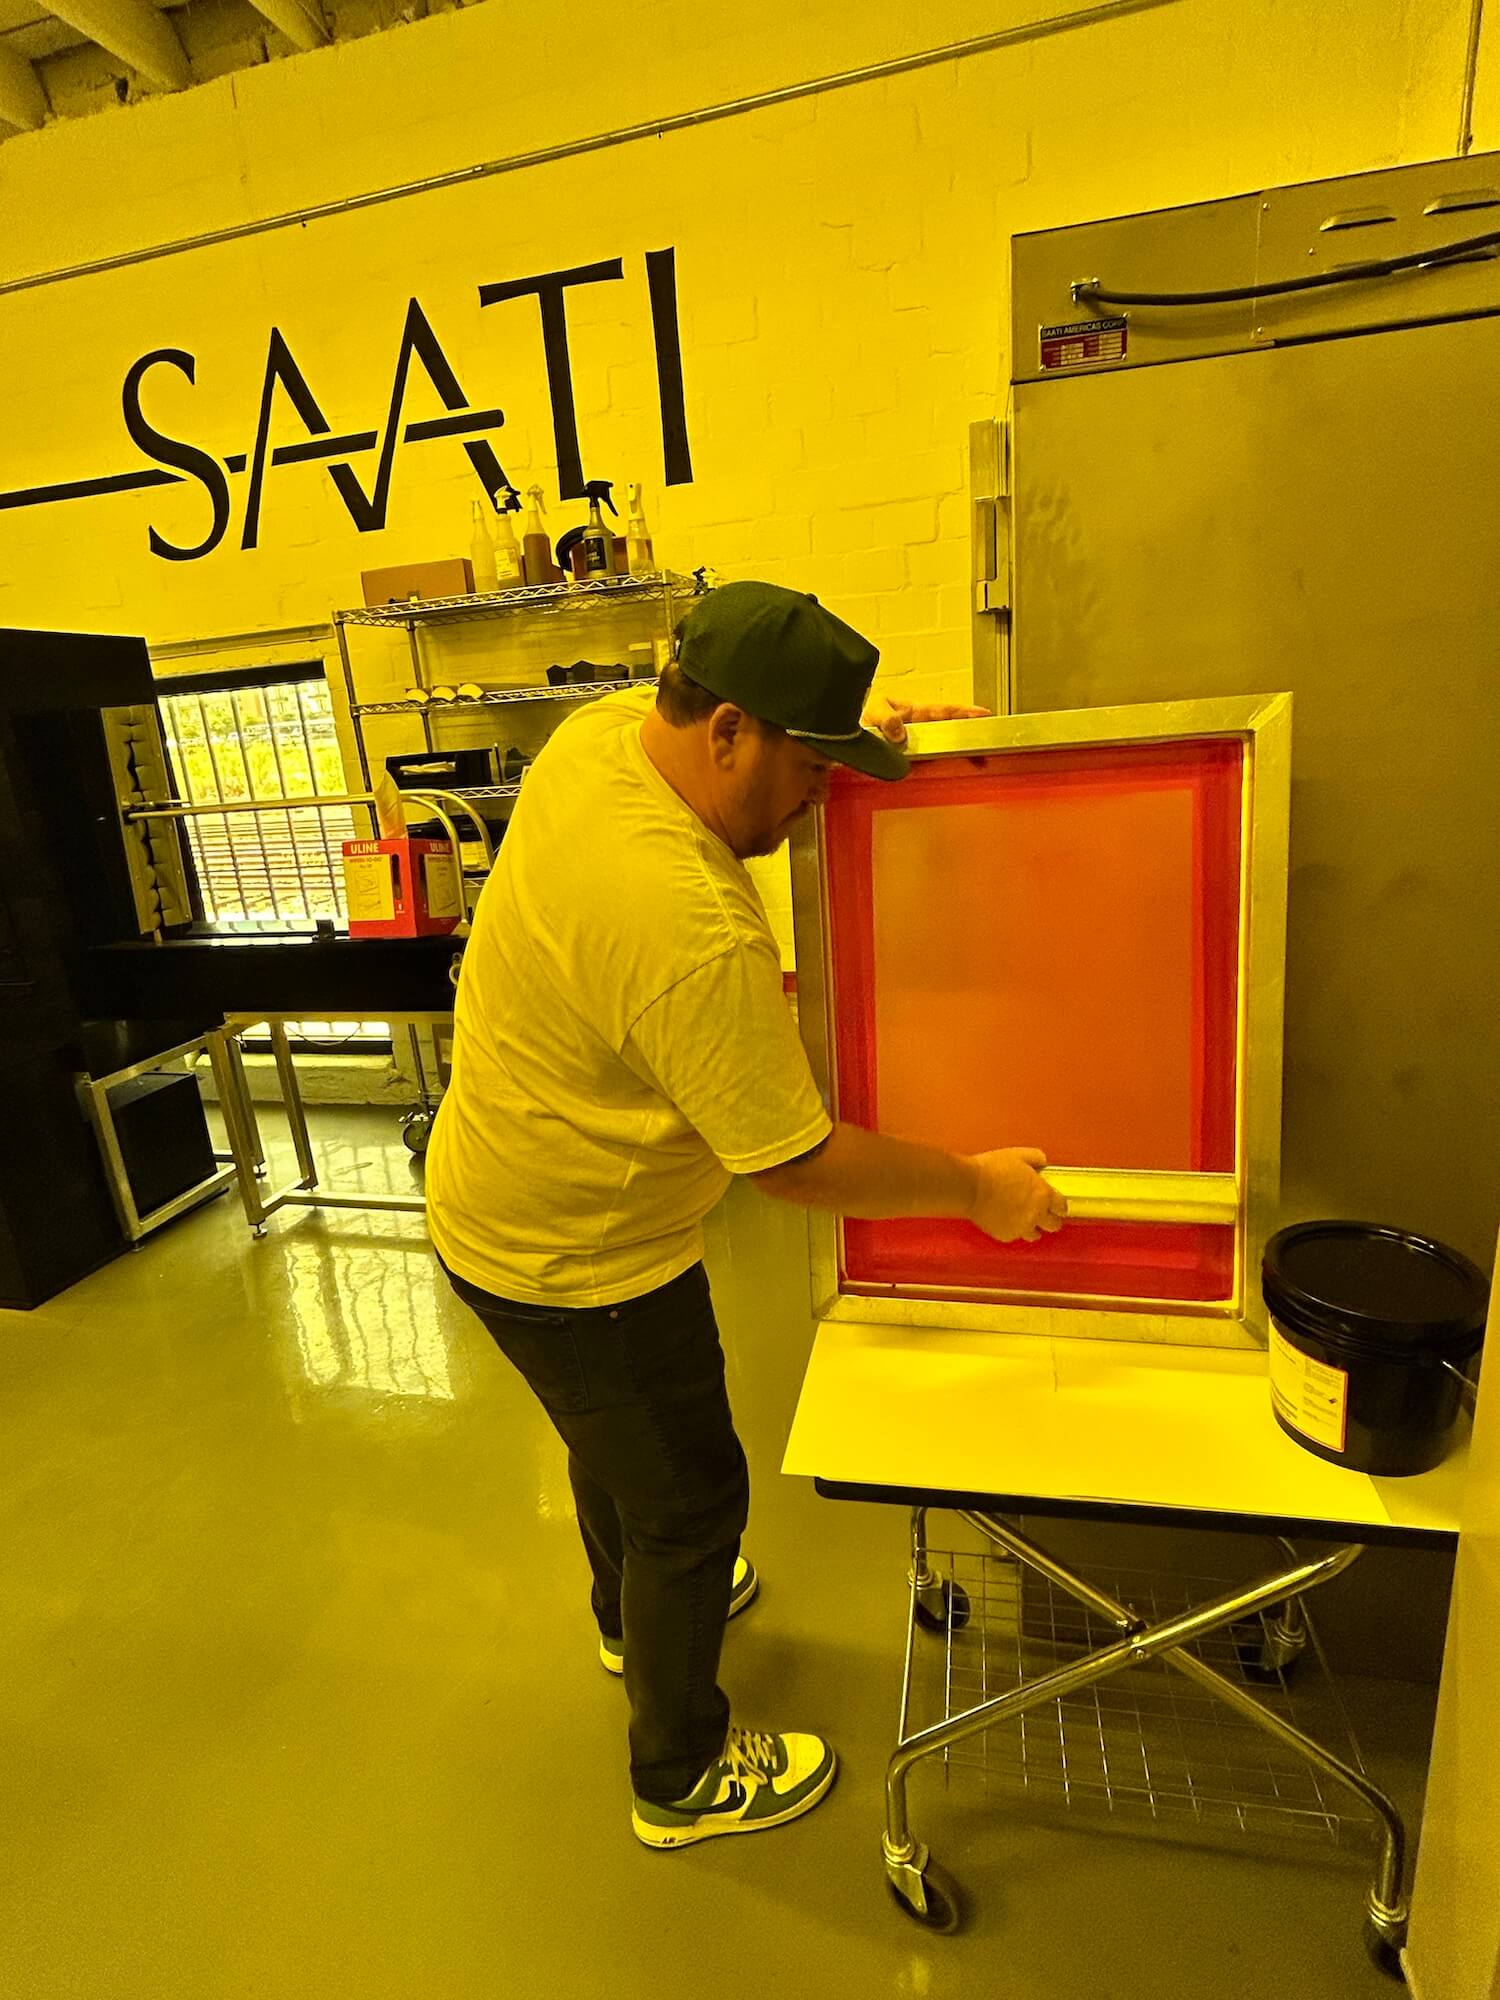
There are several methods for applying thick capillary film. For this project, we chose the spray-bottle method.
We began by applying a light mist of water to the substrate side of the screen using a spray bottle.
While the mesh was still wet, we applied the Super PHAT 250 film to the substrate side.
The water acts as a temporary tack coat, holding the film against the mesh until the screen dries.
This initial drying step is important. It allows the film to remain positioned before the additional emulsion is applied.
Step 2: Reinforcing the stencil with SAATI PHU HRX
Once the screen and film were dry, we applied SAATI PHU HRX emulsion to the squeegee side of the screen.
We used three coating passes.
This backing process helps create the bond between the capillary film and the mesh while supporting the thick stencil construction.
After coating, the screen was placed in our screen dryer and allowed to dry completely.
For a stencil this thick, thorough drying is especially important before imaging.
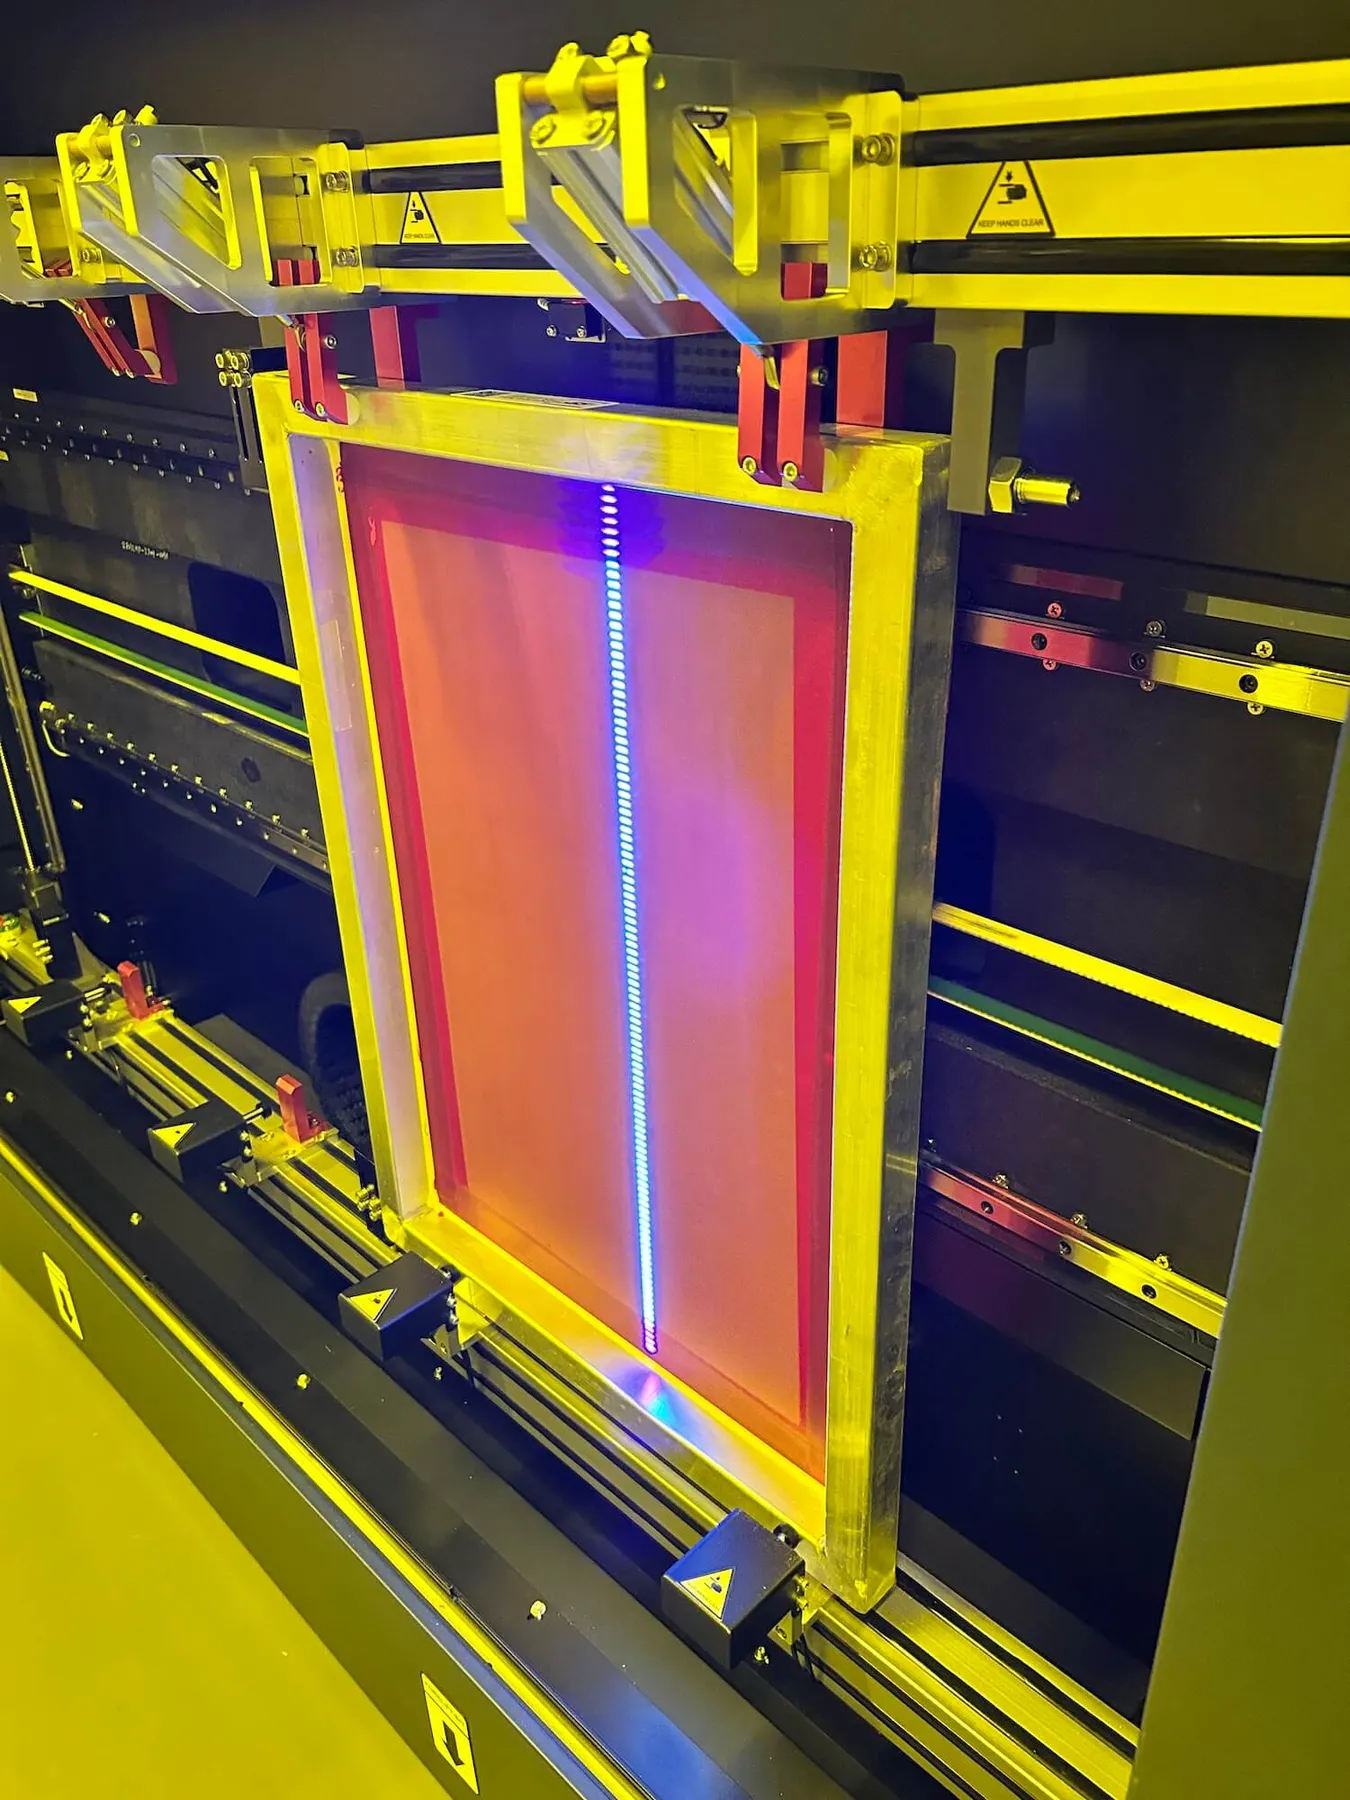
Step 3: Laser imaging a 250-micron stencil
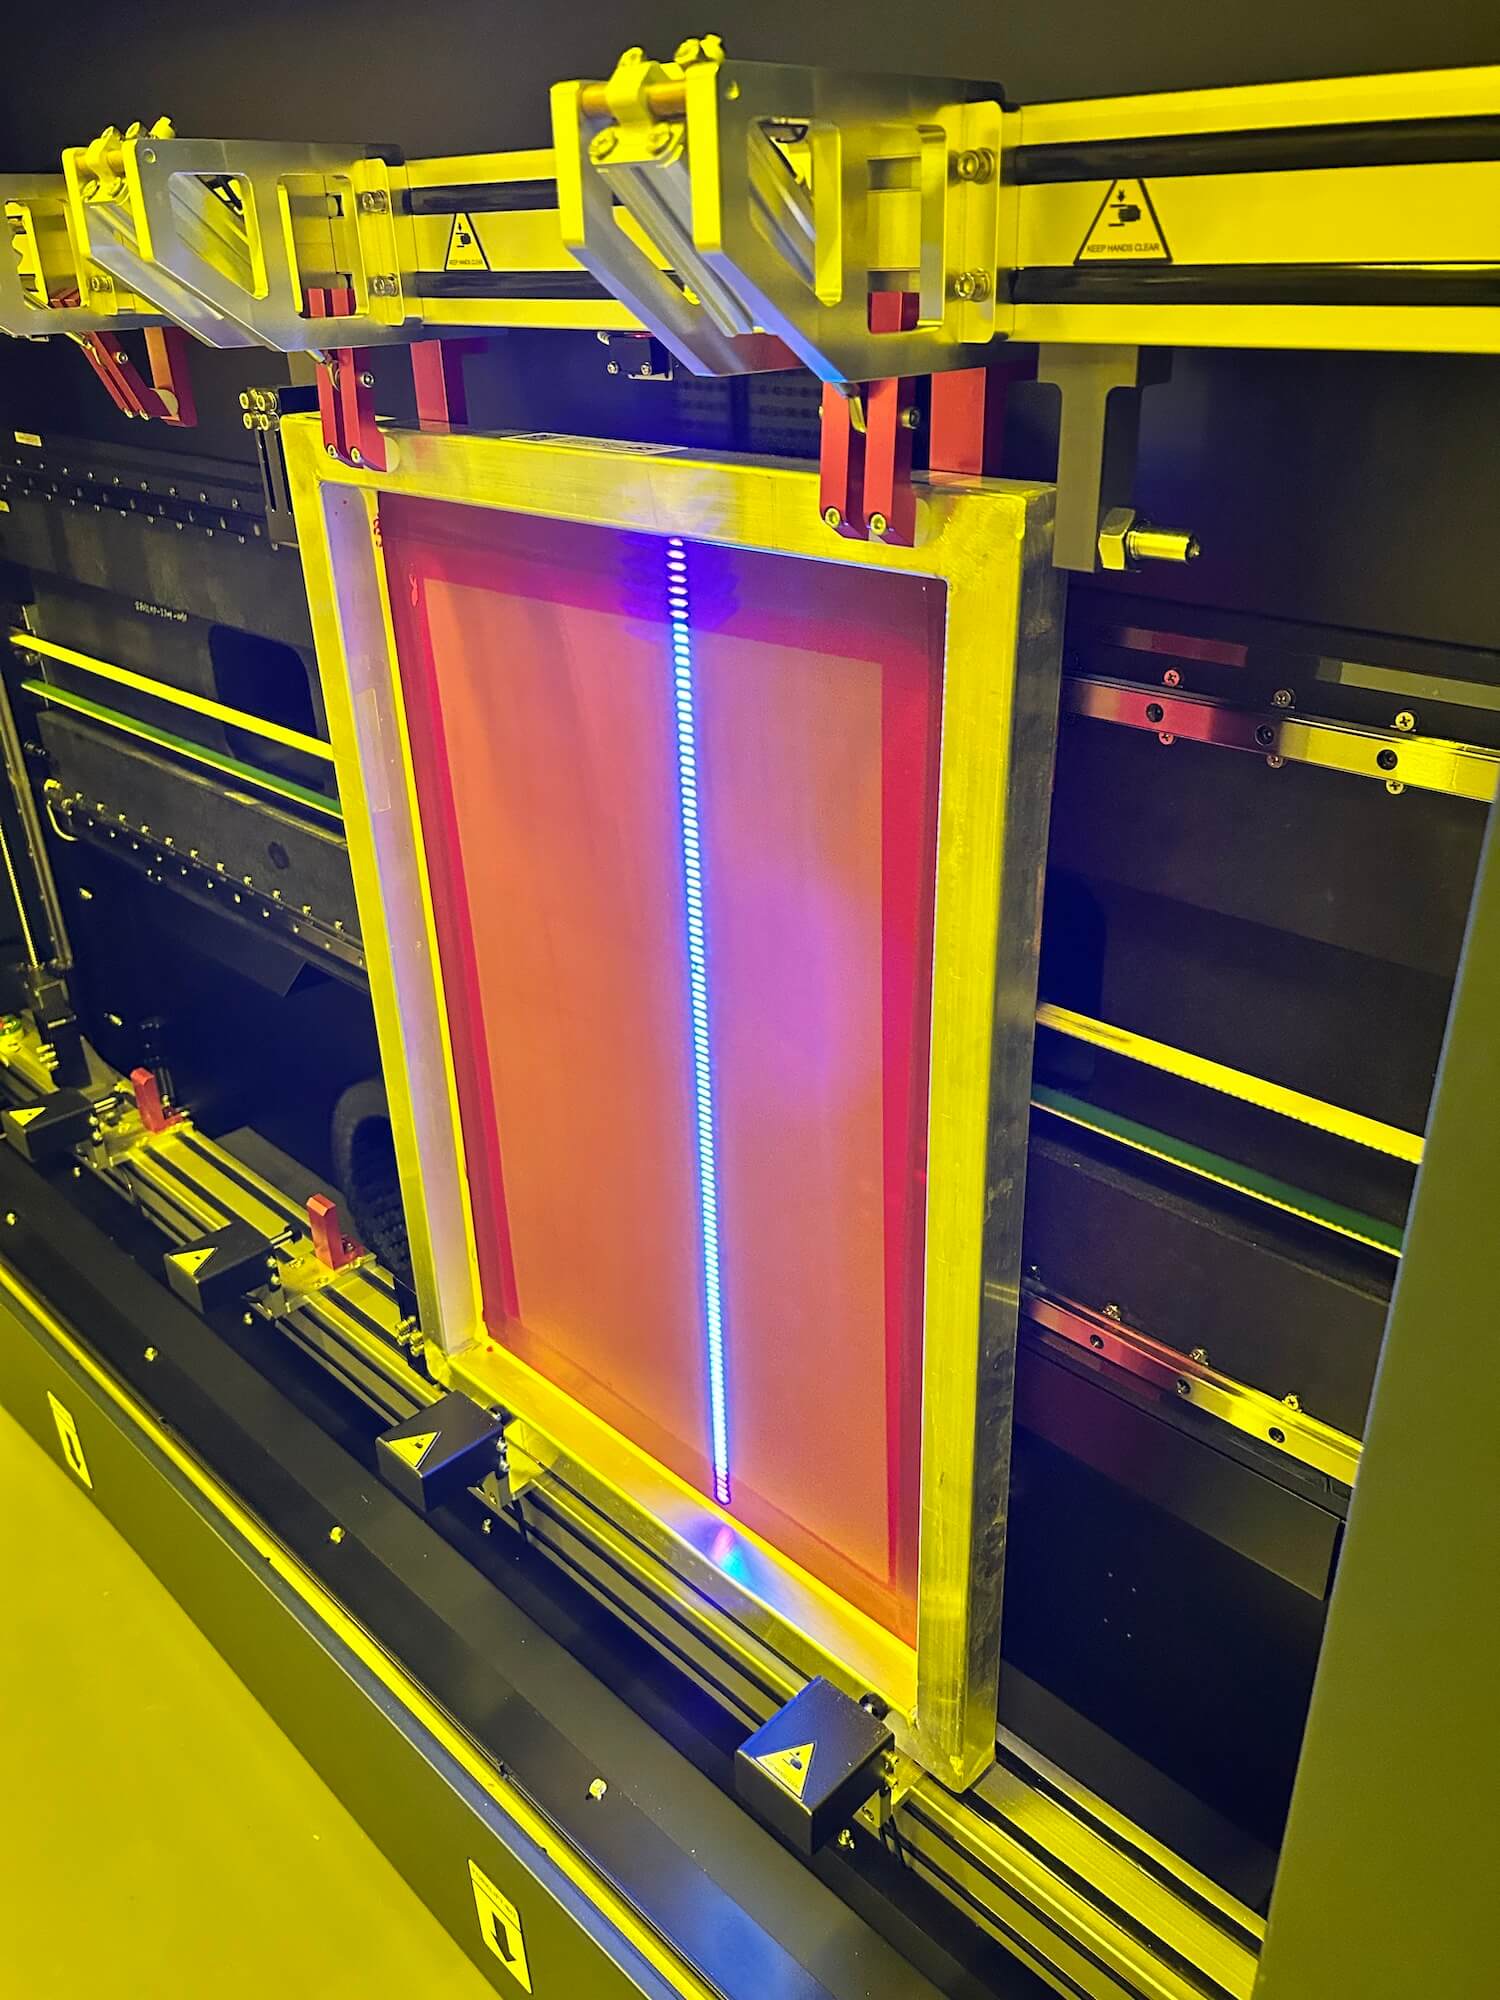
For imaging, we used our SAATI LTS 8012HD laser-to-screen imaging system.
HIGH-DENSITY STENCIL IMAGING PARAMETERS
Imaging system
SAATI LTS 8012HD
Stencil thickness
250 microns
Laser speed setting
100
Laser power setting
80
Consecutive imaging cycles
3
Mesh
81.70 HI-DRO
One imaging cycle wasn't sufficient for our high-density stencil.
We ran the SAATI LTS 8012HD through three consecutive imaging cycles at the same speed and power settings to fully expose the thick film.
The goal was to achieve adequate exposure throughout the stencil depth, rather than only at the surface.
This is a critical consideration when working with thick capillary films. Inadequate exposure can compromise stencil durability and edge definition during development and printing.
Step 4: Developing the high-density stencil
Once imaging was complete, we moved to washout.
We lightly sprayed both sides of the screen using a garden-hose nozzle, then allowed the stencil to sit for approximately one minute before developing.
That initial wetting period helped prepare the image areas for washout.
Next, we used a pressure washer to develop the stencil, directing the spray exclusively from the substrate side of the screen.
Controlling the direction of the washout was part of our process for preserving the high-density stencil structure.
After development, the screen went back into the dryer until completely dry.
At this point, the special-effect screens were ready for production.
Why this matters: A 250-micron stencil is more than just a thicker screen. It is a precision tool for controlling ink volume, dimensional height, and the final tactile characteristics of the print.
Ink Engineering: Balancing Detail, Opacity, and Texture
With our screens prepared, the next challenge was formulating the ink system.
For this design, we used a combination of Avient's M3 mixing system, Finesse Base, Silky Cotton White, NU-PUFF White, and Infinite FX clear gel.
Each component served a specific purpose.
Fine-detail inks with Finesse Base
Several of our inks were reduced with Finesse Base to achieve the flow characteristics necessary for printing through high-mesh-count screens.
Our primary underbase used M3 White reduced with 75% Finesse Base.
The highlight underbase used Silky Cotton White reduced with 25% Finesse Base.
For black, we used M3 Black reduced with 75% Finesse Base.
The highlight white was also formulated using M3 White with 75% Finesse Base.
These reductions helped us manage ink transfer through 305 mesh while preserving the detail required by the 85 LPI halftones.
It's a balancing act: enough ink transfer to achieve the intended visual effect, but controlled enough to preserve the artwork's finer elements.
NU-PUFF White: Building dimensional neon
The first special effect was created using Avient NU-PUFF White.
Unlike conventional plastisol ink, puff ink is formulated to expand when exposed to heat during curing.
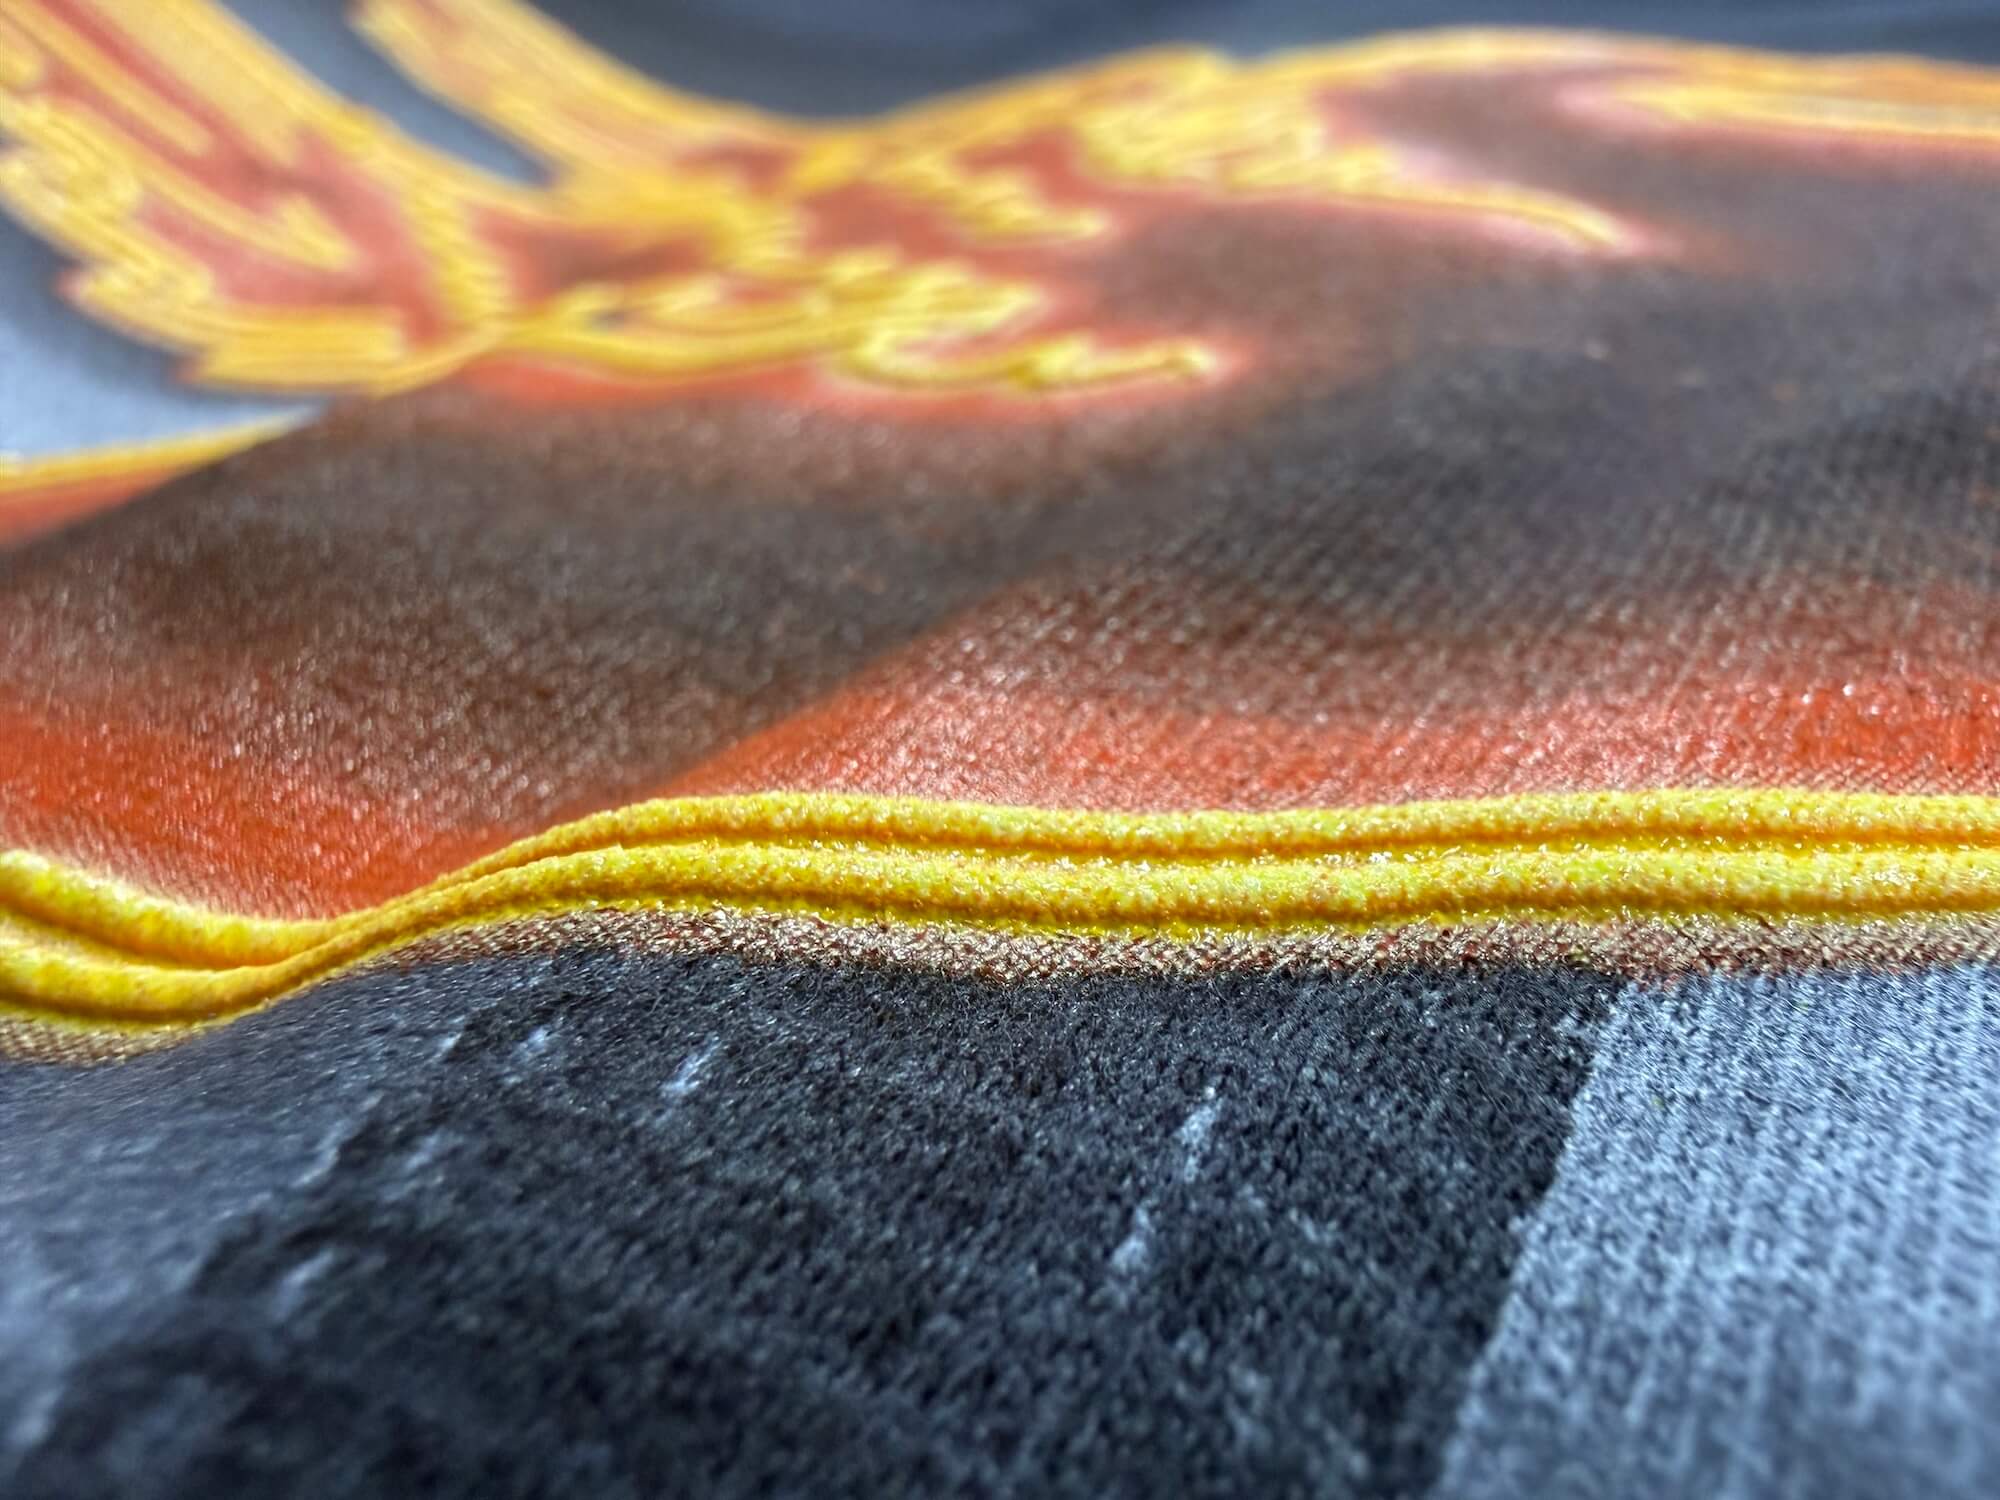
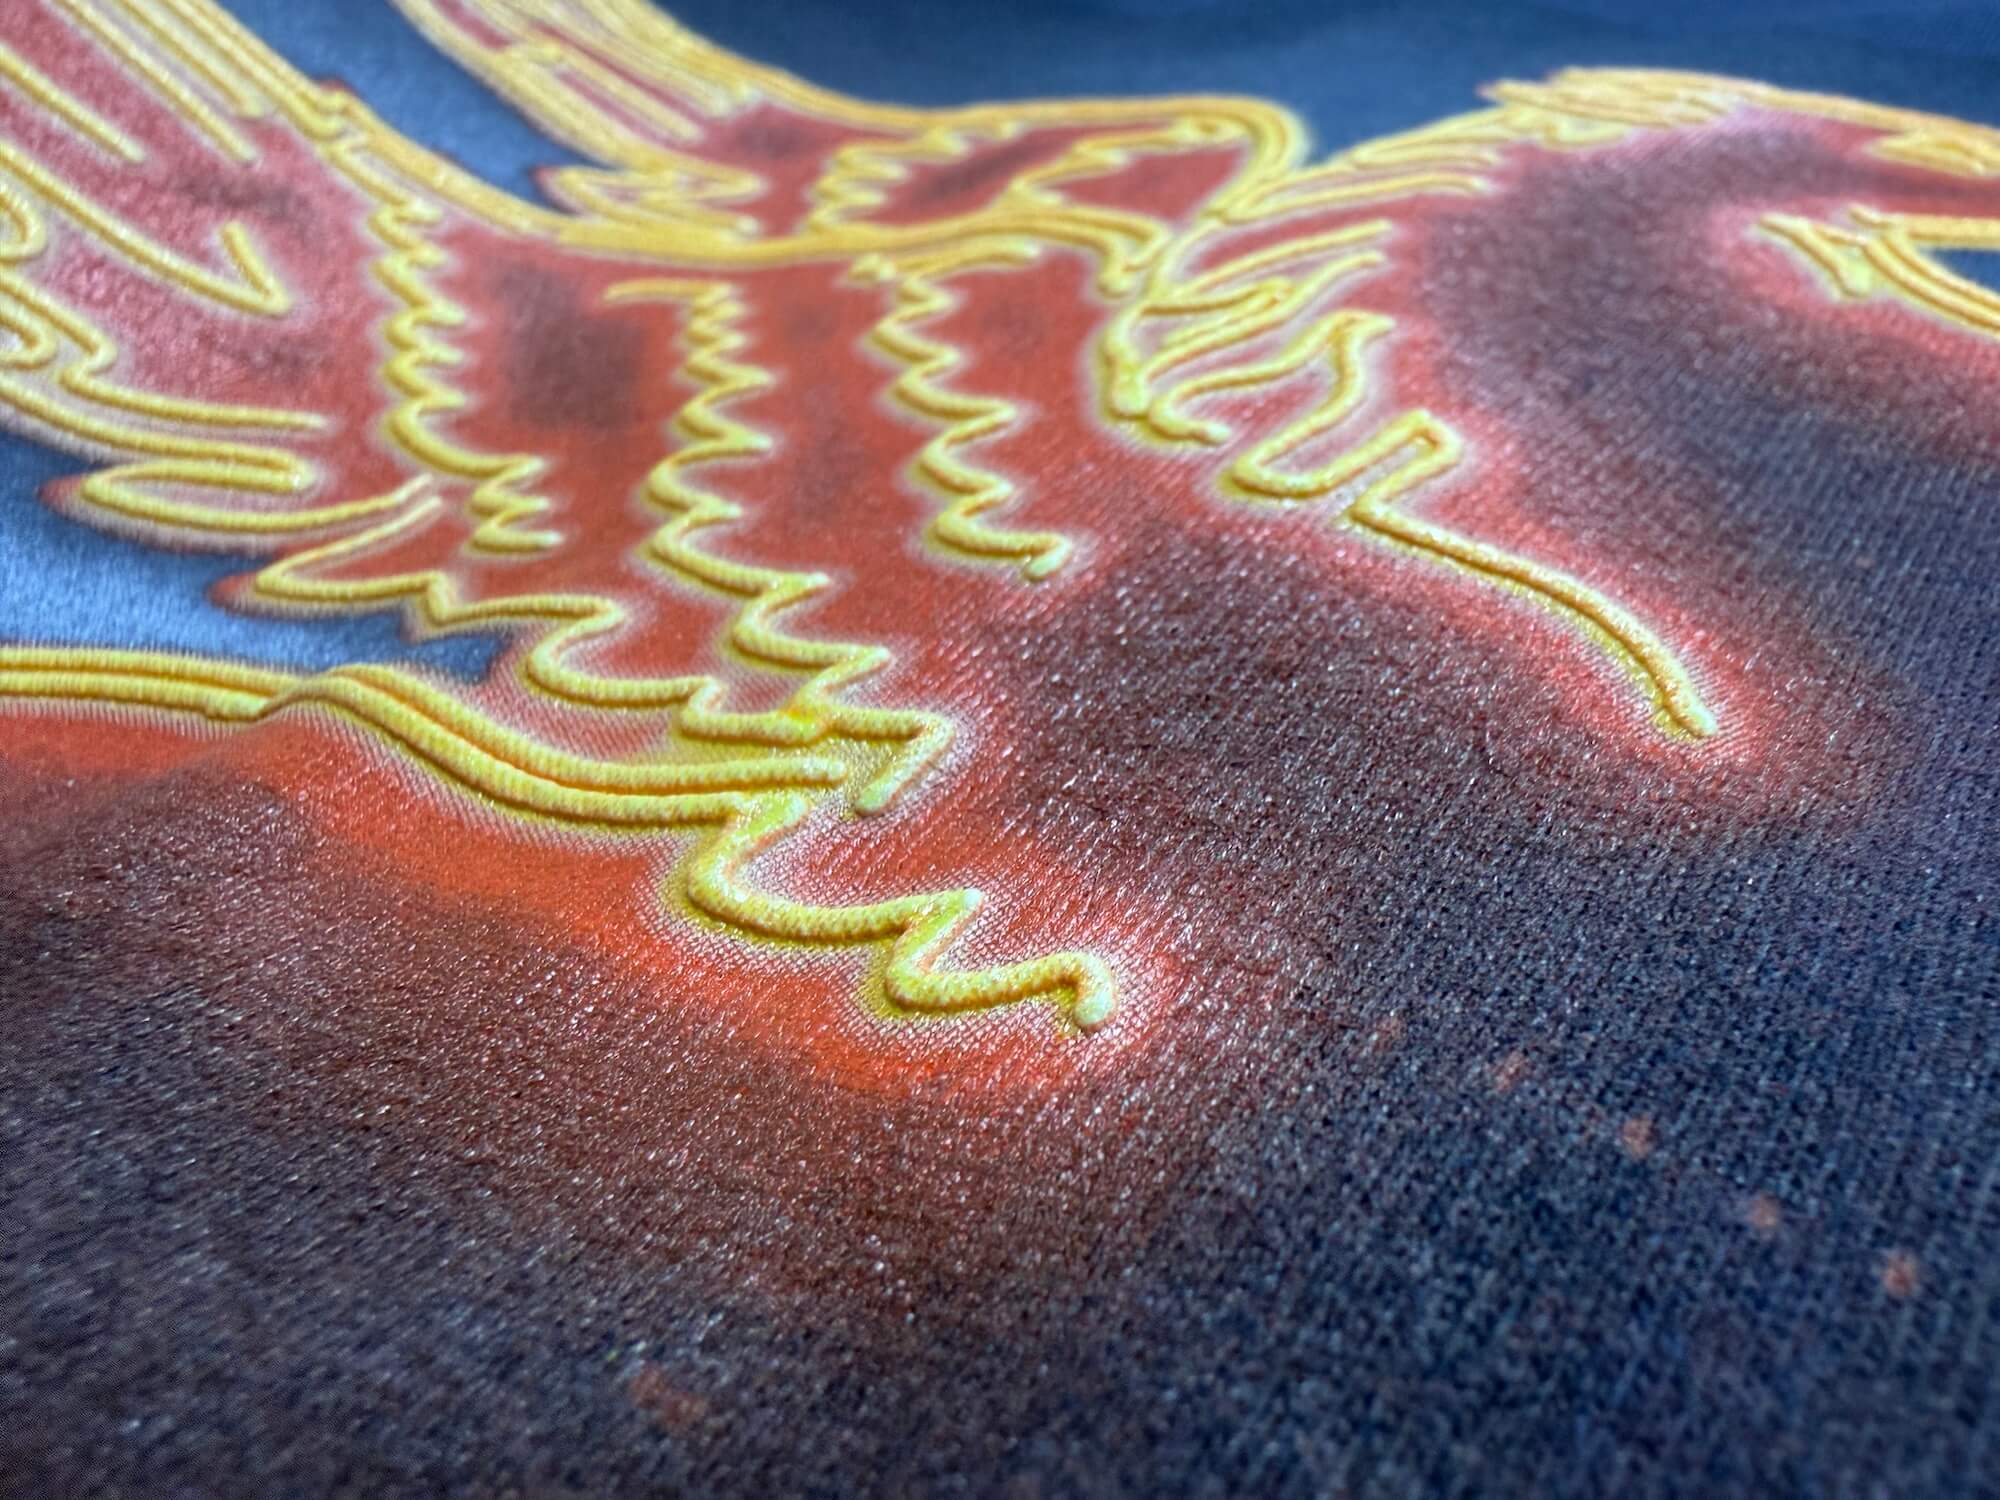
This expansion creates a raised surface that can be felt when you run your fingers across the print.
For our Pegasus artwork, this dimensional effect helped mimic the physical profile of neon tubing.
We printed NU-PUFF White through an 81.70 mesh screen using the 250-micron Super PHAT stencil.
Our press settings called for a 65/90/65 triple-durometer squeegee at a 20-degree angle, with two print strokes.
The combination of the low mesh count, thick stencil, and print settings allowed us to deposit a substantial volume of puff ink.
That ink volume is important because the final raised effect depends not only on the formulation but also on the amount of ink deposited and the subsequent heat exposure.
Infinite FX Clear Gel: Creating the glass-like finish
The second special effect was a thick clear gel overlay.
We used Avient Infinite FX high-density clear gel technology, with the production specification identifying Infinite FX HD Clear 2 or Infinite FX SE Gel Clear as the options.
Like the puff ink, the clear gel was printed through an 81.70 mesh screen with a 250-micron Super PHAT stencil.
But the visual result is very different.
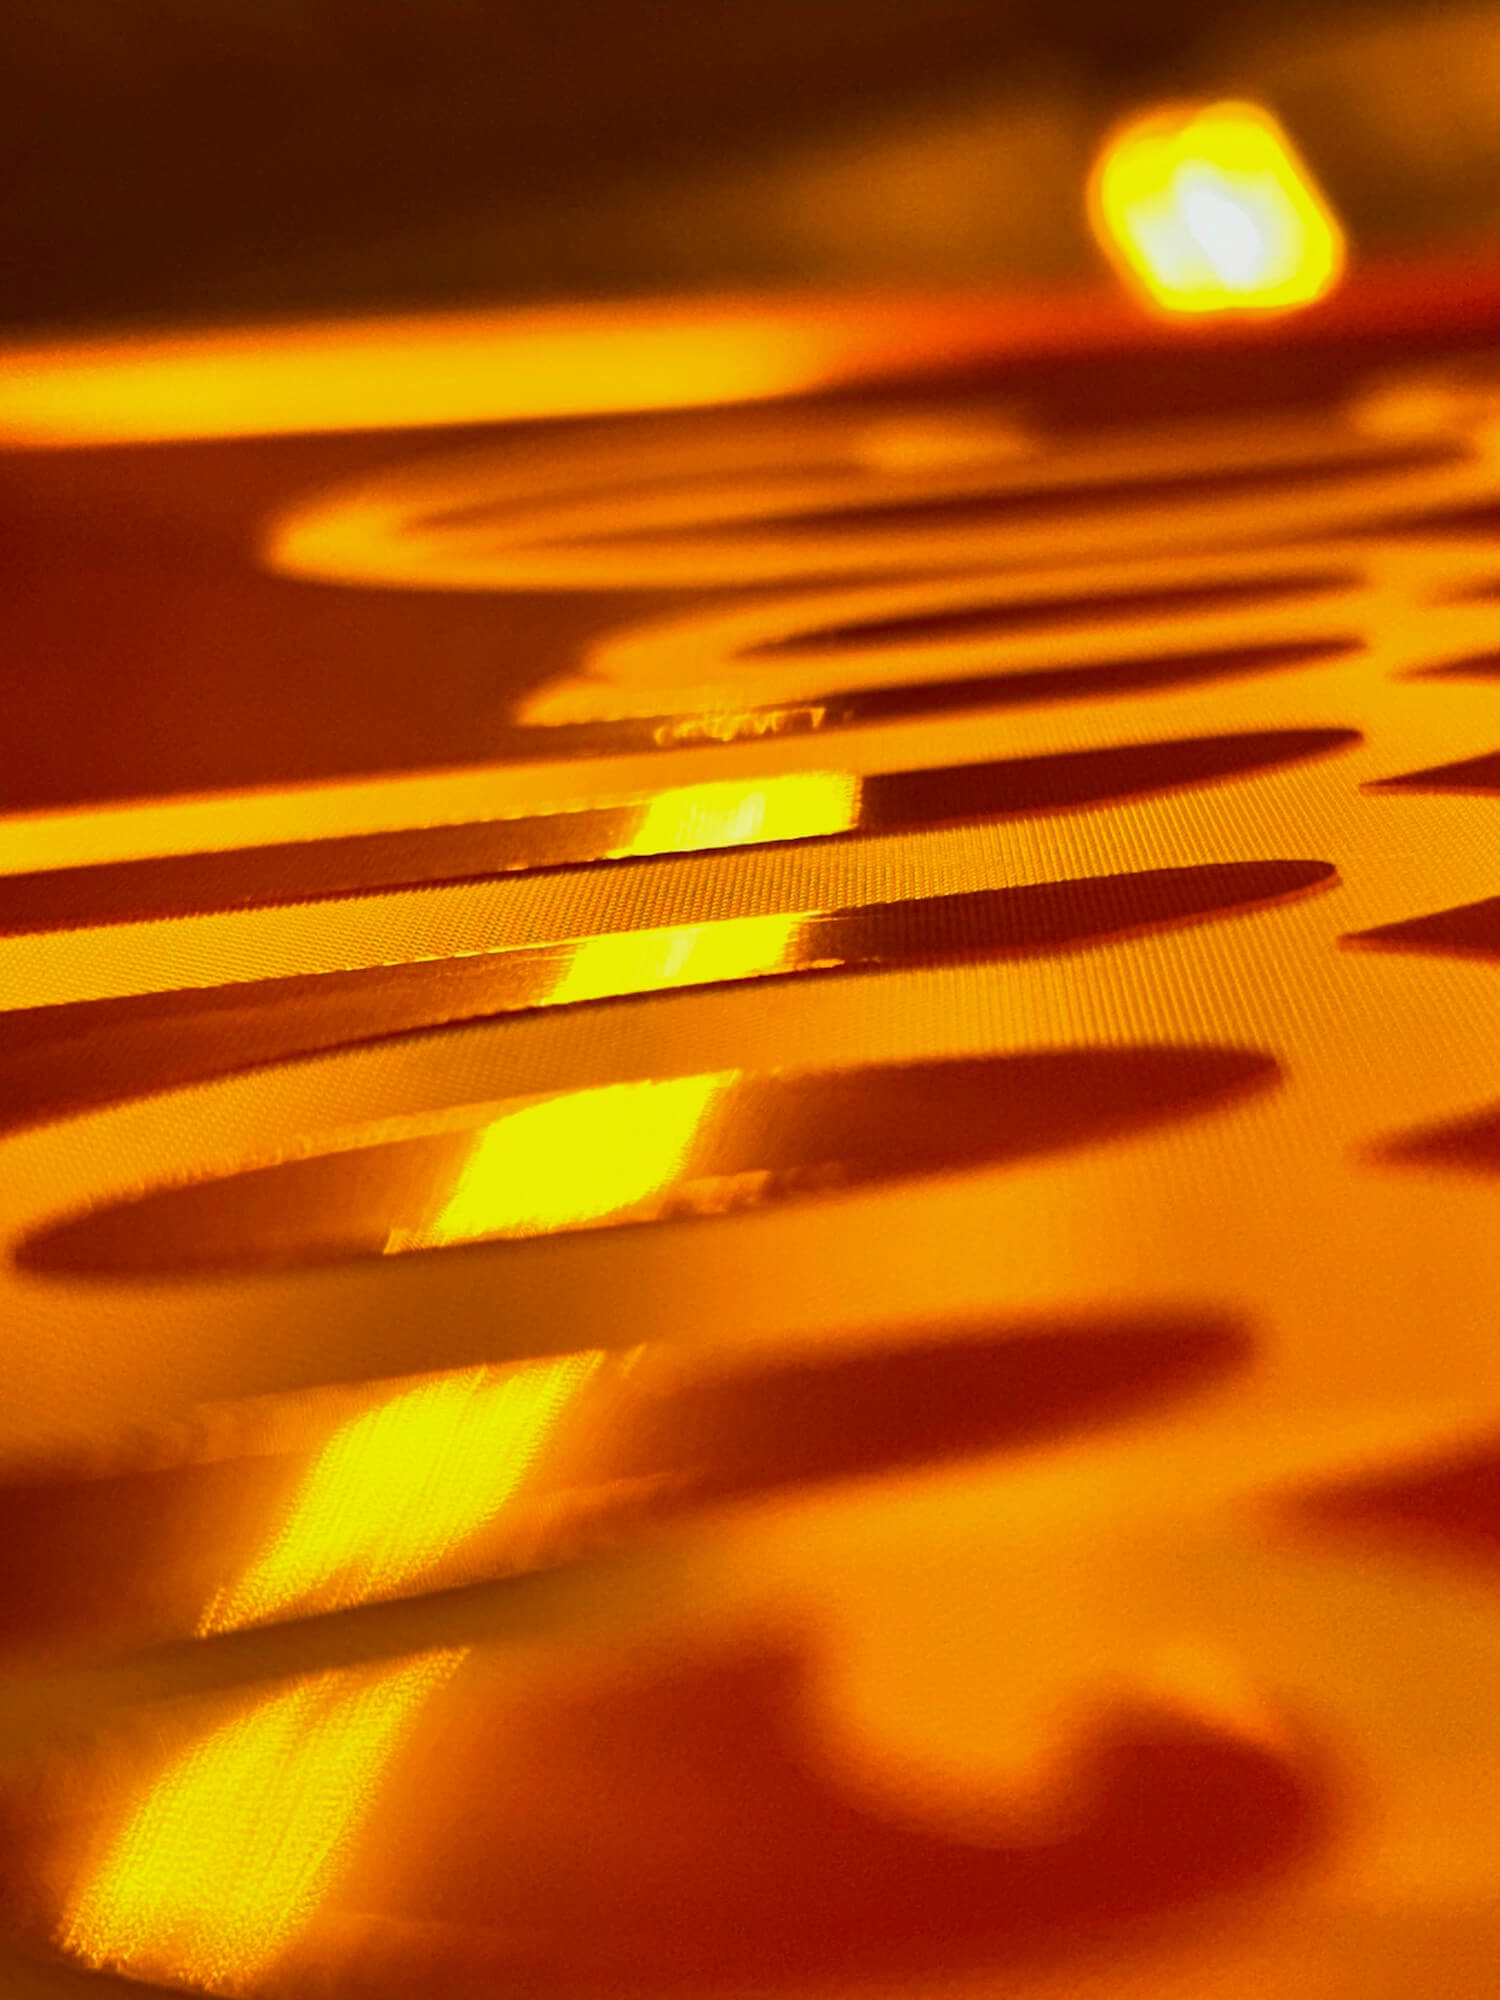
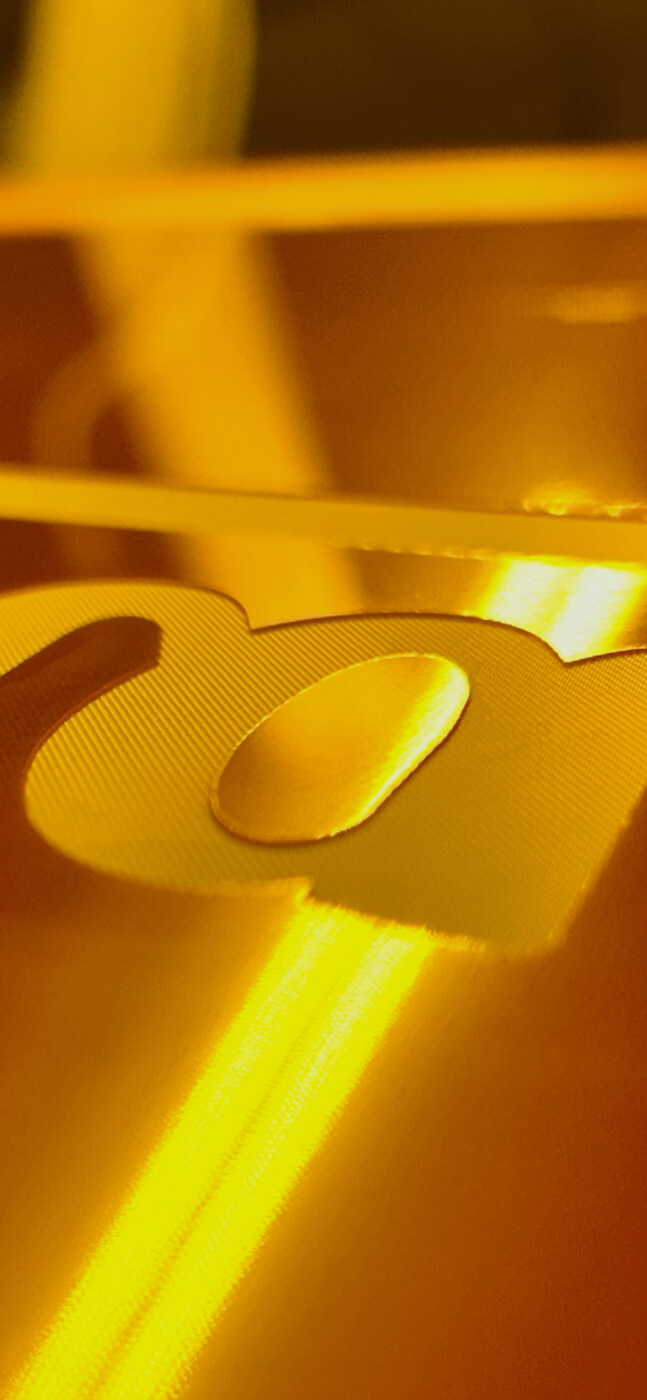
Where the puff ink creates a raised, textured effect, the clear gel produces a glossy dimensional surface.
Placed strategically over selected portions of the artwork, the gel catches and reflects ambient light.
This combination of raised puff and glossy gel is what helps transform a flat illustration into something that resembles illuminated neon.
The puff creates the physical dimension.
The clear gel creates the optical dimension.
Together, they make the print far more interactive than a conventional graphic.
Inside the Print Sequence: 14 Production Positions
A print this complex depends on the order in which each layer is deposited.
For the official Impressions Dallas shirt, our production tech sheet defined 14 positions, including underbases, colors, special effects, flash stations, and a stamp operation.
Production press specifications
Halftone frequency
85 LPI
Squeegee pressure
50 PSI
Stroke speed setting
2
Off-contact
0.25 cm
Settings specified for the print stations in the official production tech sheet. Squeegee angle, durometer, and stroke count vary by station.
Complete print sequence
The following sequence follows the production tech sheet, including its specified station order.
Pos. | Print function | Mesh | Squeegee angle | Strokes |
1 | M3 White underbase | 305.31 | 5° | 2 |
2 | Silky White highlight underbase | 305.31 | 15° | 1 |
3 | Stamp | — | — | — |
4 | M3 Black | 305.31 | 5° | 1 |
5 | NU-PUFF White | 81.70 | 20° | 2 |
6 | Flash | — | — | — |
7 | Pantone Bright Red | 305.31 | 15° | 2 |
8 | Flash | — | — | — |
9 | Pantone 100 | 305.31 | 5° | 1 |
10 | Pantone 102 | 305.31 | 5° | 1 |
11 | Spot White | 230.40 | 5° | 1 |
12 | Flash | — | — | — |
13 | Highlight White | 305.31 | 5° | 1 |
14 | HD Clear Gel Overlay | 81.70 | 20° | 2 |
Source: MADE, Impressions Dallas 2026 Official Expo Tee production tech sheet, page 1. The video narration describes the final white layers in a slightly different order; the table follows the written production specification.
The squeegee setup matters
The production sheet specifies two triple-durometer squeegee configurations.
The 65/90/65 squeegee was used for the primary underbase, black, puff, and clear gel applications.
The 75/90/75 squeegee was specified for the highlight underbase, top colors, and white detail screens.
A softer outer durometer can help deliver the ink volume needed for heavier deposits, while the firmer configuration supports more controlled ink transfer for fine-detail work.
Every printing station was specified at 50 PSI, a stroke-speed setting of 2, and 0.25 cm of off-contact.
The specialty screens were set to a 20-degree squeegee angle with two strokes to build the desired ink deposit.
These settings illustrate why a print like this requires more than just choosing the right inks. Each screen has a specific mechanical role in the final image.
Why the Layering Order Is So Important
The print sequence was engineered to control three competing requirements: image detail, color intensity, and dimensional height.
1. Establishing the foundation
Two white underbases created a controlled foundation for the image. The first provided the primary base, while the second supported selective highlight areas. A stamp operation followed before printing black.
2. Building the raised effect
NU-PUFF White was printed before the top colors. This allowed the dimensional material to become part of the structure of the graphic, rather than simply sitting on top as an unrelated embellishment.
3. Creating the illuminated color
Pantone Bright Red, Pantone 100, and Pantone 102 delivered the saturated red and yellow tones. The color screens used 305 mesh to preserve fine detail, with the production notes calling for M3 White to be omitted from the Bright Red and Pantone 102 ink formulas.
4. Finishing with reflected light
The white detail layers added contrast and visual highlights before the final clear gel overlay. The thick glossy gel creates reflective surfaces that reinforce the neon-tube illusion.
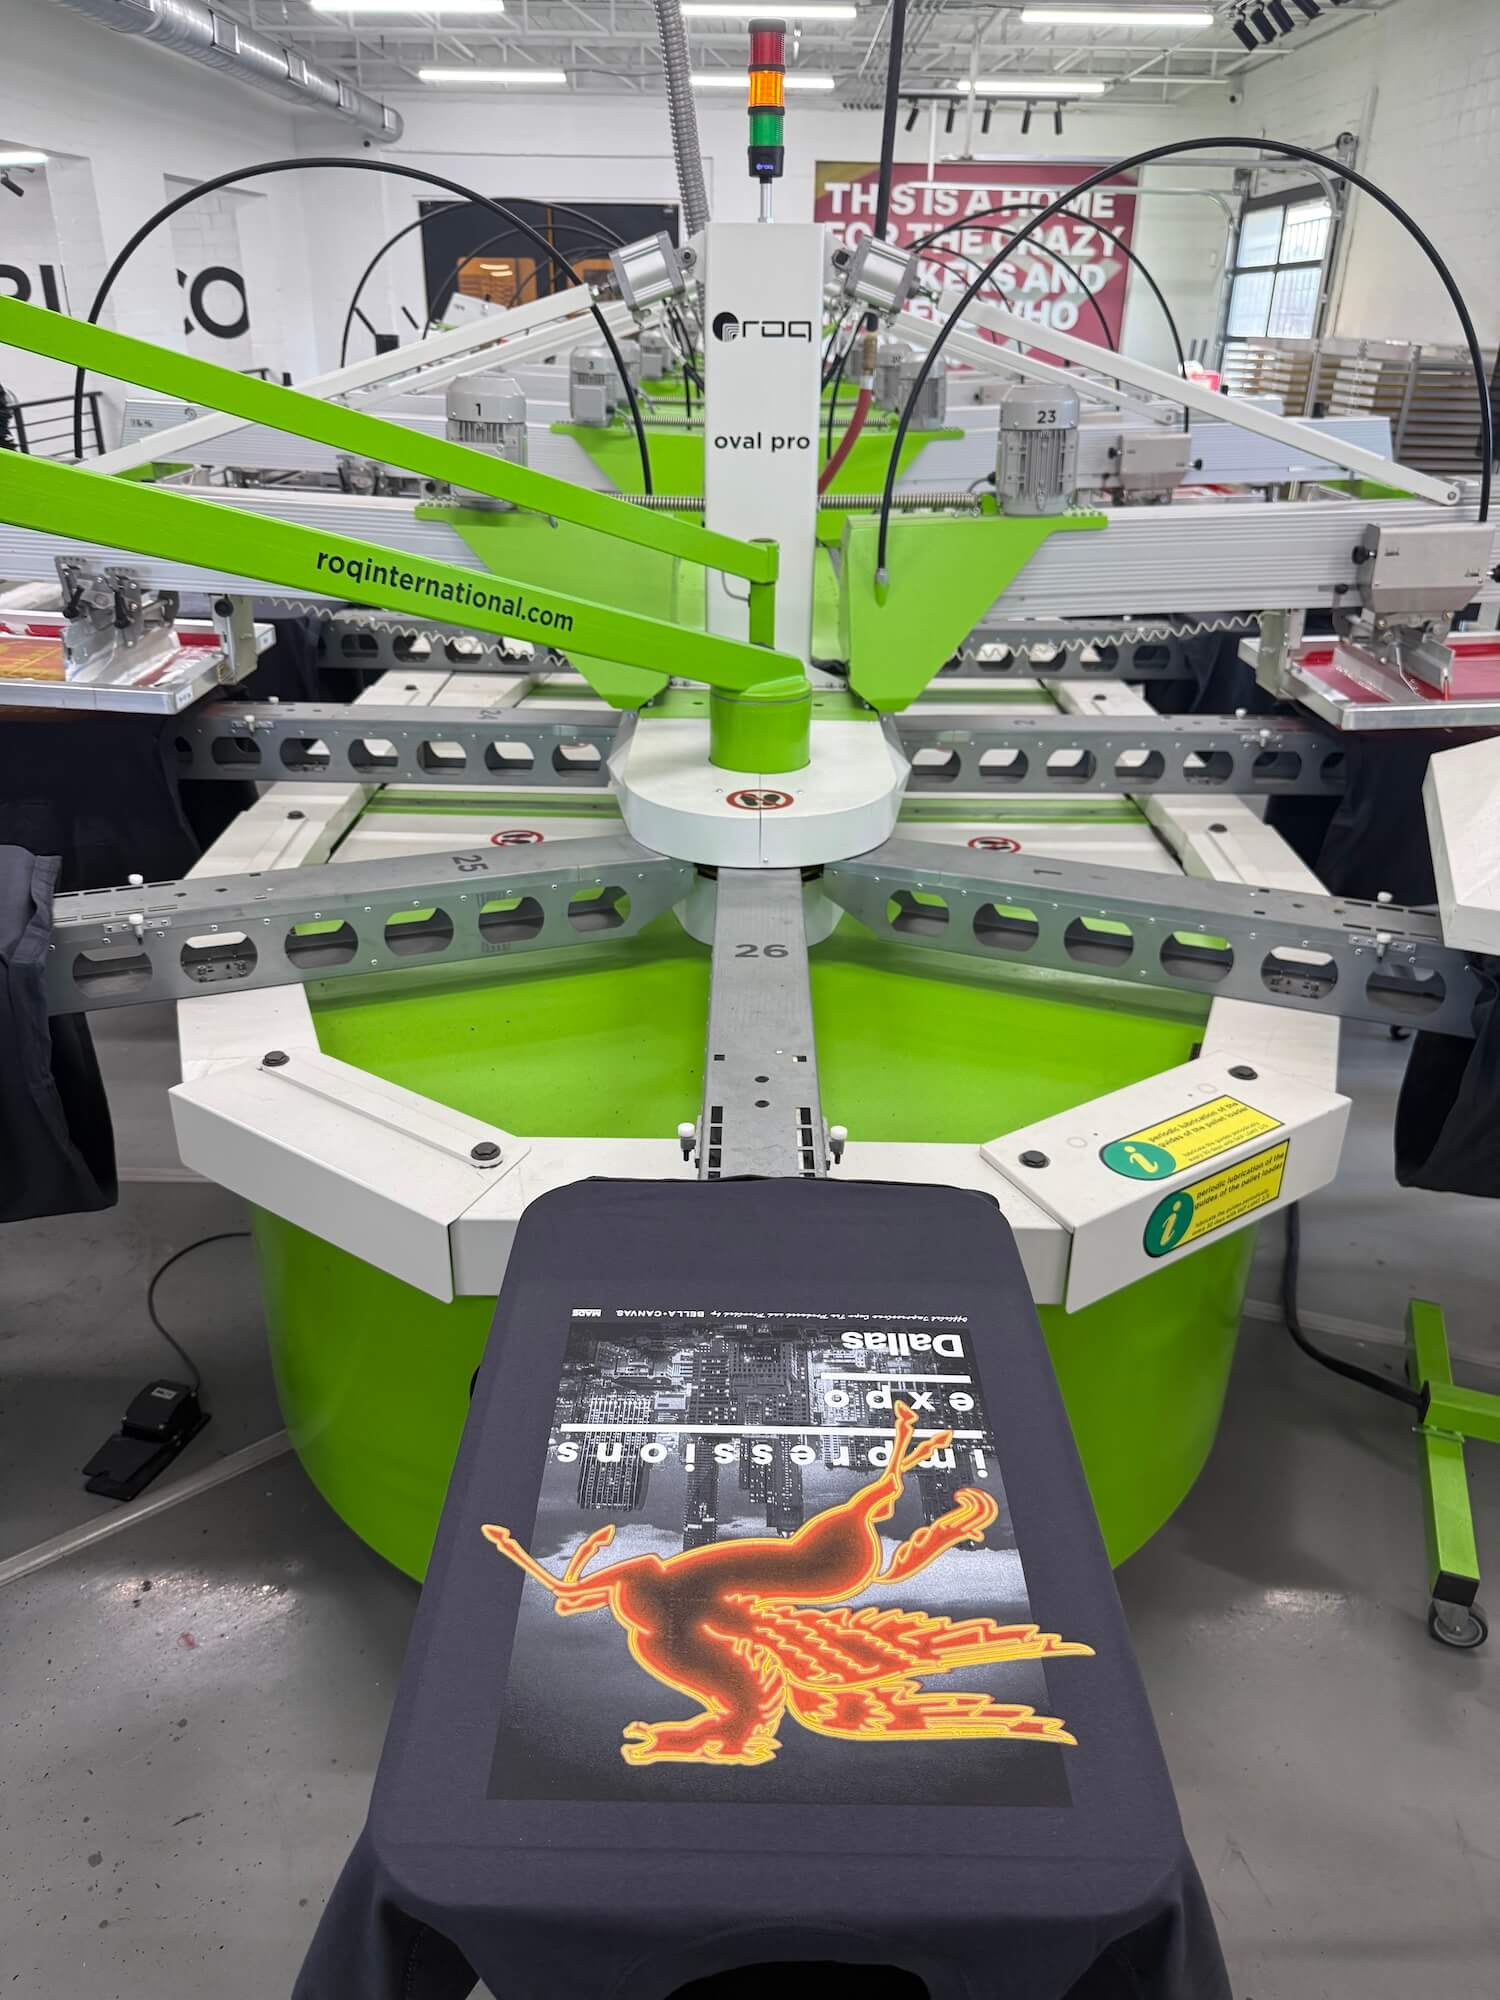
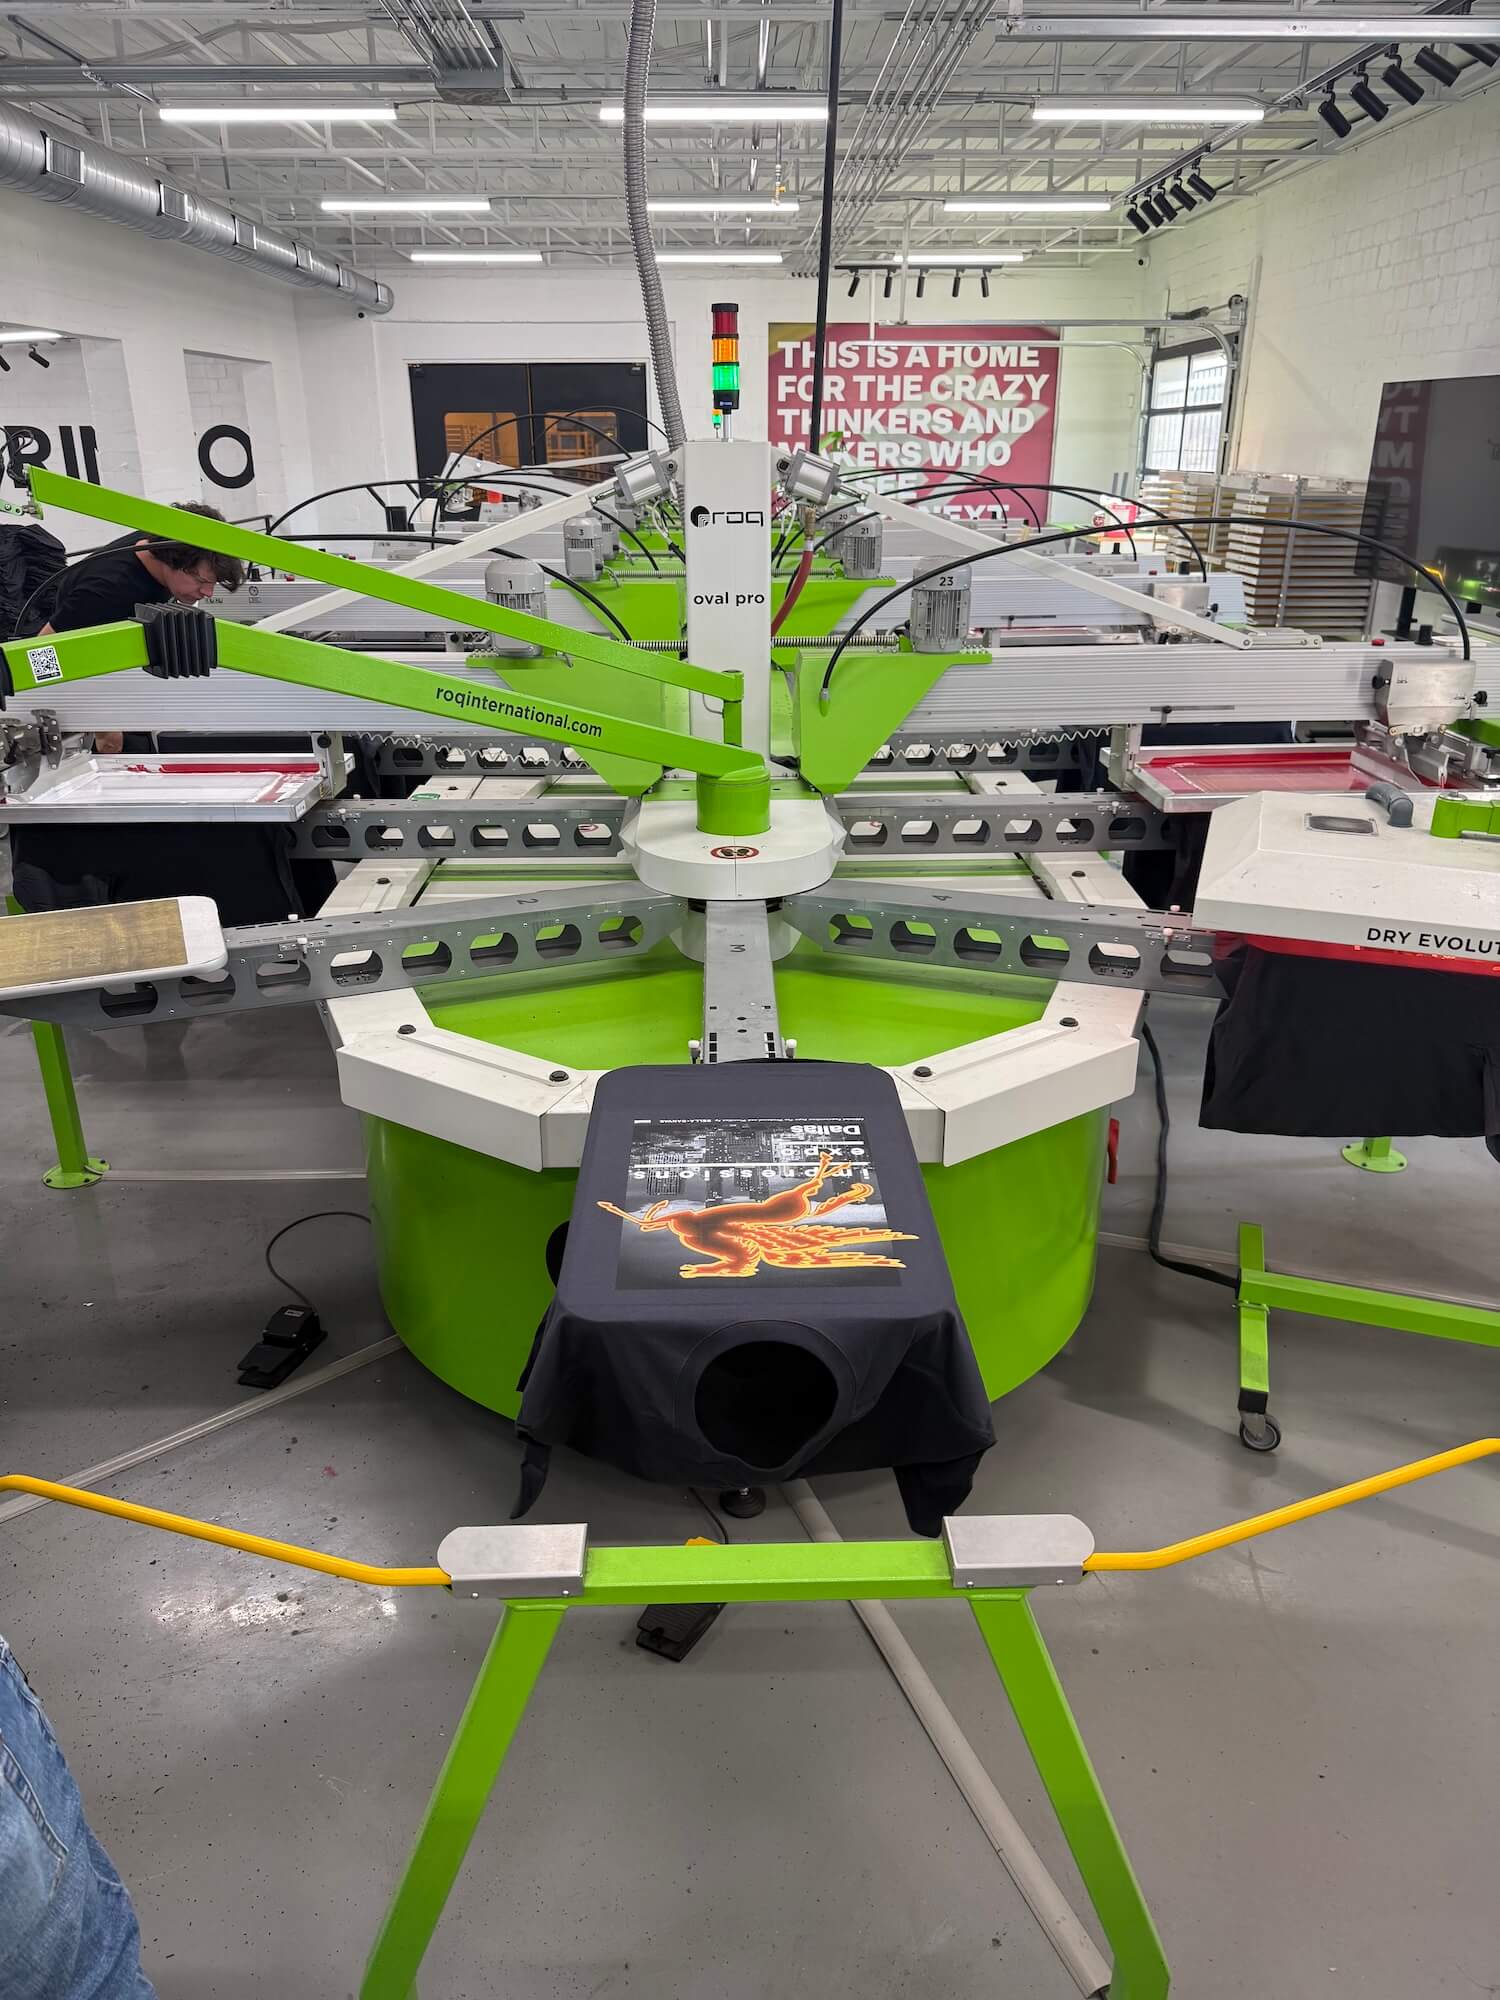
Images above illustrate the printing techniques and materials, rather than the actual production of the Dallas show shirt.
Precision Meets Special Effects: Why This Print Is Different
What makes the 2026 Impressions Dallas shirt technically interesting isn't simply that we used puff ink or clear gel.
Both effects have been used in screen printing for years.
The challenge was combining them with fine-detail 85 LPI halftones and maintaining enough control to deliver a cohesive, high-quality image.
Consider the competing demands of this production.
A 305-mesh halftone screen is designed for fine detail and controlled ink transfer.
An 81-mesh screen with a 250-micron stencil is designed to deposit a much larger volume of ink.
Those are fundamentally different printing objectives.
Yet both needed to work together in registration on the same garment.
The ink formulations also had to support those different objectives. Highly reduced M3 inks helped maintain detail through the fine mesh, while NU-PUFF White and Infinite FX clear gel provided the body required for dimensional effects.
The high-density stencil process added another layer of complexity. The 250-micron Super PHAT film required a carefully controlled application process, three emulsion backing passes, multiple laser imaging cycles, and deliberate washout procedures.
Finally, the press sequence had to coordinate underbases, intermediate flashes, spot colors, and special effects without compromising the intended visual result.
The result is a print designed to be experienced in three ways:
- From a distance, it reads as a vibrant neon-inspired graphic.
- Up close, the fine halftones and color transitions reveal the detail of the artwork.
- To the touch, the raised puff and dimensional gel give the design a physical character that a conventional flat print cannot reproduce.
This is where screen printing becomes more than image reproduction. It becomes material engineering.
Beyond the Show Shirt: Pushing the Boundaries of Decoration
At MADE, we believe the most interesting developments in decorated apparel happen when design and production technology inform each other.
Too often, artwork is developed independently of the printing process, with production left to figure out how to make the design work.
For the Impressions Dallas project, we approached things differently.
The garment, artwork, separations, mesh selection, ink formulations, stencil construction, and print sequence were all part of the creative strategy.
We didn't just want to print a picture of neon.
We wanted to explore how screen printing could reproduce some of the physical and optical characteristics that make neon so recognizable.
And we wanted to do it on a shirt that people would actually want to wear.
That's the opportunity that advanced screen-printing technology creates: the ability to make apparel that feels more intentional, more dimensional, and more memorable.
Made for Dallas. Made to Be Different.
The 2026 Impressions Expo Official Show Shirt is the result of collaboration between MADE, Impressions Expo, BELLA+CANVAS, and the technologies and materials that made this ambitious print possible.
From the heavyweight BC3010 garment to the precision of SAATI HI-DRO mesh and LTS laser imaging, the Chromaline Super PHAT stencil system, and Avient's specialty ink technology, every component contributed to the finished product.
Special thanks to BELLA+CANVAS for providing the garment and to Impressions Expo for partnering with us to create something different for the Dallas show.
The goal was simple: make a shirt attendees would want to keep, while showing the decorated apparel industry what's possible when creativity and technical execution come together.
We made it for you.
Find the official 2026 Impressions Dallas Expo shirt at Booth 978.
And when you get one, take a closer look. Run your fingers across the print.
That's where the technology really comes to life.